Winter is one of my favorite times of year—because I love snowflakes!
I recently received a little package of goodies from Scrapbook.com and it included the brand new Dainty Snowflake stamp and die sets! They were on my wishlist so I’m super happy I got them in the mail. I oohed and aahed when I picked them up to look at them. The detail in these stamps is so lovely and they stamp so nicely!
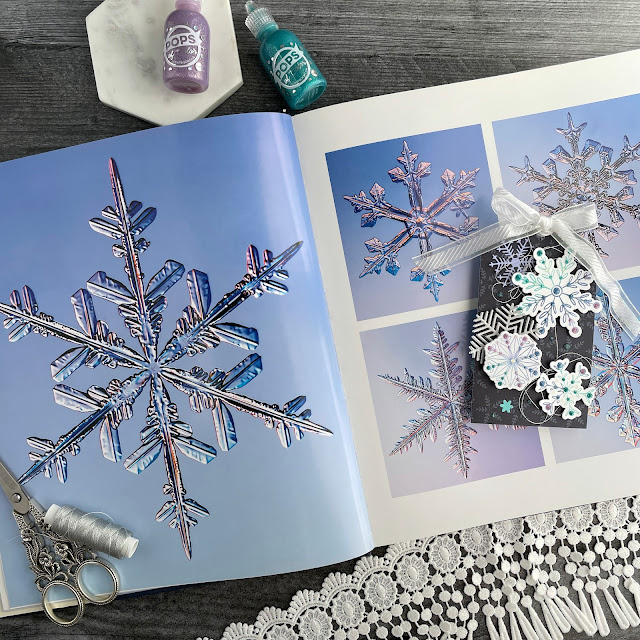
I have a coffee table book called The Art of the Snowflake by Kenneth Libbrecht. It is full of Libbrecht’s microphotography of real snowflakes, hundreds of them! The first paragraph in the book is actually a quote about the beauty of snowflakes and the reasoning for the book itself. “Under the microscope, I found that snowflakes were miracles of beauty; and it seemed a shame that this beauty should not be seen and appreciated by others. Every crystal was a masterpiece of design, and no one design was ever repeated. When a snowflake melted, that design was forever lost, just that much beauty was gone, without leaving any record behind.” -Wilson Bentley
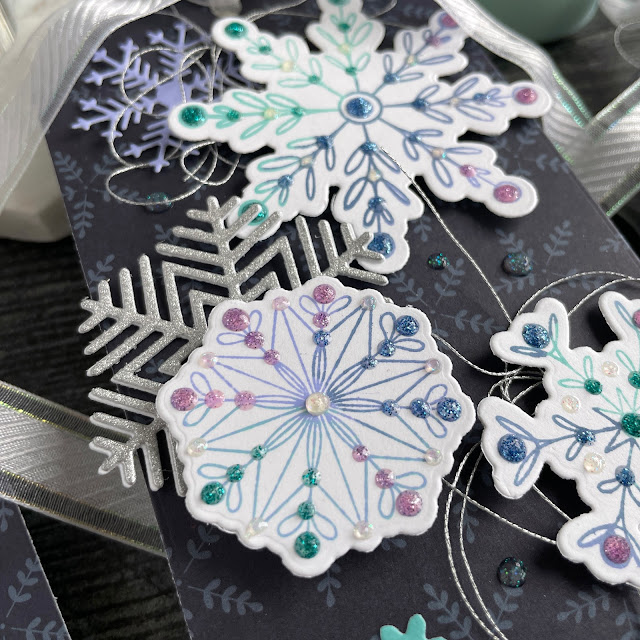
Libbrecht even goes into the science behind those frozen fractals—sorry, I couldn’t resist a phrase from Let it Go. The shapes of snowflakes range from faceted blocky gems to 3 pointed flakes, from double ended cylinders to imperfect flakes, and 6-pointed to 12-pointed snowflakes. But speaking of Frozen, the movie got the iridescent colors of snowflakes pretty spot on. When the light reflects off those frozen water crystals, what you see are gorgeous shades of purple, blue and teal with the occasional green and pink. I decided as soon as I saw these stamp and die sets that I wanted my snowflakes to match that ombré color gradient as closely as possible.
Now let’s get into my tutorial for an ombré gradient in a single stamped image. You’ll need to pull out white cardstock and a stamping platform for this project so that you can stamp the multiple colors per snowflake easily. You can do it without a stamp platform, but if you don’t quite get the colors as you want them, the stamp platform will let you restamp your image. And, if like me you have a chronic pain condition, I highly recommend using a stamp press tool, such as the LDRS Stampendable or Pinkfresh Stamp Press Tool. I have both and they are both great. The version from LDRS is a slightly more comfortable in the hand, but the Pinkfresh tool’s square shape lets you get right into the corner of stamp platforms that have a lip, like the one from Tim Holtz.
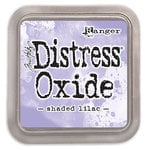
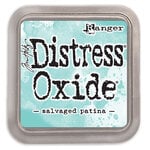
You’ll also want to use Distress Oxide Inks as they will allow you to cover and recover an image. Oxides are opaque, meaning they are not translucent, so whatever is underneath will be covered by the next layer. You’ll also want your stamp pads to be a little on the juicier side (so reink those pads if you need to). When you stamp one oxide over another slightly wet oxide, it allows the two inks to blend slightly, creating a better ombré gradient. The oxides I used were salvaged patina, shaded lilac and faded jeans.
I cut an 8.5x11 piece of Solar White cardstock in half (5.5 x 4.25 inches). This size is perfect for running through most die cut machines and fits in a stamping platform easily. I placed only one stamp at a time in my platform, but left my sheet in place until it was full of snowflakes. For each snowflake, I would stamp lightest to darkest ink. For my particular color combination is stamped the inks in this order: salvaged patina, shaded lilac and then faded jeans.
I began by covering all or nearly all of the snowflake with the salvaged patina and stamped the image. If I needed to get better coverage, I would stamp restamp until I was happy with the coverage of the ink. Next, I moved on to the shaded lilac, covering only a portion of my stamp with it. Sometimes I would cover two consecutive points of the snowflake, or I would do opposite points. When inking, be sure to overlap a bit with your first ink, and again, stamp and restamp until you are happy with the coverage. Finally, I stamped with the darkest ink, faded jeans. I filled in any parts of the snowflake that had not yet been stamped, again making sure to overlap the colors a bit. You can always go back in with the lighter colors and stamp some more, but know that if you add them over the darkest ink, they will be slightly darker versions of that lighter color—especially if your dark ink is still a bit wet on the paper. But I think this just adds the gradient’s charm.
Once you are happy with one snowflake, move on to stamping your other snowflakes in the same fashion. Be sure to leave enough room between each snowflake to cut them out with their coordinating dies in one pass. All this stamping is a little time consuming, but the results are truly fantastic and well worth your time! When die cutting, hold your dies in place with a bit of Mint Tape and use your Magic Mat to cut our your snowflakes. You’ll get perfect cuts every time!
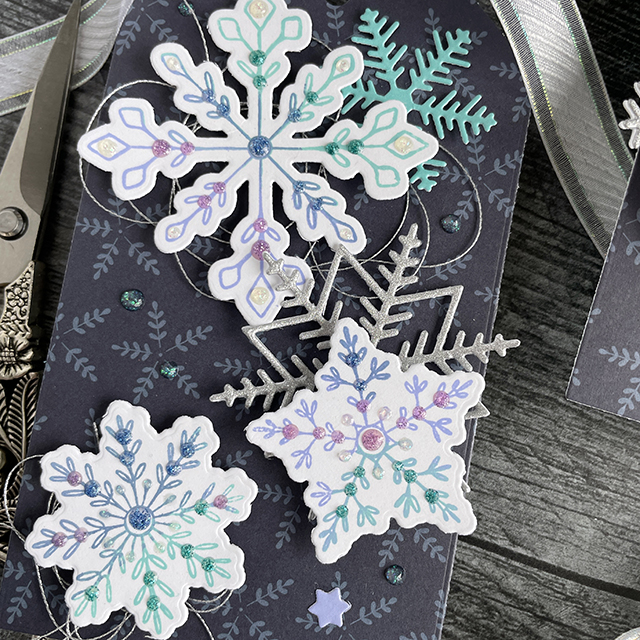
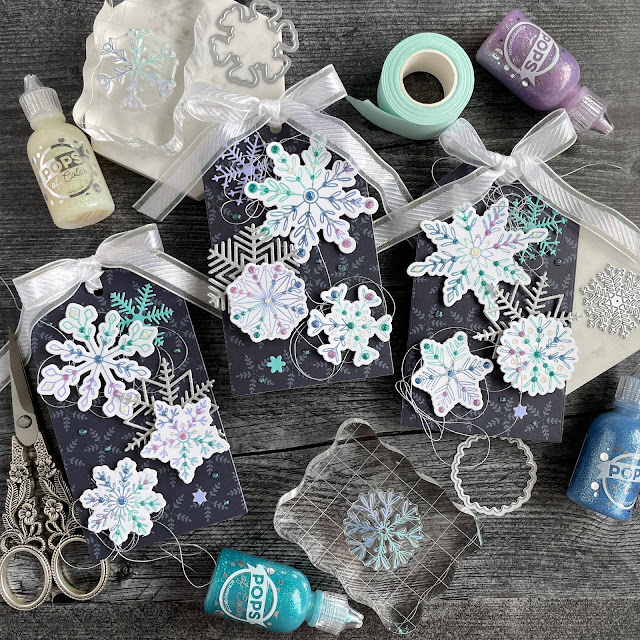
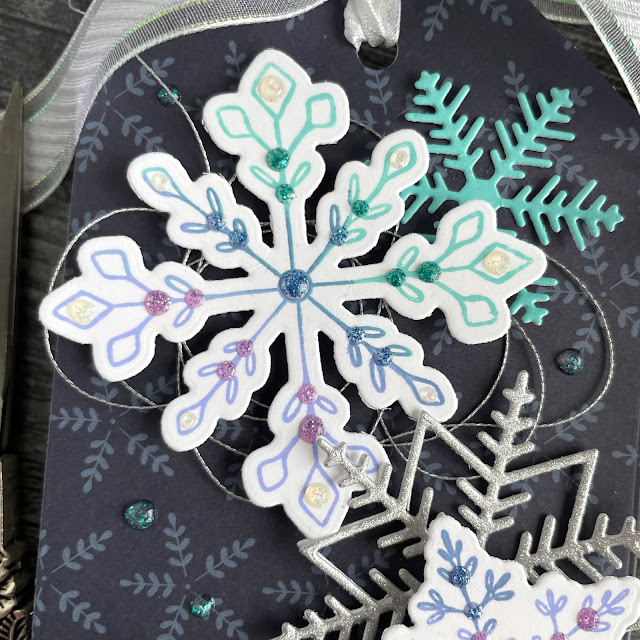
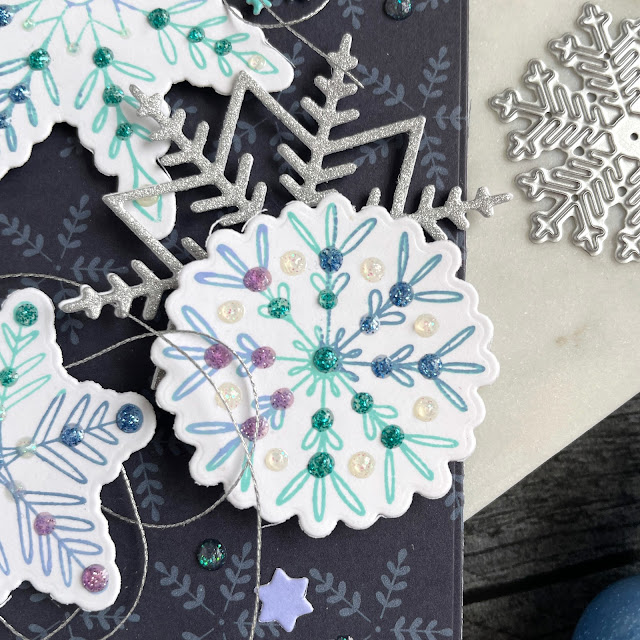
Once all of your flakes are cut out, pull out coordinating glitter Pops of Color. I used Lavender Luster, Teal Twinkle and Royal Blue. I also used Snowflake, which is clear with iridescent glitter. I added dots of Pops of Color to my snowflakes, matching the Pops with the color of ink beneath it. I used the Snowflake glitter where several colors met, between points of snowflakes, or just wherever I wanted! Set your snowflakes aside to dry. Pops of Color sets up pretty fast, but you’ll want to give them at least 15 minutes. If you live in a warmer or humid climate, you may need to let them dry for longer.
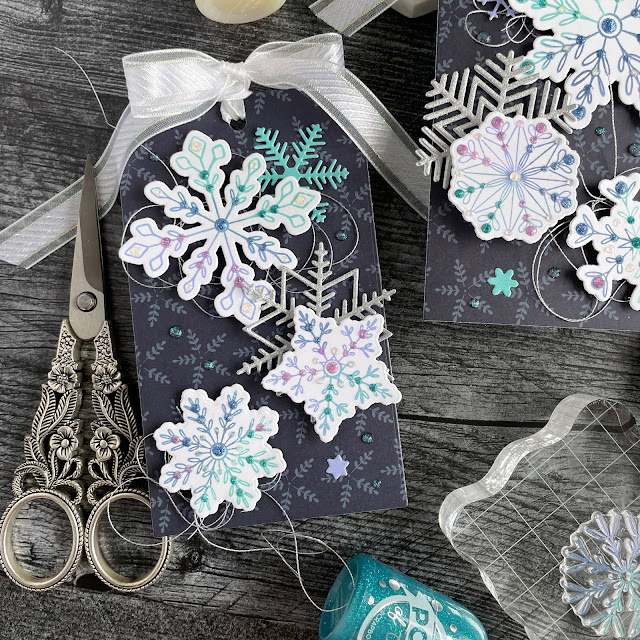
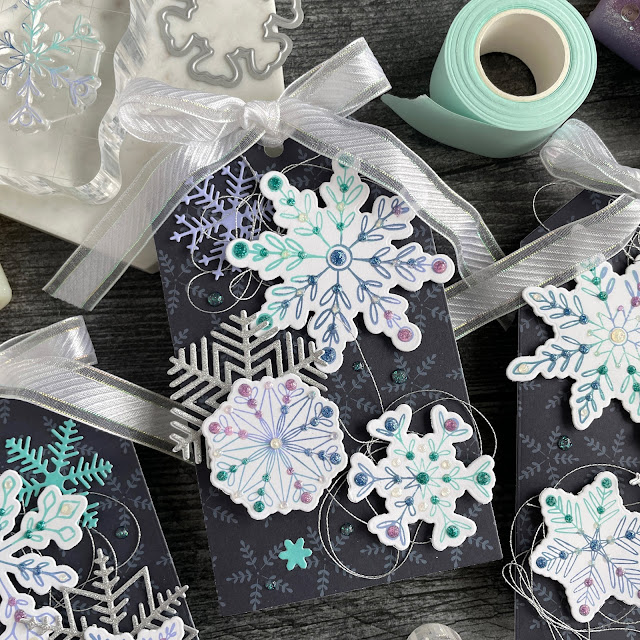
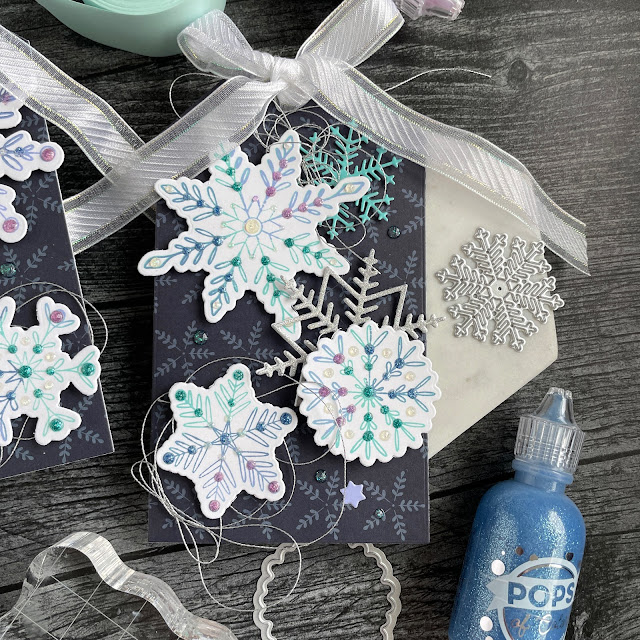
While your snowflakes are drying, cut out some tags using the Nested Tags die set. I really wanted my snowflakes to pop, so I went with a dark navy blue pattern from the Peppermint Patterned Paper Pad. It has a pretty snowflake pattern on this particular paper, so it matched in theme nicely too! I also cut a few snowflakes from the Snowflakes die set—a set of 6 detailed snowflakes in varying sizes. I cut one small snowflake in a piece of coordinating cardstock from the Cools Smooth Cardstock Pad and one medium snowflake from white cardstock and a silver glitter from the Metals Glitter Paper Pad. I glued the white and silver glitter snowflake layers together for more thickness. I decided to cut the two largest snowflakes as well for the center offcuts (those tiny little solid snowflakes at the bottom of each tag).
Once the stamped snowflakes Pops of Color were dry, I began assembling my tags. I used Distress Collage Medium and Foam Adhesive to glue down my layers. I tucked some silver thread under some of the snowflakes as well. I finished the tags off with some white and iridescent glitter ribbon and then a few more dots of the Snowflake Pops of Color on the base of each tag. Hope you all stay warm and cozy while crafting this winter!
Adrienne
Shop the Supplies:
Scrapbook.com
I am an affiliate with Scrapbook.com. When you shop the links below, I receive a small commission from the affiliate, at no additional cost to you. This helps me balance the costs of the time and love I put into my projects and blog so I can continue to share my ideas with you for FREE. If you shop the links, thank you! I greatly appreciate it.
Below are products that I used or similar products.












0 comments
I'd love to hear your thoughts!