Quick and Simple Tags with the Prima Aquarelle Dreams Collection
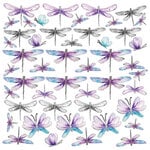
Watercolor elements in grey, purple and teal combine for a most delightful collection from Prima!
I absolutely adore the new Aquarelle Dreams collection from Prima! It has elements to fussy cut, beautiful laser cut ephemera, chipboard sentiments and of course, the beautiful flowers that Prima is known for. Some of my favorite ways to create with Prima products are tags and mixed media. And you can see I've already done one of those two forms of makes. But I also bought the journaling cards because I really want to make a pocket page album with this collection too!
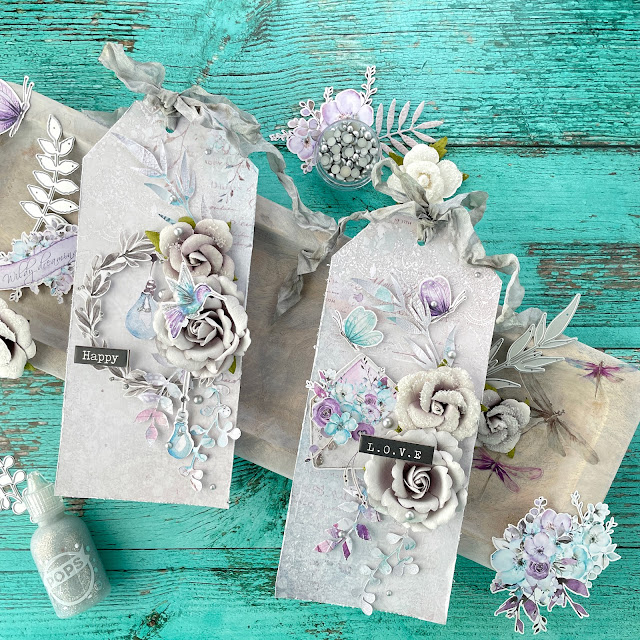
But let's get back to these tags before I spill the beans on the other projects I'm working on with this collection. These tags were really quick and simple to create. I decided to go with grey as the base color for both of these tags. I selected a primarily grey sheet of 12x12 paper from the collection for the tag base.
You don't need a tag die to create some handmade tags. In fact, I love the look of a hand cut tag. So select your paper and cut two 3 inch strips, then trim them down to 8 inches long. Use a hole punch to add a hole to the center of one side and then trim down the corners to create the tag shape. I eyeballed this and if you look closely, you can see they aren't perfect, but that is what I love! Using a metal ruler or distressing tool, distress the edges of your tag.
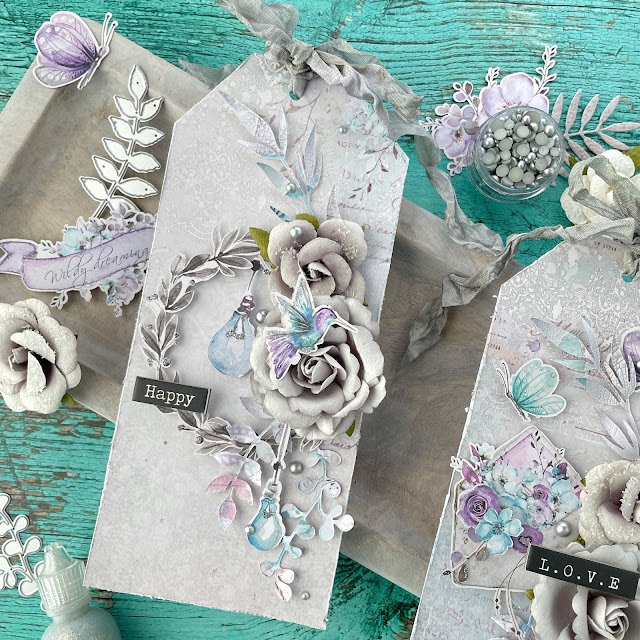
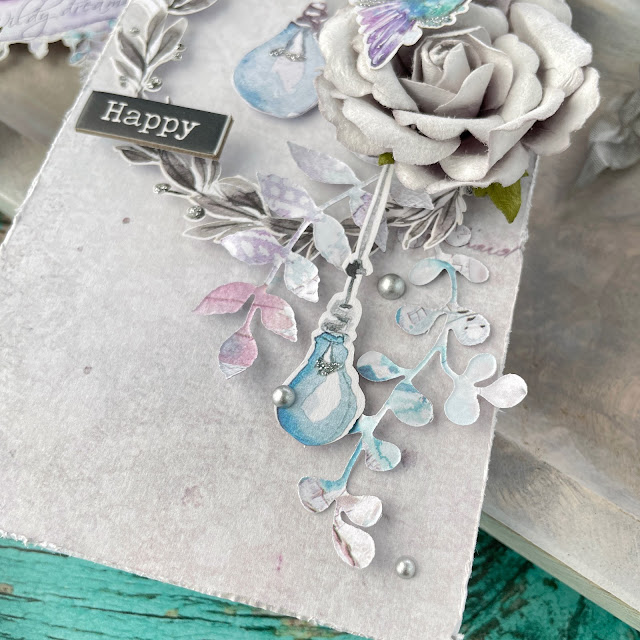
I selected a few pieces of ephemera and fussy cut the grey wreath of leaves. I'm impressed with the ephemera in this particular collection. The white halo around the ephemera has been reduced from previous collections I've purchased, which is a huge in my opinion! With past collections, I would often trim down the white halo with a pair of small scissors. But there is no need to do that with the Aquarelle collection. And I think the paper it's printed on is a higher quality paper too. Whatever pieces you chose to fussy cut or select from the pre-cut ephemera packages, I'm sure it will make your tags beautiful--you can't go wrong here! To embellish the ephemera and fussy cut pieces a bit more, I added a little bit of Scrapbook.com's Pops of Color in silver glitter.
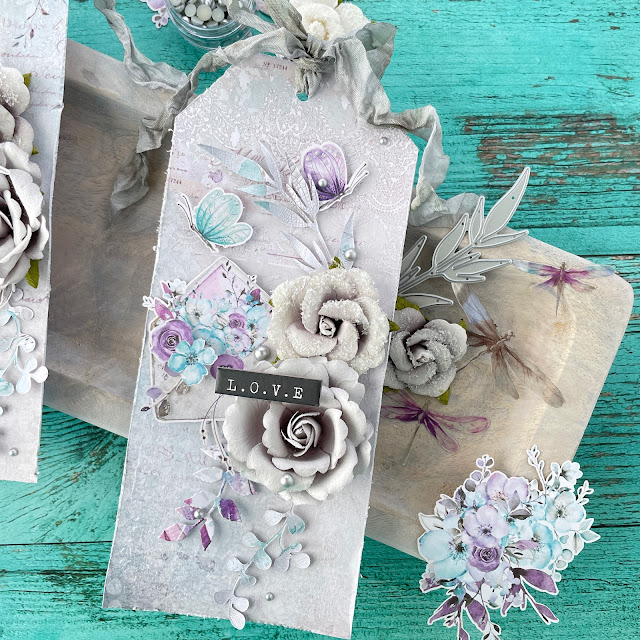
Because I went with the grey hued base, I selected some grey paper flowers from the collection to adorn these tags. I chose two for each tag. I also die cut a few leaves from another paper in the collection using Scrapbook.com's Delicate Leaves dies. I originally planned for them to be the more monochromatic, but one of them flipped over when I was working with it and I realized how pretty the other side was. So I decided to go with the more colorful backside of these die cuts.
To assemble, I used three different adhesives. The ephemera, chipboard stickers, and portions of the leaves got stuck down with foam adhesive. The flowers got adhered with heavy body gel. And because the Delicate Leaves were tucked under the paper flowers, the ends of them were also held in place with that heavy body gel. If you'd like to learn more about my layering process for my projects, be sure to check out one of my mixed media tutorial videos on my YouTube channel. I use many of the same techniques in other projects, like this one.
To finish off these tags, I died some crinkle ribbon light grey using some grey sprays in my stash. The key to getting a light hue even from darker sprays, is to wring out the wet crinkle ribbon with paper towels. The paper towels will soak up excess spray and lighten the color of the crinkle ribbon. I also added some Pinkfresh matte silver pearls using Distress Collage Medium. Until next time, happy crafting!
Adrienne
Shop the Supplies:
Scrapbook.com
I am an affiliate with Scrapbook.com. When you shop the links below, I receive a small commission from the affiliate, at no additional cost to you. This helps me balance the costs of the time and love I put into my projects and blog so I can continue to share my ideas with you for FREE. If you shop the links, thank you! I greatly appreciate it.
Below are products that I used or similar products.






0 comments
I'd love to hear your thoughts!