Mad Hatter Inspired Cards with Tim Holtz Sizzix Tailored Die
If you can’t tell from the name I go by on my blog and on my socials, I love Alice in Wonderland!
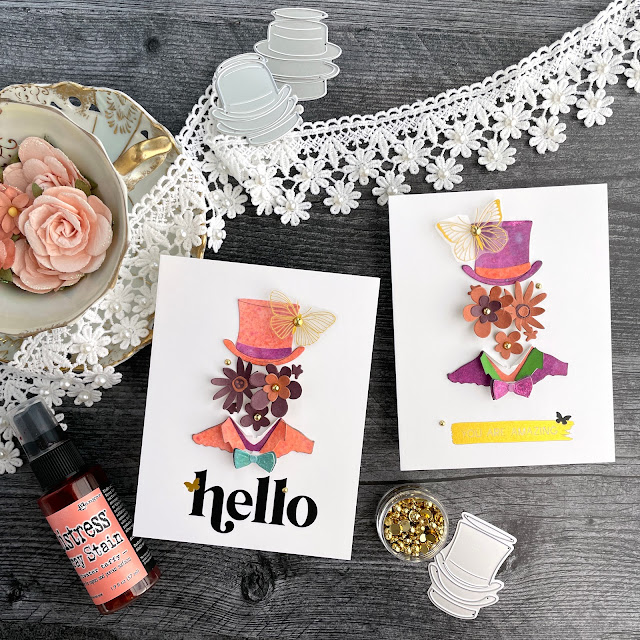
Nothing says Alice in Wonderland more than a brightly colored Mad Hatter outfit and a bunch of florals from the garden. But first, I want to thank Scrapbook.com for sending me a few of the new Tim Holtz Sizzix dies for this latest release, including Tailored, which is what I used for this project. I’m so happy that I have the opportunity to show you just how versatile these dies are!
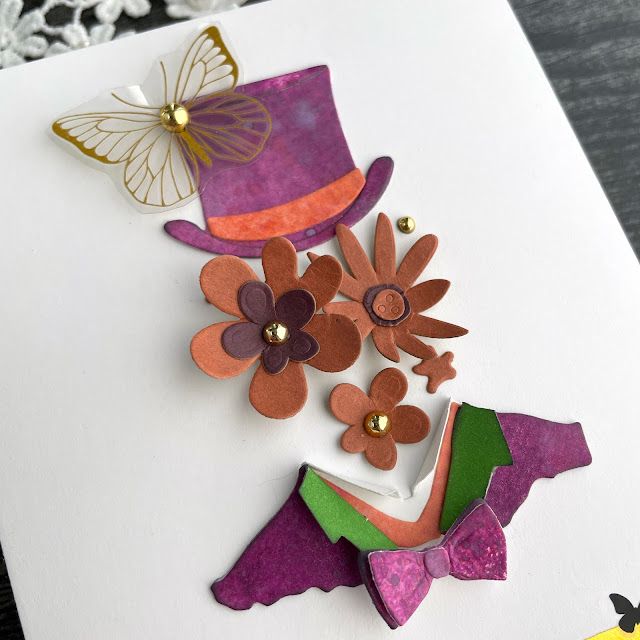
When you pull the shirt and jacket pieces out of the packaging, you might feel a little intimidated at first. But once you realize that some of those pieces of the die are crease lines for the lapels, they don’t seem quite so scary. I recommend cutting out your dies on some scraps first to play around with them. And before cutting, you’ll also want to consider what is on the backside of the cardstock for those pieces that fold. You can even cut the folding dies on the reverse side to get the pattern or color you want to appear on the folded over side, gluing your pieces together (which is what I did).
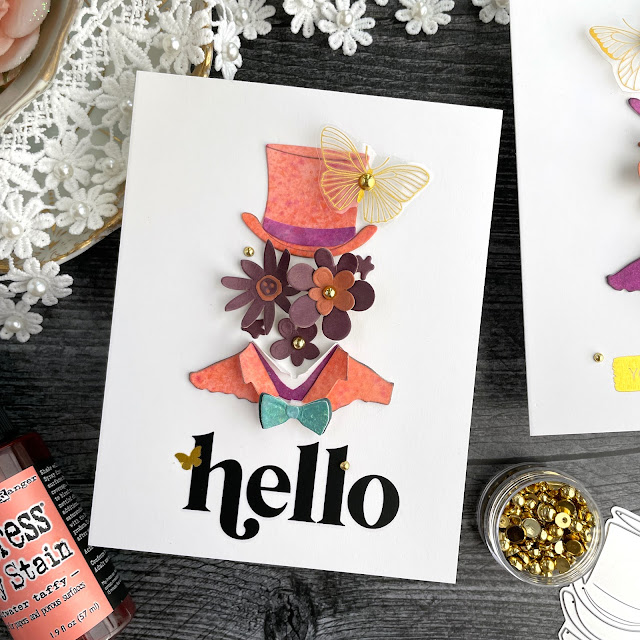
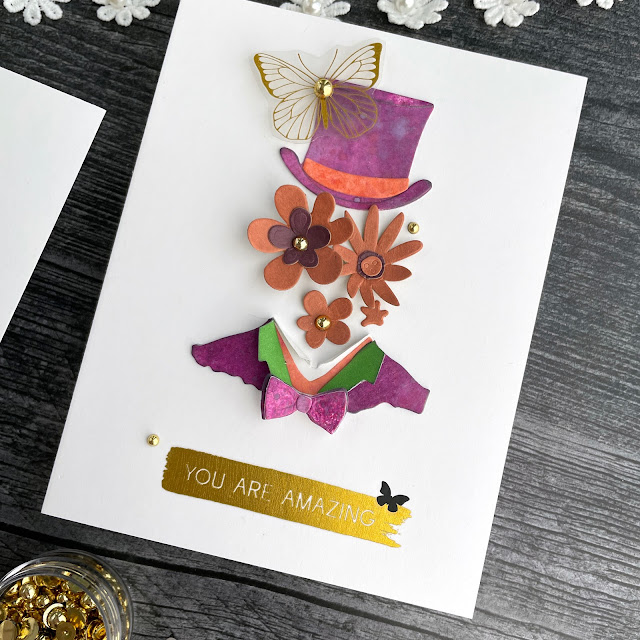
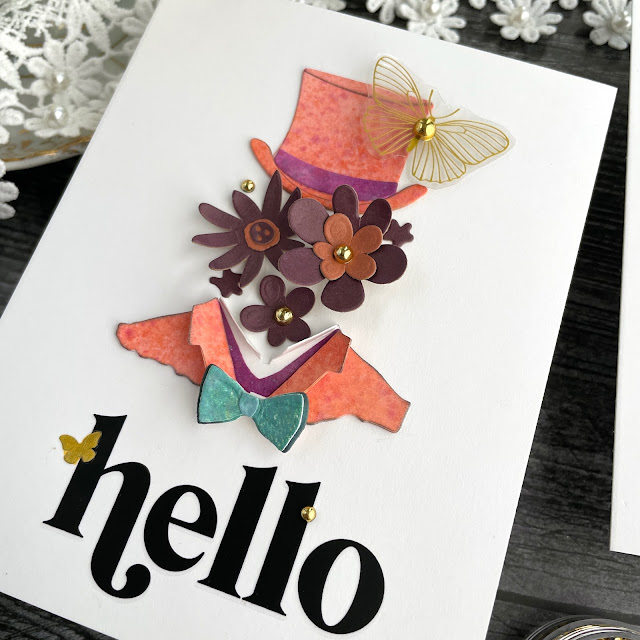
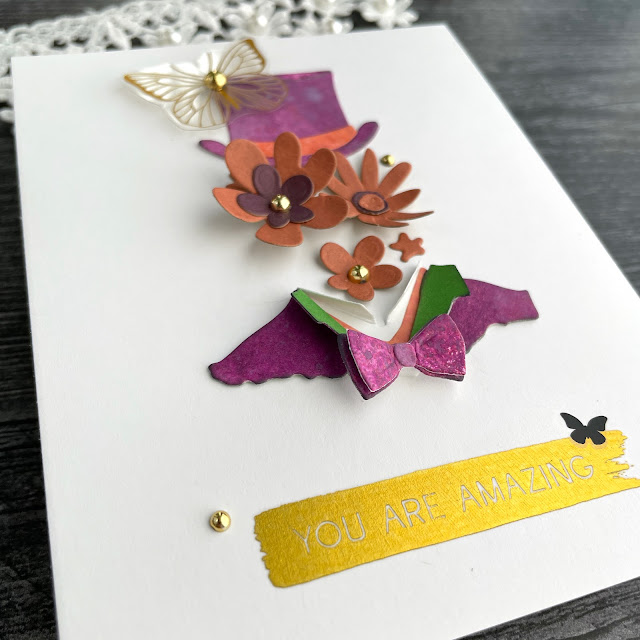
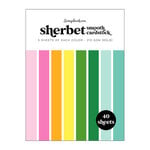
For these pieces, I cut out the hat and jacket pieces from some backgrounds I had already created. I made a bunch of backgrounds using Distress Spray Stains, Distress Oxide Sprays and Distress Mica Stains. For the coral one, I cut the jacket again on the reverse. I glued these two cuts back to back so that when I folded it over, you got the same inked background on the reveal. For the purple version, I wanted to see what the inked background would look like paired with smooth cardstock, so I cut the jacket from some bright green as well.
The shirt lapels got cut from white cardstock and the vest (a V-shaped layer) got cut from the pink and purple backgrounds. The bow tie I selected was cut from a green inked background and the purple background.
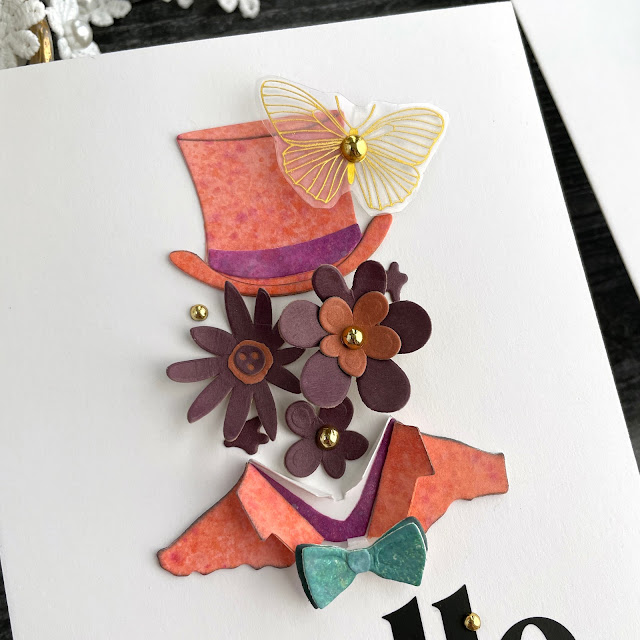
Here’s how I assembled my pieces. I began by adding a little bit of grunge to the edges of all the pieces with Distress Oxide in black soot. Then I started by gluing the jacket pieces back to back with Distress Collage Medium. I let these dry fully before folding the lapels. I folded the shirt lapels and glued the vest layer on. Then I glued the hat layers together. The bow tie layers got glued together only in the center, allowing me to gently bend the upper layer to create dimension. Once the jacket pieces were dry, I glued each side on to the shirt base.
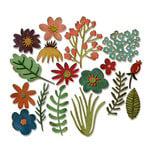
For the flowers, I cut some Funky Florals from some kraft cardstock in pink and purple from Tim. I chose the Funky Florals over some of the newer florals from this release because of their funkiness—I think the Mad Hatter would approve of these flowers! I shaped these flowers a little with some shaping tools and glued them all together.
I also wanted to add a rub on butterfly and sentiment to each of my cards. I applied the butterflies to some acetate and then fussy cut them out. I then laid my cards out without apply the sentiment or glueing my die cuts down. This allowed me to make sure I had room for everything just as I wanted it. Once I was happy with placement, I applied the rub on sentiment to each card, adding a second layer of rub ones with some small butterflies in black and gold to each. Then I glued down my jacket and hat with Collage Medium. The bow tie got added on with a small bit of Foam Adhesive.
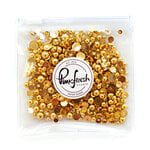
The flowers were glued down with a combination of Collage Medium and Foam Adhesive. The butterflies were added to the hats with a bit of foam adhesive in the center. To finish off the card, I added a few gold pearls around and on the flowers and to the center of each butterfly. Now excuse me while I go enjoy a cup of tea and sweet treat! Until next time, happy crafting!
Adrienne
Shop the Supplies:
Scrapbook.com
I am an affiliate with Scrapbook.com. When you shop the links below, I receive a small commission from the affiliate, at no additional cost to you. This helps me balance the costs of the time and love I put into my projects and blog so I can continue to share my ideas with you for FREE. If you shop the links, thank you! I greatly appreciate it.
Below are products that I used or similar products.













0 comments
I'd love to hear your thoughts!