Mixed Media Layering Tips: 2 Adhesives You Absolutely Need
Have you ever wondered how I am able to layer flowers and ephemera on top of one another in my mixed media canvas projects? I’m sharing my secret to getting that highly layered look!
This gravity defying look is all in the adhesive that you use! In this tutorial, I’m sharing not only my two must-have adhesives, but also a few more tips and tricks for creating gorgeous mixed media canvas makes!
I’ll get to those adhesives in a minute, along with a list of products used. My first takeaway from doing this particular project is that mistakes happen—even for the most seasoned mixed media crafters. Yes, even I made a mistake with this canvas! And I made it right away, which you can see when you watch the video.
That mistake was the medium I used for adding texture through a stencil. There are two lessons to learn here. The first is that every mistake is an opportunity and that you have time to fix it. Mixed media art mediums have a long work time for a reason and gesso is your friend! If you don’t like something, pull a Bob Ross and turn it into your happy little tree or birds. And if you really don’t like a color your added, wait for it to dry and go over it with gesso—it basically creates a blank canvas again, at least for colors.
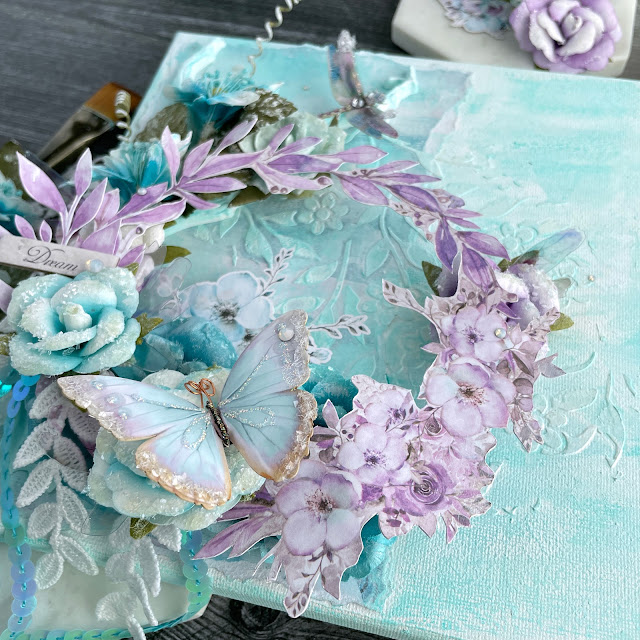
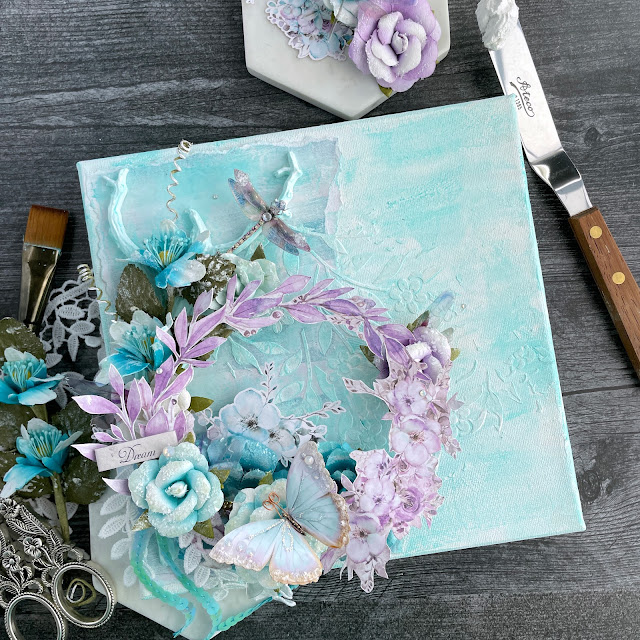
The second lesson I learned with this project is to mind my medium when using stencils. I tried applying gesso through a stencil and after the reveal, I just didn’t like how messy it was. This particular gesso is on the thinner side (it's from Ranger), but even so, most gesso just really doesn’t hold it’s shape well when you pull the stencil up. Maybe that imperfect look is your jam, but I wanted something a little cleaner. So I took the opportunity to just swipe the gesso across my canvas for a different kind of texture. And when that was dry, I reached for a much thicker, stiffer medium, Cloud Whip. And I liked the results much better. I also used it a little later in the process, which I think I like better too.
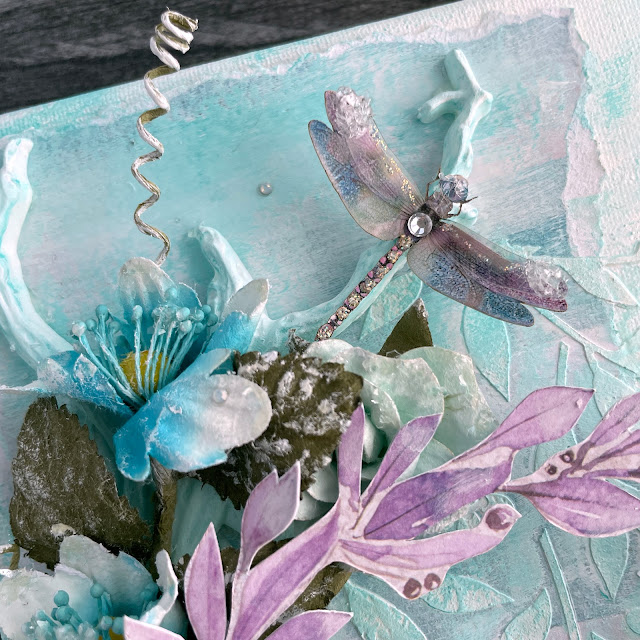
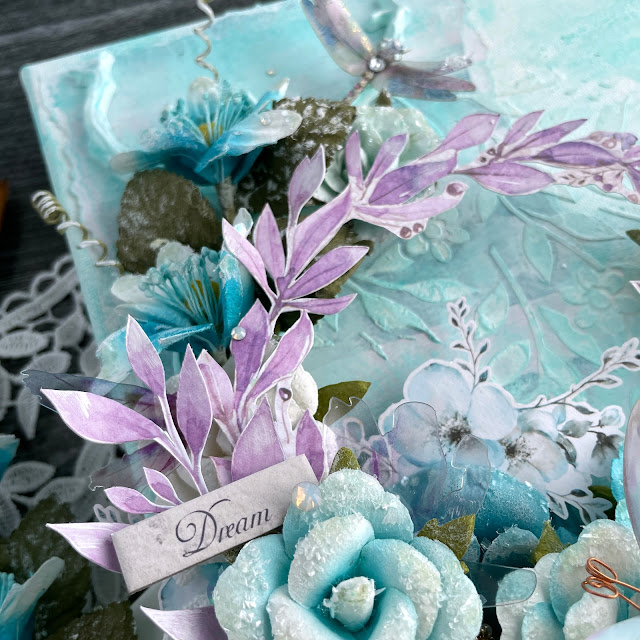
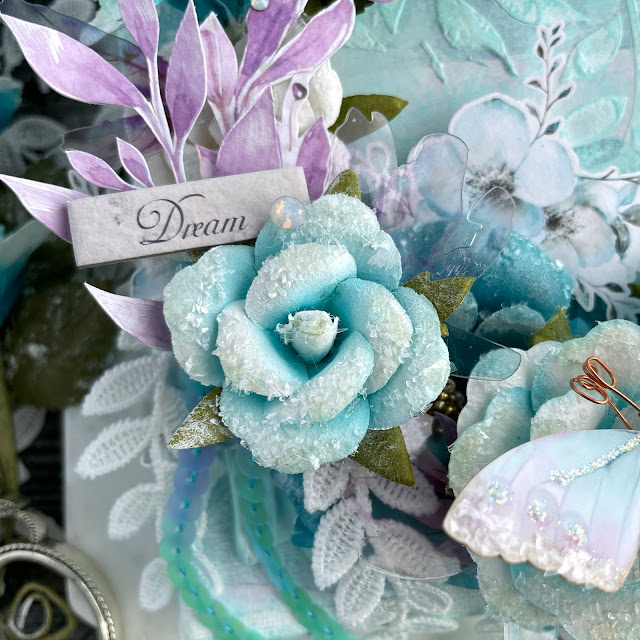
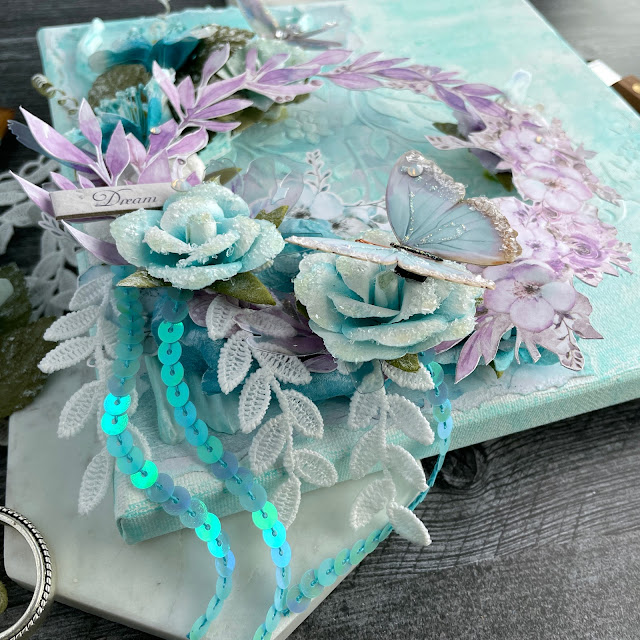
Another tip for you is about design. The old adage is that “things are better in threes.” This refers to the design concept that things look better in odd number groupings. That is why I added three lace vine and sequin trim sets to this canvas. And in all my projects, especially my cards, I add an odd numbers of gemstones.
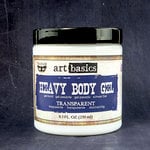
Now let’s talk adhesive. I know, it’s probably what you came here for, but I hope that you found those other tips and takeaways helpful. The first medium you need to have when doing mixed media is heavy body gel. This adhesive will hold even the heaviest and smoothest object in place. It will stick to anything from metal, to resin, to paper flowers, to fabric and trim. Even in the dry climate that I live in, I’ve never had any problems with this adhesive shriveling up over time and things falling off my canvas.
Heavy body gel also has the perk of a long work time. It takes a while for it to dry and cure, so you have plenty of time to change your mind and move things or adjust things. It also allows you to tuck in the most delicate of ephemera under paper flowers. I use it to adhere everything to my canvas.
Now if I use heavy body gel for everything, you might be wondering why you have to have two different adhesives. Things are different heights. And that is what makes foam adhesive a must have. It’s easy to cut to size and layer up. You can add several layers of it under an element to level your layers of embellishments out.
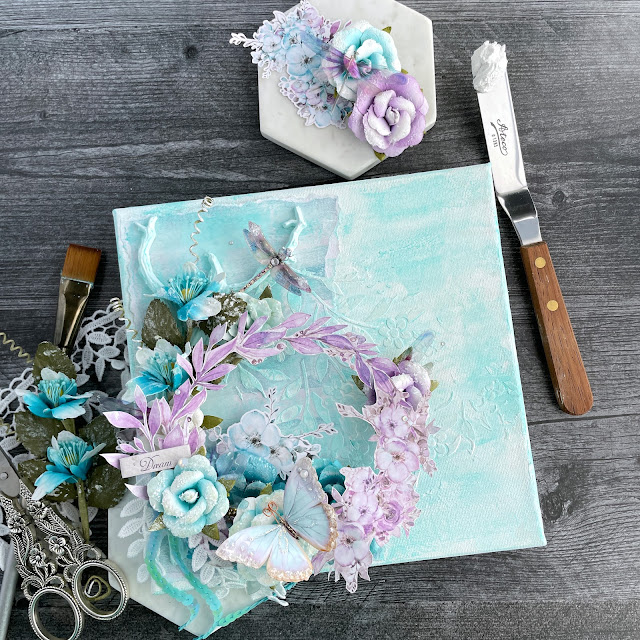
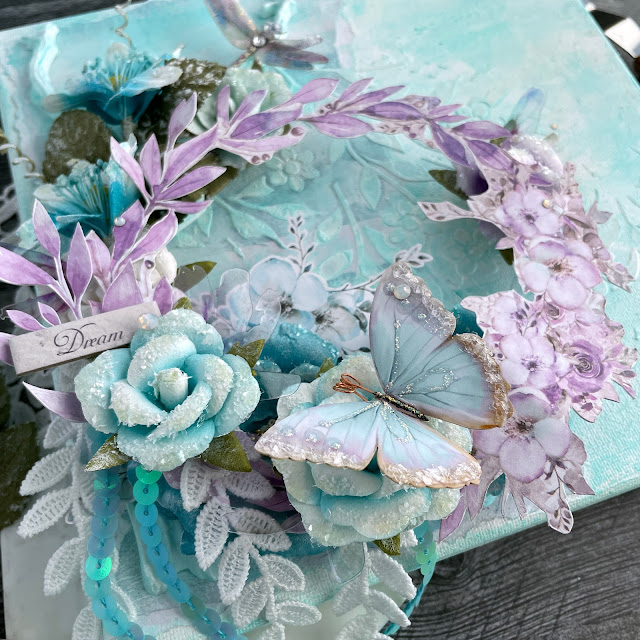
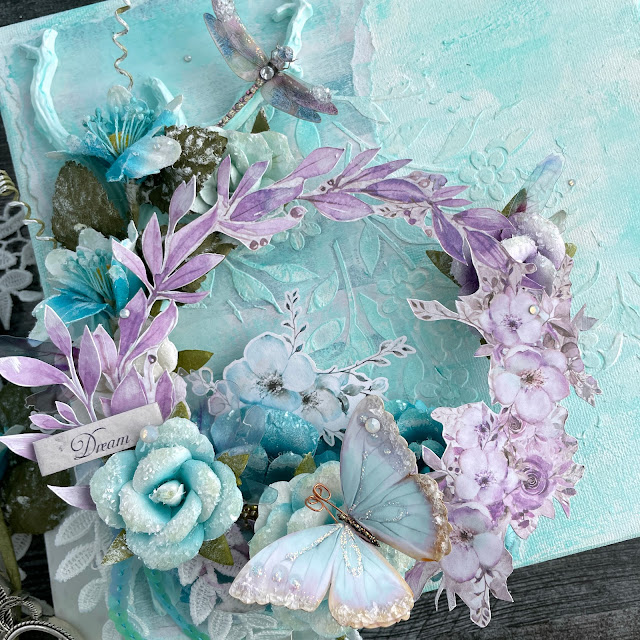
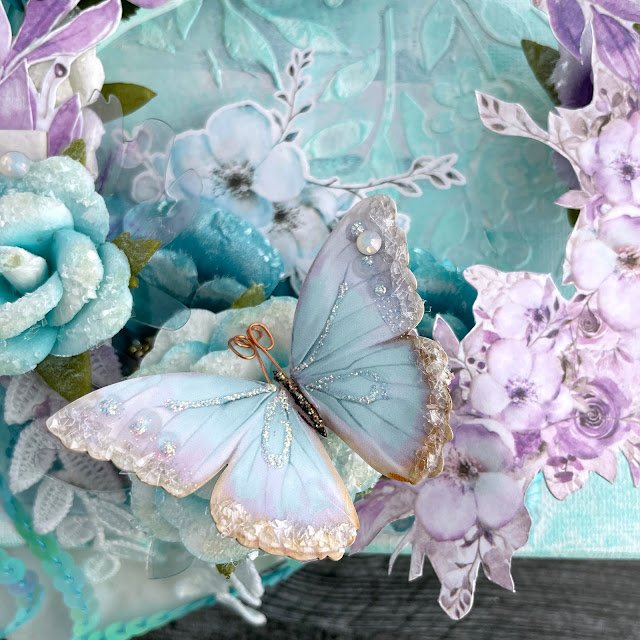
In this particular case, I wanted to ensure that the fussy cut paper wreath was level. But all of the flowers and resin underneath it were all different heights. But by adding foam underneath, you can even it all out and create a level “surface” for the next layer. And if you don’t know how many layers of adhesive you need, no problem! Heavy body gel has a long work time and you can add layers of foam one at a time until you get a better feel for adjusting for height, which comes with practice.
A few other adhesives that I like but are totally not necessary are Distress Collage Medium and Glossy Accents. The collage medium is great for adding paper onto the base of your canvas. When it dries, it won’t wrinkle your paper because it has a very low water content. Glossy Accents is perfect for adding glitter, glitter glass, gems and other sparkly elements.
Now let’s talk other products. Here’s a general list of items I like to include in many of my mixed media projects as well as tools that I use. Now I don't use every item in this list on every project, but it gives you an idea of the versatility and endless options you have when creating mixed media projects. (I’ll list the specific products I used in this particular make at the bottom of this blog.)
Elements
Mediums
Tools
The sky is literally the limit when it comes to mixed media! I didn't add everything on this list but you can also add on metal charms, glass, beads, stones and so much more! Just remember, if you want to be able to paint something that is nonporous, be sure to gesso it first.
I hope that you found these tips and tricks helpful and that you have the confidence to try mixed media or this highly layered look. If you love a particular product I used, be sure to shop the links below. And until next time, happy crafting!
Adrienne
Shop the Supplies:
Reneabouquets
Watercolor Spun Sugar Butterflies
Tiny Treasures Spring Equinox Glass Wing Dragonflies
Gawdie Girl Glitter Glass in Ocean
Scrapbook.com | Spellbinders | Amazon
I am an affiliate with Scrapbook.com, Spellbinders and Amazon. When you shop the links below, I receive a small commission from the affiliate, at no additional cost to you. This helps me balance the costs of the time and love I put into my projects and blog so I can continue to share my ideas with you for FREE. If you shop the links, thank you! I greatly appreciate it.
Below are products that I used for this project.











0 comments
I'd love to hear your thoughts!