
If you are conscious crafter like me, you don’t like to waste your supplies—including your ink. In this tutorial, I’ll show you how to get two cards out of one pass on a stencil and emboss one of them at the same time!

If you’ve watched anyone do gel plate printing, you’ve probably seen them use the leftovers on their stencil once they pull it up from the plate. And a lot of people have done the same thing after inking through a stencil—they flip it over onto another card front and press it down to get the ink off the stencil onto the cardstock.

But I wanted to go a step further with the reverse stencil image by embossing it in my die cut machine at the same time. This technique works best with a stencil that has a good ratio of negative and positive space. In case you’ve never done this technique, I’ll go through it start to finish.

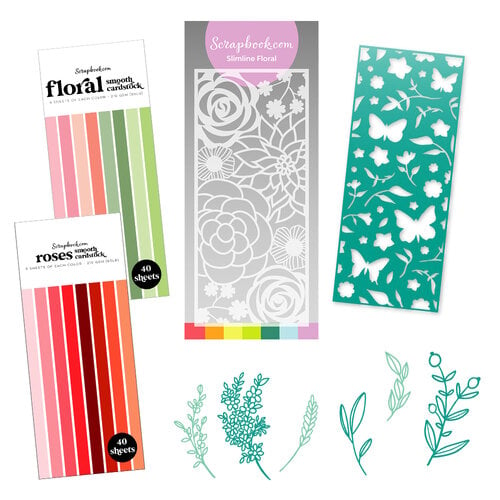
First, blend ink through your stencil like you normally would. I used several colors of pink and coral Distress Oxide (listed at the bottom). For the stencil I used the Flower Garden stencil, which is currently part of Scrapbook.com’s Bloom Bundle livestream deal. This deal has everything you need to make pretty floral cards—two dies, this stencil and two sets of cardstock! This stencil is perfect for this embossed technique because of the detail.

Once you remove your stencil from your first card, get your second card front ready and then mist your stencil with a sprayer filled with water. You don’t need to do more than mist it with a couple of sprays. Place your card front down on your cutting pad for your die cut machine, place your stencil on top of the card front inky side down, place a paper shim on top if your stencil is made from a thinner material like this one, then place your top cutting pad on top of your sandwich and run it through your machine one time.

When you lift the stencil up off your card front, you should have a nicely “stamped” and embossed reverse image of your stencil! Now it’s not the same amount of embossing you get through those fancy 3D embossing folders, but it adds just a hint of definition and texture that really elevates the reverse impression of your stencil!

Give both of your card fronts a quick shot with your heat tool to set the Distress Oxide ink and to keep it from smudging. Then trim down your card fronts by a quarter inch on each side and mat with a coordinating cardstock color from the Roses pad (also part of the Bloom Bundle).

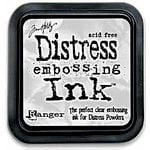
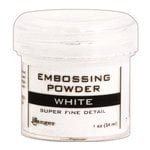
Choose another piece of cardstock from that same pad and stamp with embossing ink out some flowers from the new Rose Blossom stamp set as well as a sentiment for each card. I used the Celebrate Expressions stamp set and the Happy Birthday stamp set for my sentiments. Emboss your sentiments and flowers in white embossing powder.

Fussy cut out your flowers with a pair of small scissors or a craft knife and self healing craft mat. Cut your sentiments into little banners. Apply two layers of 1/4 inch foam adhesive to the center of each sentiment banner and adhere to the center of your card front.

Using foam squares, adhere your flowers in a line down the the middle of your card, allowing them to layer under your sentiment banner. For a finishing touch, add some gems. I hope that you enjoyed this tutorial that gives you two cards with one inking pass on a stencil.
Don't forget to pop over to Scrapbook.com and pick up the Bloom Bundle while supplies last--because this deal won't last long! Until next time, happy crafting!
Adrienne
Shop the Supplies:
Scrapbook.com
I am an affiliate with Scrapbook.com. When you shop the links below, I receive a small commission from the affiliate, at no additional cost to you. This helps me balance the costs of the time and love I put into my projects and blog so I can continue to share my ideas with you for FREE. If you shop the links, thank you! I greatly appreciate it.
Below are products that I used for this project.


0 comments
I'd love to hear your thoughts!