Quick and Easy Ghostly Trick or Treat Card Tutorial
When you need a Halloween card, this quick and easy card will do the trick--pun intended!
Simple stencils and stamps always help me create cards quickly. It's one of the reasons I'm such a big fan of Scrapbook.com's stencils and stamps.
They recently sent me a bunch of goodies to play with, including a ton of new seasonal stencils! I'm so excited because a bunch of these were Halloween ones, and if you've been following me for a bit here, then you know how much I love Spooky Season!
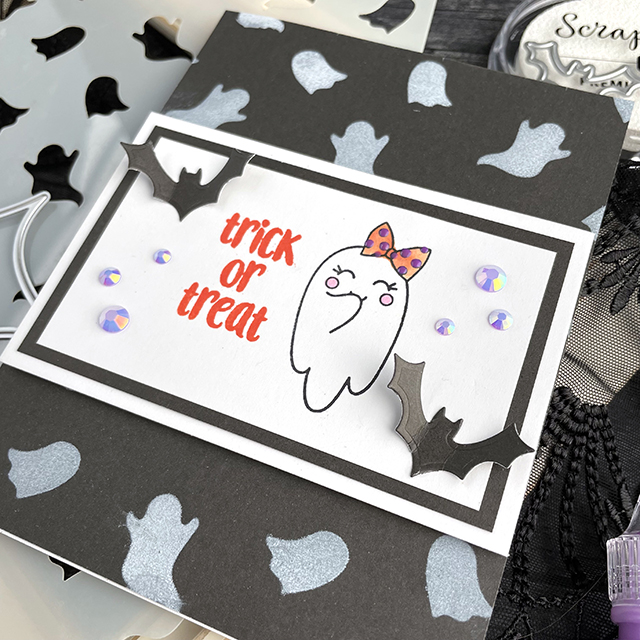
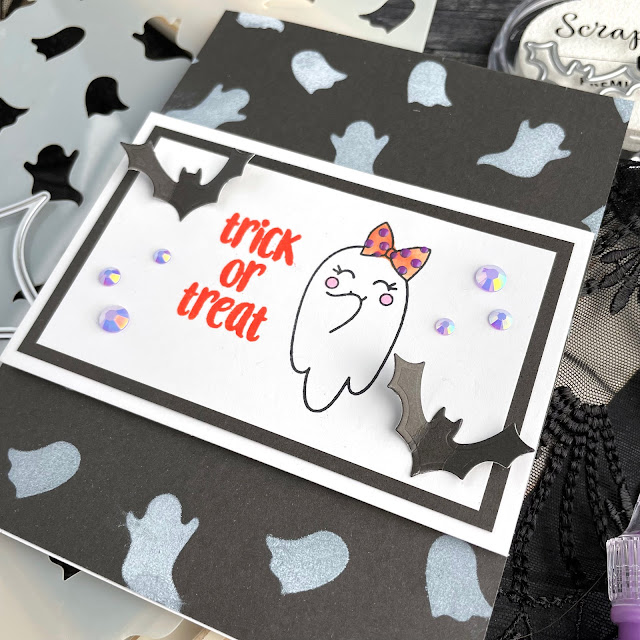
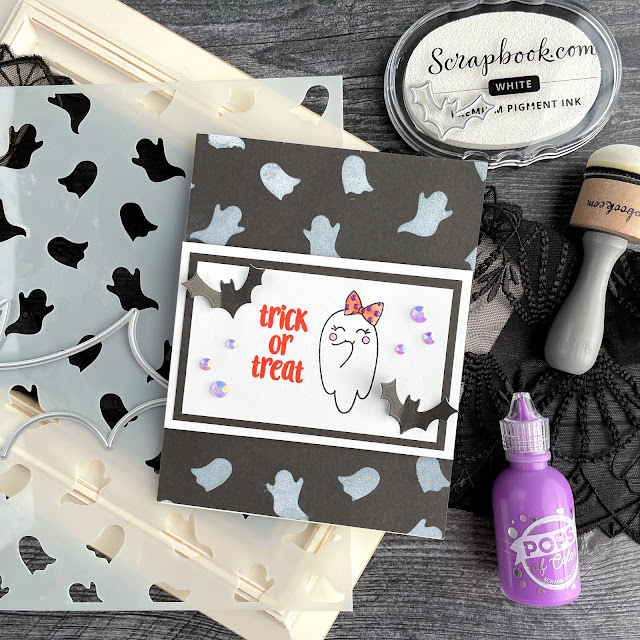
The first of several Halloween projects I want to share with you is this sweet little Trick or Treat card featuring the new Little Ghosts stencil. I wanted to keep the color scheme of this one simple, opting for black and white with pops of orange and purple.
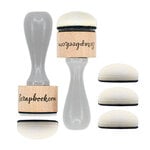
I started out by using a domed foam blending tool to apply Scrapbook.com's white pigment ink onto a piece of smooth black cardstock from the Christmas pad. I set this aside to dry while I worked on the sentiment for the front of the card.
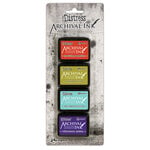
I cut a few pieces of black and white cardstock out. On the smallest piece of white cardstock, I stamped the cute little ghost and the Trick or Treat sentiment from the Boo-tiful stamp set. The ghost was stamped in Distress Archival Ink in black soot and the sentiment was stamped in Distress Archival in crackling campfire.
I then added just a touch of color to the ghost's cheeks and bow, watercoloring with Distress Ink in kitsch flamingo and Crackling Campfire. I glued the pieces of white and black cardstock together using the Dotted Adhesive Roller and then added adhesive foam to the back of these layers.
Once the card base was dry (I gave it a shot with my Ranger heat tool to make it go a little faster), I adhered the sentiment stack down onto the base with the foam adhesive. I then cut out two small Halloween Bats from the same black cardstock and glued them down just at the center of each die with a small dot of Smart Glue. Once the glue dried, I folded the wings up for a little dimension and added a few purple gems.
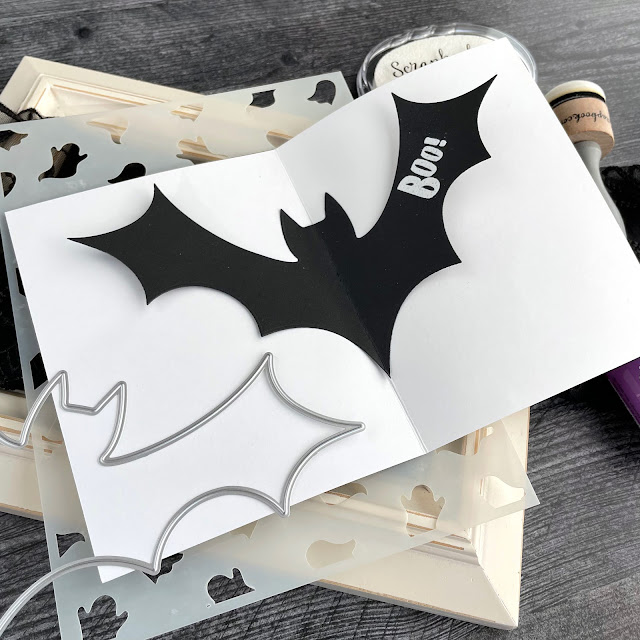
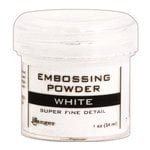
I'll get to the last step for the front of the card in a minute. But I wanted to create a fun element for the inside of this card. I cut out one of the larger bats and folded it in half down the center. I stamped the Boo! sentiment from the same stamp set and embossed it in white embossing powder. I added a bit of Smart Glue down the center fold and then glued it into the fold on the inside of the card. I left the wings free so that the recipient would have a slight interactive element.
For the finishing touch on the front of the card, I added tiny dots of Pops of Color in Deep Orchid to the ghost's dotted bow. I think it just adds that extra little bit of dimension to make this simple card even more stunning! And because this card is "sweet spooky," it's perfect for a little one with a bag of Halloween treats. Until next time, happy crafting!
Adrienne
Shop the Supplies:
Scrapbook.com
I am an affiliate with Scrapbook.com. When you shop the links below, I receive a small commission from the affiliate, at no additional cost to you. This helps me balance the costs of the time and love I put into my projects and blog so I can continue to share my ideas with you for FREE. If you shop the links, thank you! I greatly appreciate it.
Below are products that I used or similar products.













0 comments
I'd love to hear your thoughts!