
Tim Holtz Sizzix Christmas 2022: Modern Festive Christmas Card
It’s time for some more holiday fun on the blog with this quick and easy card.

Holiday cards don’t have to take all day long to make an impact. Sometimes you just need a different angle! Before hopping into this tutorial, I want to thank Scrapbook.com for sending me some of the new Tim Holtz Sizzix Christmas/Winter 2022 release dies to play with!

Now back to this card tutorial. Cards are often thought about as horizontal or vertical, but what about diagonal? I think it’s really eye catching and a great way to add a bit of stenciling and room for a sentiment. To start, trim down a flat card front to 4 by 5.25 inches. Using 4 inch mint tape, mask of the card diagonally. Then place the tree layer of the Peppermint Forest layering stencil set onto your card front and hold it in place with a bit of mint tape. Blend Distress Oxide in rustic wilderness through the tree portion of the stencil then peel the stencil off.

Line up the second layer of the stencil, the stars, over your trees and tack the stencil in place with mint tape. Blend Distress Oxide in fossilized amber through the stencil. Before pulling your stencil up, add some Pops of Color in gold glitter over the stencil, using a scraper tool to spread it. Pull up the stencil and place it in some water right away to keep the Pops from drying on your stencil. Peel the 4 inch mint tape off and set your card front aside to dry while you move on to cutting dies.

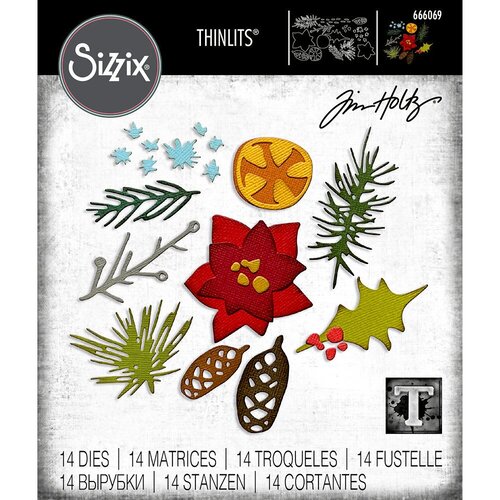
Using the 6x8 Christmas smooth cardstock pad, cut out a boarder die strip from the Stitched Boarder Stripss Christmas die set as well as some greens and the poinsettia from the new Modern Festive die set. Using a shaping took kit, add dimension to your flower and greens. Glue the layers of your flower together with your favorite adhesive. I used Smart Glue.

Once your card is dry, stamp a sentiment using Distress Oxide in fired brick and the Celebration Expressions stamp set. Give your sentiment a quick shot with your heat tool to set it. Next, glue the strip die along the diagonal you created with the stencil and trim off the excess. Then matte your card front onto a piece of green cardstock from the Christmas pad using a bit of Dotted Adhesive.

Add a piece of foam adhesive to the back of your poinsettia and place it on the strip die. Then tuck in your greenery pieces under the flower, trimming stems if necessary. Add a few gold pearls to the center of the flower and as berries on the branch greenery. And that’s it! I hope you enjoyed this easy tutorial, and until next time, happy crafting!
Adrienne
Shop the Supplies:
Scrapbook.com
I am an affiliate with Scrapbook.com. When you shop the links below, I receive a small commission from the affiliate, at no additional cost to you. This helps me balance the costs of the time and love I put into my projects and blog so I can continue to share my ideas with you for FREE. If you shop the links, thank you! I greatly appreciate it.
Below are products that I used or similar products.


0 comments
I'd love to hear your thoughts!