
Tim Holtz Sizzix Christmas 2022: Winter Wonderland Cards with Modern Festive Die
As a Coloradan, there is nothing that I love more than a good wintry holiday season.

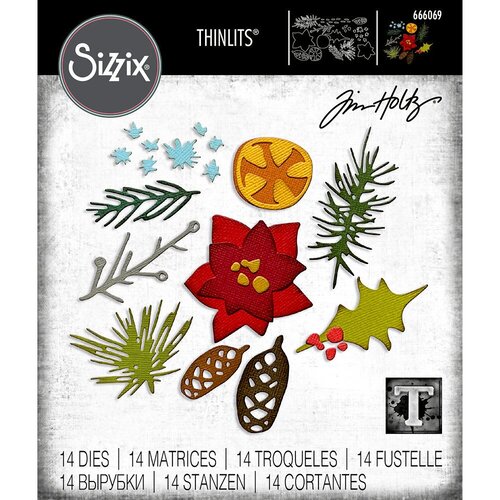
Before I get into today’s tutorial, I want to thank Scrapbook.com for sending me some of the the new dies from the Tim Holtz Sizzix Christmas/Winter 2022 release! I used the new Modern Festive die to create this set of cards frosty cards!

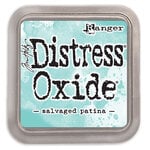
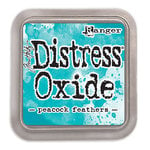
Now let’s get right into this tutorial! I started out by cutting some watercolor cardstock down to 4 x 5.25 inches. I then placed the pieces in my splat box and started spraying the papers with Distress Ink Stains in salvaged patina and peacock feathers and a teal Distress Mica Stain. Using only spray Stains and not Oxides is what allows you to add a stenciled image over the top in Oxide Ink later. So if you decide to use some different hues, keep your sprays to Stains only.
For a video tutorial, be sure to check out my YouTube video!

Mist with water and sprays, drying it with a heat tool in between your layers until you get the mix of color you want. Then begin distressing your backgrounds further by flecking it with water and drying in between layers of distressing. This gives your background a bit of that bokeh look that reminds me of snow getting caught in moonlight. Allow your backgrounds to fully dry before going on to the next step.

Next, use the new Peppermint Winter stencil from Scrapbook.com to add some snowflakes to the background. Hold your stencil in place with a little bit of mint tape and then blend on Distress Oxide in peacock feathers with a blending brush or domed foam blending tool. Lift your stencil and then add on more layers of snowflakes in Distress Oxide in salvaged patina. If you are using different colors, start with the darker color and finish with the lightest.

Set your backgrounds with a quick shot from your heat tool and set them aside for a bit. Cut a bunch of shapes from the Modern Festive dies and some small and large snowflakes from Scrapbook.com Snowflake dies from smooth white cardstock. Take the large snowflakes and glue them down to one of the lower corners of the background. Cut the excess off with some scissors and then add Ranger’s Glossy Accents to the snowflakes and then cover them in Distress Rock Candy Glitter.

Next, if you cut out some orange slices, glue the layers together with Collage Medium or other liquid adhesive. Then add Glossy Accents to parts of the dies. For the poinsettia flower and the orange slice, I added Glossy Accents to the entire piece. Cover your Glossy Accents in more Rock Candy Glitter. For the orange slice, I did second layer of Glossy Accents and Rock Candy Glitter to the rind. I set my dies aside to fully dry and set up before assembling.

To assemble, use Collage Medium, foam adhesive and Scrapbook.com’s Dotted Adhesive Roller. Adhere your card backgrounds to a matte of smooth cardstock and a card base with the Dotted Adhesive Roller. I used some teals from the Cools and Jewels A2 smooth cardstock pads. The adhere all of your dies onto the background, clustering them mainly on top of the large snowflake. Pop up the poinsettia and orange slice with foam adhesive.

Add some sentiments to your cards by stamping out a phrase from the Wordfetti Fa La La stamp set using one of your coordinating Distress Oxide Inks. Set the ink with a shot from your heat tool to avoid smudging if needed then cut the phrase out with a small pair of scissors. Distress the edges of the phrase piece and then add it to your card with a small bit of foam adhesive. To finish off your card, add a few jewels.
I hope that you enjoyed this tutorial and don’t forget to head over to Scrapbook.com to purchase your favorites from this new Tim Holtz release! Until next time, happy crafting!
Adrienne
Shop the Supplies:
Scrapbook.com
I am an affiliate with Scrapbook.com. When you shop the links below, I receive a small commission from the affiliate, at no additional cost to you. This helps me balance the costs of the time and love I put into my projects and blog so I can continue to share my ideas with you for FREE. If you shop the links, thank you! I greatly appreciate it.
Below are products that I used or similar products.


0 comments
I'd love to hear your thoughts!