Practice Gratitude: Happy Thanksgiving Slimline Card Tutorial
I have a lot to be grateful for. And sometimes, you just need to make a card for a loved one around Thanksgiving.
I believe that we should show gratitude every day (think a daily gratitude journal), however Thanksgiving, or autumn in general, is a good excuse to show a little extra gratitude.
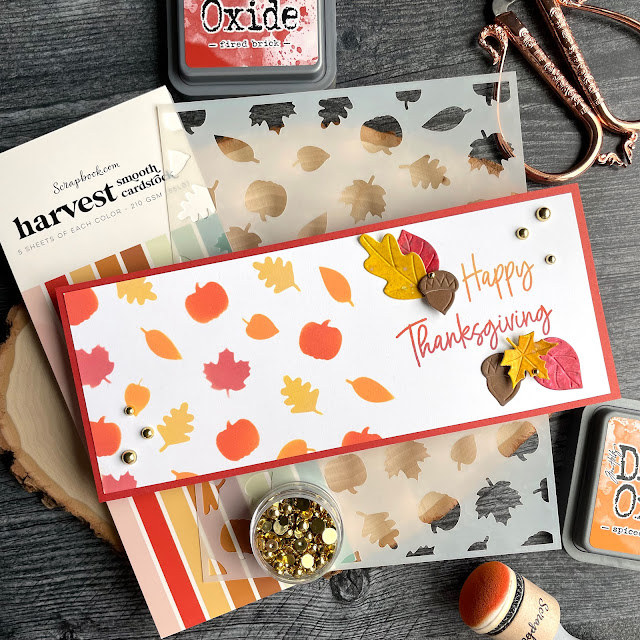
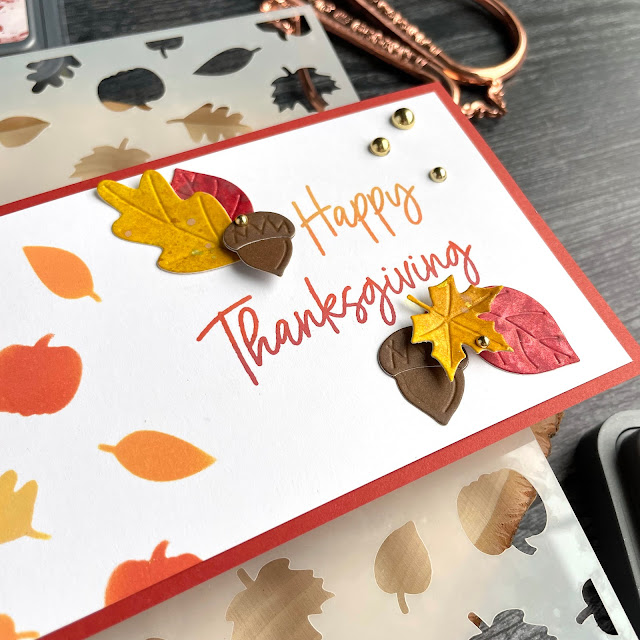
Scrapbook.com sent me some of their new stencils and dies, and with those products, I was able to make this pretty slimline card. And it’s really quite simple to make, so let’s jump right into this tutorial!
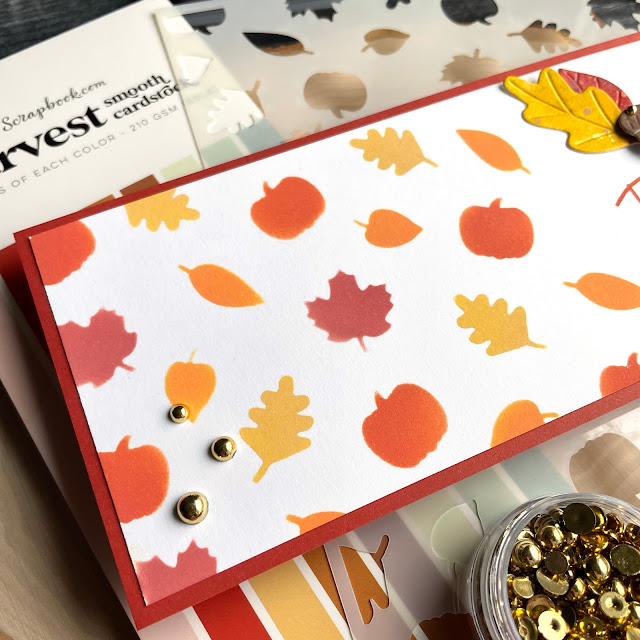
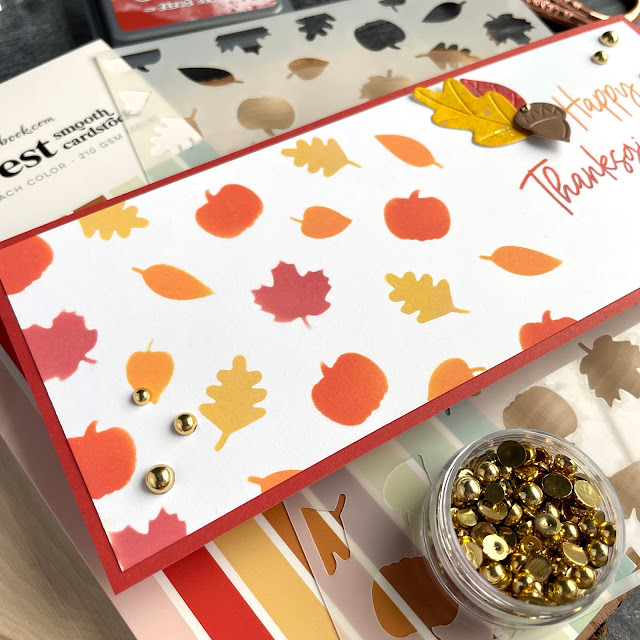
Start out by trimming down a slimline flat card front by a quarter inch on each side so that you can matte it later. Place the Autumn Breeze stencil over one side of your card front and hold it in place with some mint tape. Mask off some of the leaves on the stencil with some more mint tape, so you get more of an organic edge toward the center of the card.
I also masked off the different leaves for each color of Distress Oxide Ink, but that is totally optional. In fact, a blended look would make it seem like everything is in the midst of changing colors, just like most leaves. Once you’ve blended your ink through the stencil to your liking, remove the stencil.
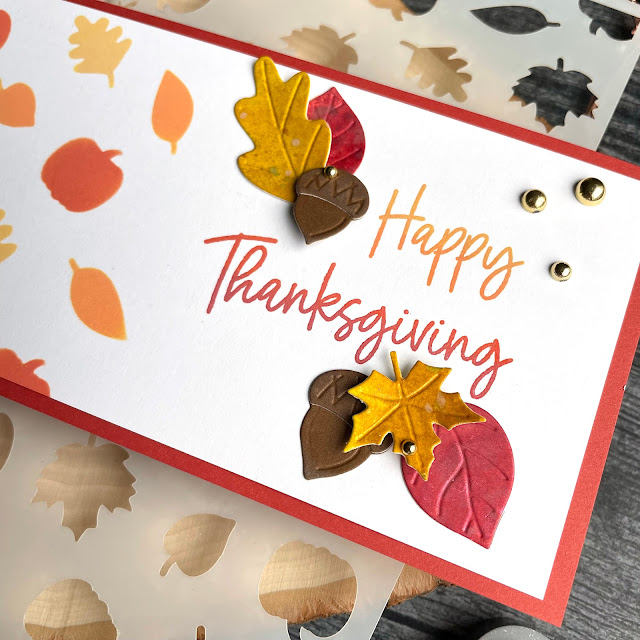
To create an ombré inked sentiment, use the same colors of Distress Oxide Ink and stamps from the Celebration Expressions stamp set. Place your card front and stamps onto your stamp platform then mask off the bottom half of the sentiment with mint tape. Ink up the top half in fossilized amber and spiced marmalade. Stamp and repeat if necessary for a good impression. Remove the top stamp and then ink up the bottom half with crackling campfire and fired brick and stamp.
For some die cut embellishments, ink up some white cardstock with an ink blend or use Distress sprays on Mixed Media Heavystock. I used the later of the two options in Stains and Oxides as well as adding a hint of Mica Stains. I created one in red and orange and another in yellow. Distress with flecks of water and dry your background. Then cut out a few leaves from the backgrounds using the Autumn Leaves die set.
Select a piece of brown cardstock from the Harvest slimline pad and cut out the acorns die from the same set. Glue the layers together and then snip the two acorns apart with a small pair of scissors. Glue down your dies with a mix of foam squares and your favorite liquid adhesive. Then add a few gold pearls and matte your card using a pretty orange from the same Harvest slimline pad. Hope you enjoyed this tutorial and that you practice a little gratitude this autumn season by sending a card. Until next time, happy crafting!
Adrienne
Shop the Supplies:
Scrapbook.com
I am an affiliate with Scrapbook.com. When you shop the links below, I receive a small commission from the affiliate, at no additional cost to you. This helps me balance the costs of the time and love I put into my projects and blog so I can continue to share my ideas with you for FREE. If you shop the links, thank you! I greatly appreciate it.
Below are products that I used or similar products.










0 comments
I'd love to hear your thoughts!