I adore non-traditional colors for the holidays, especially when snowflakes are involved!
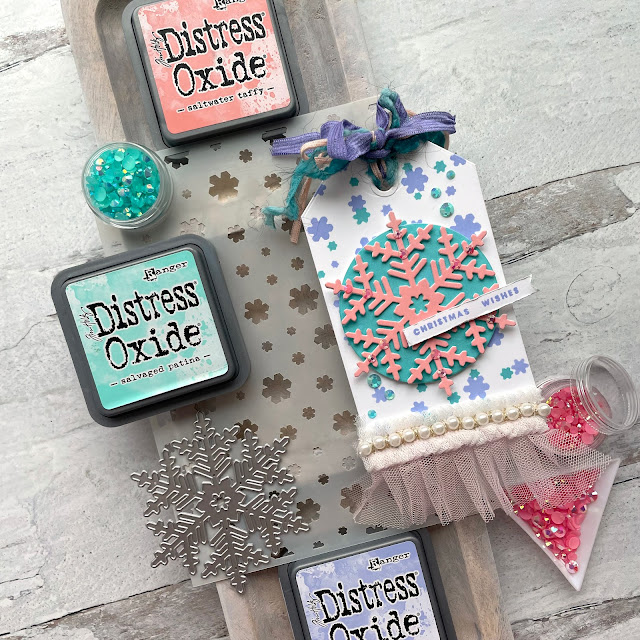
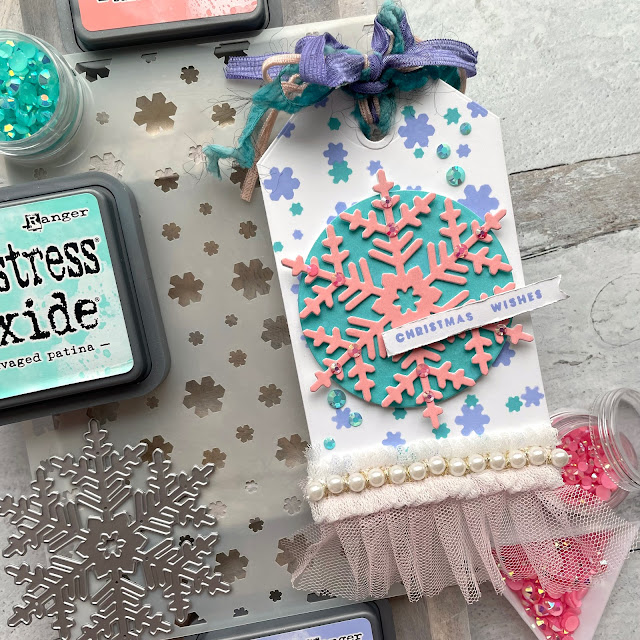
So I decided to create a shabby chic snowflake tag perfect for adding to a gift this holiday season. This tag uses a few dies, some Distress Oxides and a wintry stencil that I received from Scrapbook.com to create a project with for them!
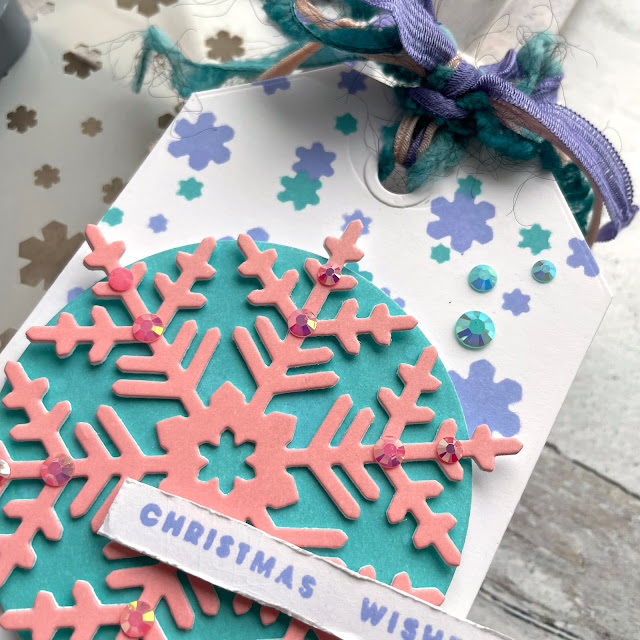
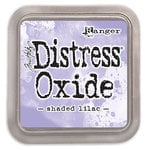
Let’s jump right into this tutorial! Start out by cutting out a tag from some solar white cardstock using the Nested Tags die set. Place the Winter Flurry stencil over your tag and hold it in place with a little mint tape. Blend Distress Oxide in shaded lilac using your favorite blending tool and then remove the stencil. Give your tag base a little shot of heat with your heat tool to set the ink.
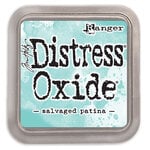
On another piece of solar white cardstock, blend on Distress Oxide in salvaged patina and distress it with flecks of water. Heat it to dry and set the ink. Then die cut out a circle that will fit on the front of your tag. I used the Decorative Fancy Circles, using the center offcut. Die cut this out two more times from plain white cardstock and glue the layers together, with the salvaged patina layer on top.
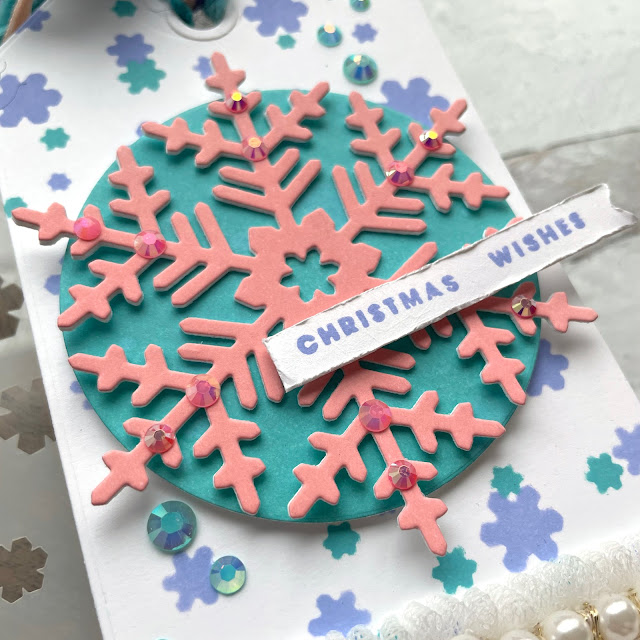
On another piece of white cardstock, blend on Distress Oxide in saltwater taffy. Distress it with flecks of water and dry and set the ink with your heat tool. Cut out one of the larger snowflakes from the Snowflakes die set from Scrapbook.com. Die cut it two more times from plain white cardstock and layer it like you did the circle, with the Distress Ink piece on top.
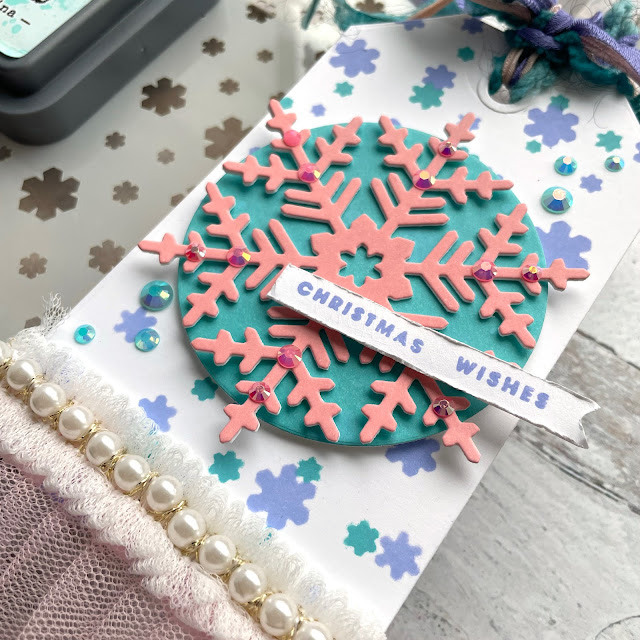
Before assembling the die cut pieces, add on some trim to the bottom of the tag if you like. I used the pink tulle trim from Prima’s Miel collection, adhering it with a few hand stitches of thread. Next, glue your snowflake onto your circle with liquid adhesive. Then adhere the circle onto the tag with foam adhesive.
Stamp out a sentiment and cut it out, distressing the edges of the sentiment piece. Add it to your tag with some 1/8 inch foam adhesive. Glue some gems onto your snowflake and tag and then add a bit of ribbon or trim to the top of your tag. Now all you have to do is attach it to a gift this holiday season! Until next time, happy crafting!
Adrienne
Shop the Supplies:
Scrapbook.com
I am an affiliate with Scrapbook.com. When you shop the links below, I receive a small commission from the affiliate, at no additional cost to you. This helps me balance the costs of the time and love I put into my projects and blog so I can continue to share my ideas with you for FREE. If you shop the links, thank you! I greatly appreciate it.
Below are products that I used or similar products.










0 comments
I'd love to hear your thoughts!