Tim Holtz Sizzix Christmas 2022: Retro Santas with 2 Types of Paper
This Retro Santa is perfect for adding to your cards!
So let’s take a look at how you can change him up a bit with just a simple change in types of paper. But before I get to that, I want to thank Scrapbook.com for sending me a few of the new dies from this Tim Holtz Sizzix Christmas/Winter release! I really enjoyed playing with all of the different dies I received!
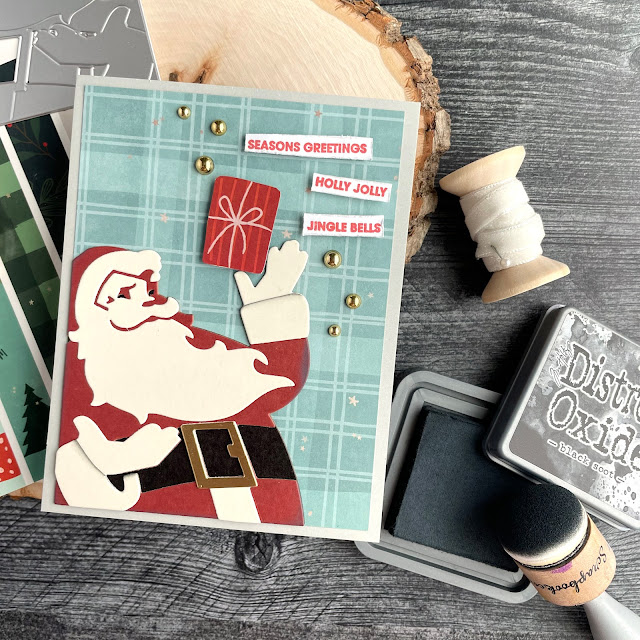
Now let’s talk about how you can slightly change up the look of a die cut just by the papers you choose. For these two cards, I used Tim’s kraftstock, some smooth cream cardstock from Spellbinders, as well as Doodlebug’s crushed velvet paper.
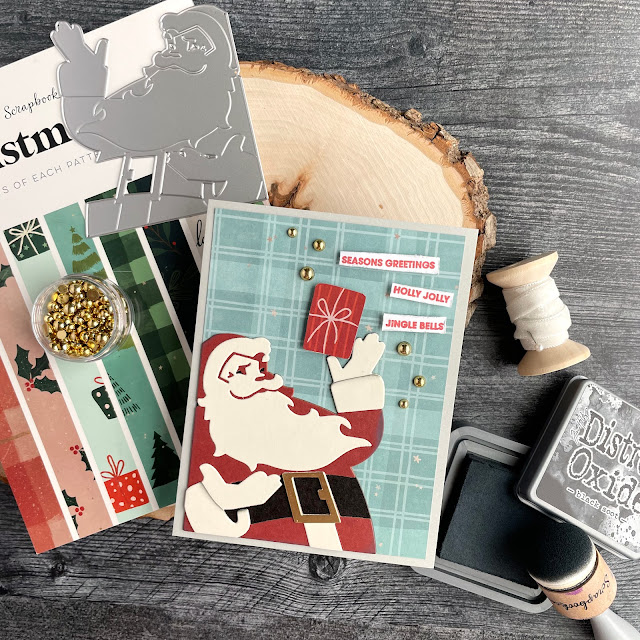
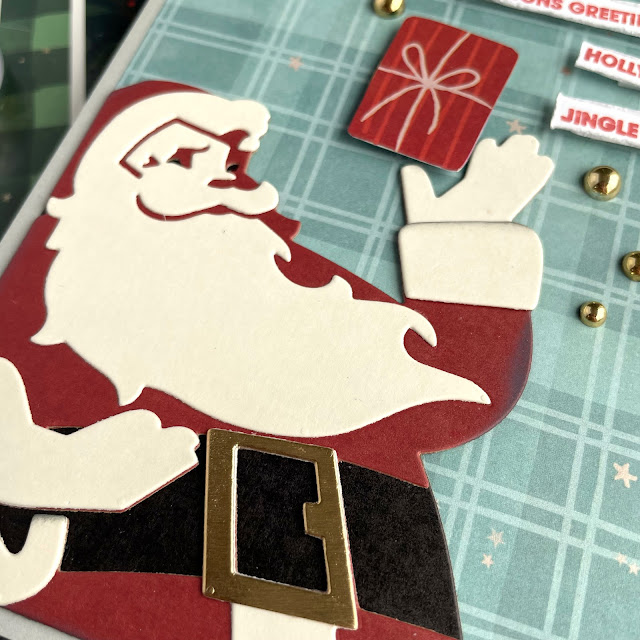
The muted tones of the red and black kraftstock and the vintage white of the alabaster cardstock from Spellbinders makes the perfect vintage Retro Santa. Just add a bit of Distress Oxide in black soot to the edges of your die cuts and add a gold belt buckle and you have a perfect vintage look.
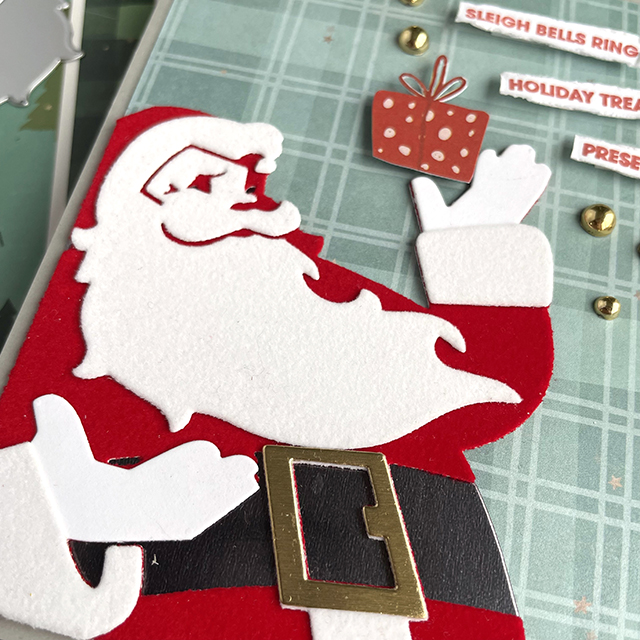
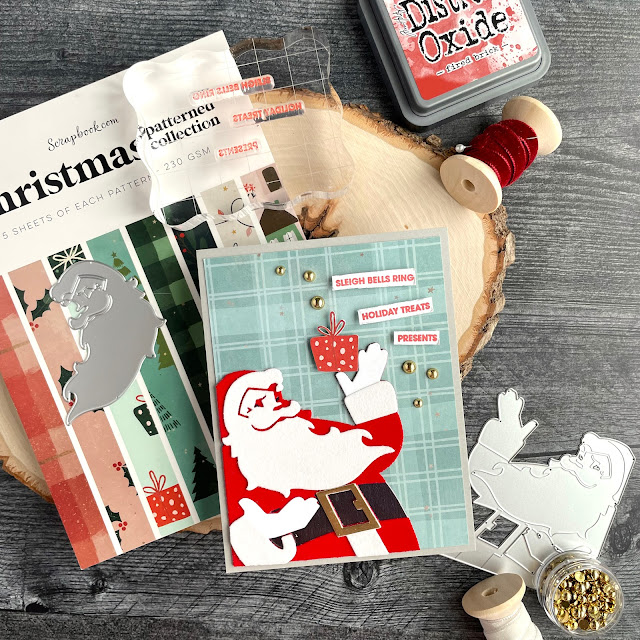
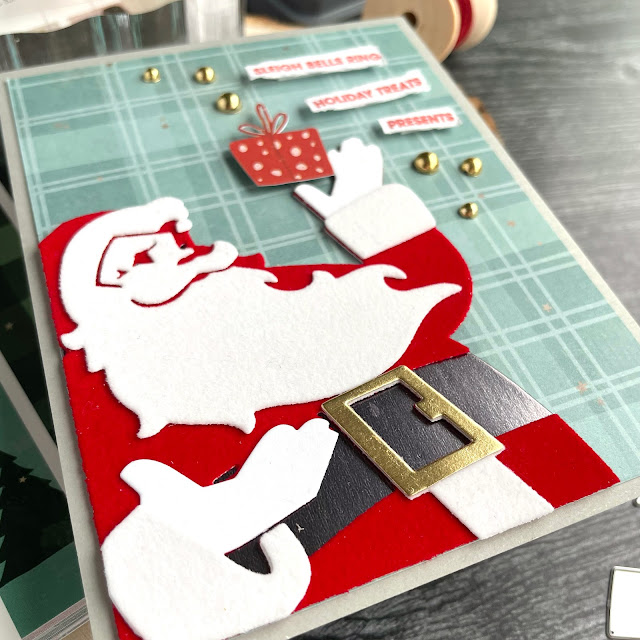
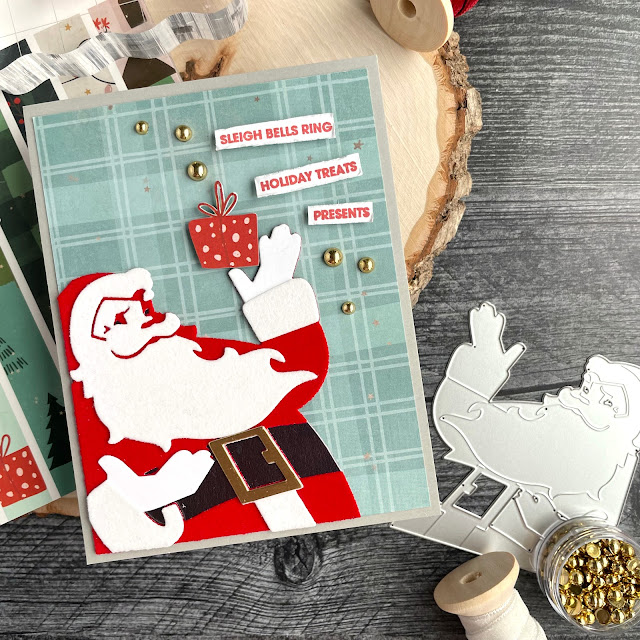
On the other card, the bright red and white crushed velvet takes us back in time to when this Santa was new. And When I think of Santa, I think of a red velvet suit trimmed in white fur and a soft beard. What better way to create that softness than with velvet paper? To add some sleekness to this Santa, he got a belt made of metallic black and gold kraftstock.
I paired both of these Santas with a fun green-blue plaid pattern from Scrapbook.com’s 6x8 Christmas patterned paper pad cut to 4 x 5.25 inches. I also fussy cut a little present from one of the other patterns in the pad for him to hold and stamped several sentiments for each using the Wordfetti Fa La La stamp set. I cut the sentiments out with my small scissors and distressed the edges.
To assemble, glue the Retro Santa layers together with your favorite adhesive (I used a combination of liquid adhesive and dry roller adhesive). For gluing the white velvet on the red velvet, I recommend a liquid adhesive, like Smart Glue, because it remains tacky even after it dries, ensuring a stronger bond. I also recommend laying a stamping block over your velvet Santa as the glue dries, to press the layers together really well.
Adhere the patterned paper to a smooth cardstock matte. I selected a light grey from the Christmas A2 smooth cardstock pad. Glue your Santa down into the left bottom corner of your patterned paper. Then pop the present and sentiments on with a bit of foam adhesive.
All that is left is to add a few gold pearls for some additional sparkle. And that’s it! Both cards are similar in decoration, but the simple change in paper for the Santa die changes the whole look and feel of the card. It just goes to show how important paper choice is when deciding how you want your card to look and feel. Until next time, happy crafting!
Adrienne
Shop the Supplies:
Scrapbook.com
I am an affiliate with Scrapbook.com. When you shop the links below, I receive a small commission from the affiliate, at no additional cost to you. This helps me balance the costs of the time and love I put into my projects and blog so I can continue to share my ideas with you for FREE. If you shop the links, thank you! I greatly appreciate it.
Below are products that I used or similar products.










0 comments
I'd love to hear your thoughts!