Christmas in July: Stenciled Slimline Christmas Card with TCW & P13
I'm here with another Christmas in July creation!
I recently took advantage of the Christmas in July sale happening now at Scrapbook.com and bought myself a whole bunch of Christmas and winter themed items (along with a few other fun things). Not only are some big brands on sale, but they are also offering free gifts with purchase! Today is The Crafter's Workshop gentle leaves slimline stencil. It's free today while supplies last so be sure you head over ASAP to get yours before they are gone! [UPDATE: this stencil is now Out of Stock]
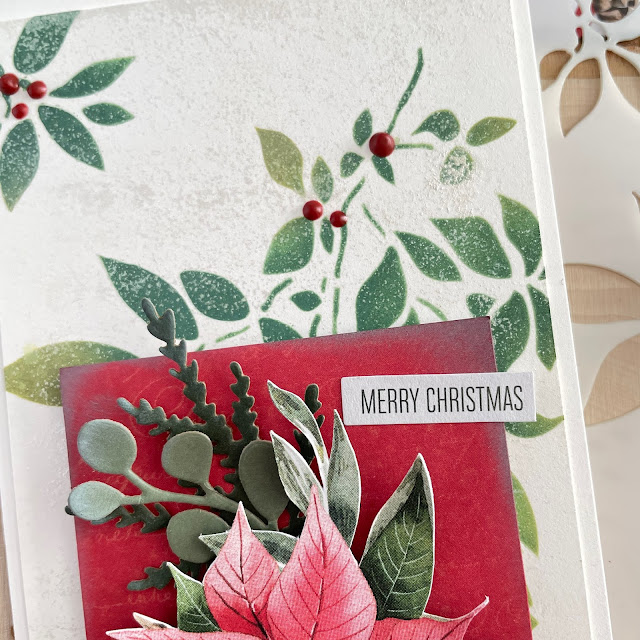
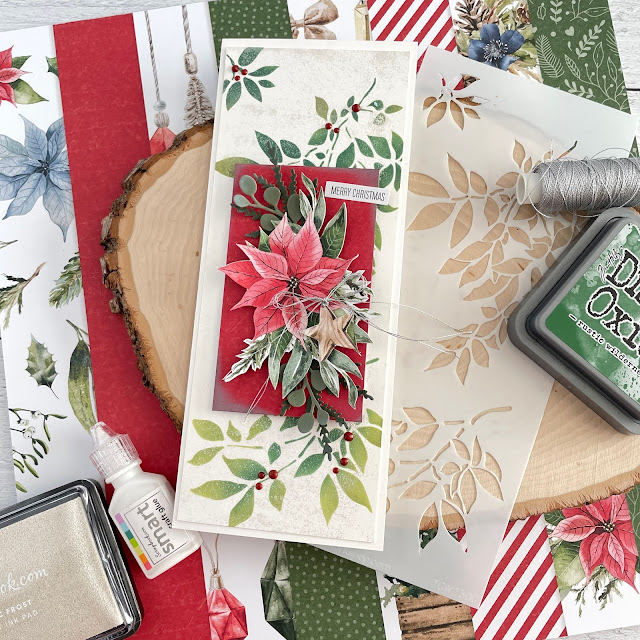
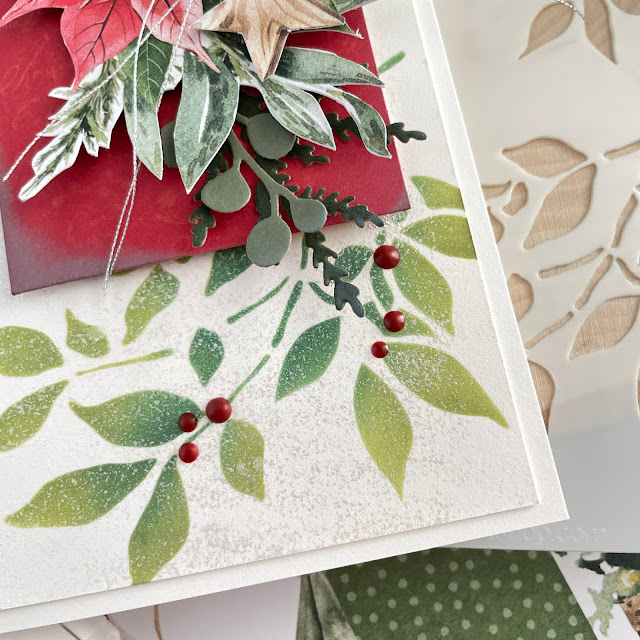
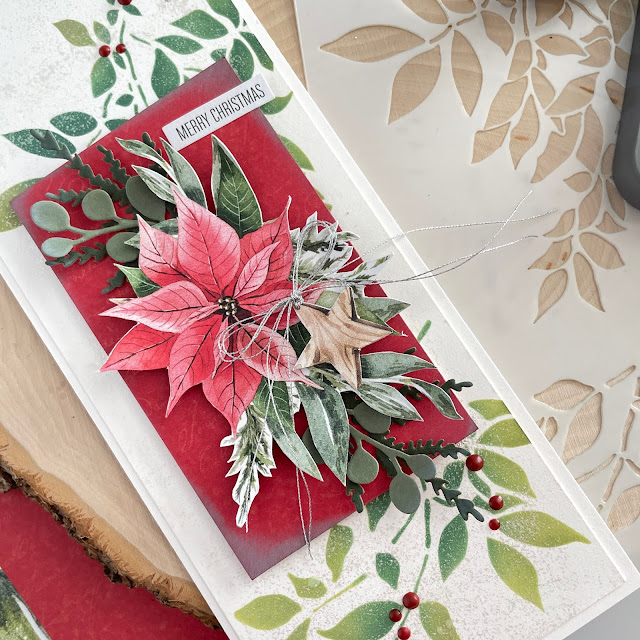
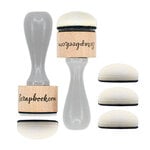
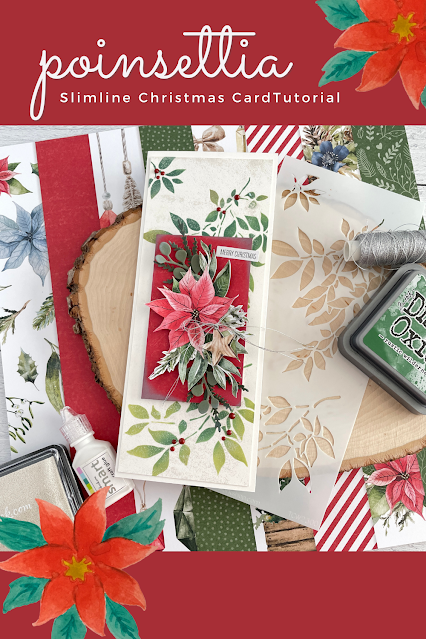
For this card, I started by trimming down a slimline card front so that the base of the card would peek out on all sides. I then used the TCW gentle leaves stencil and a Scrapbook.com blending tool to adding Distress Oxide Inks in rustic wilderness and peeled paint to the card mat. Prior to taking off the stencil, I spritzed the leaves with a little water to get them to oxidize a bit.
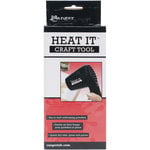
Before moving on, I used my Ranger Heat It tool to heat set the Distress Oxide.
Then I used the Scrapbook.com Metallic Ink in frost and sponged the pad directly onto my mat to create a frosty, shimmery look to the mat. As long as you heat set your Oxides, you shouldn't have any transfer to your metallic ink pad, but make sure you press and lift--don't rub!
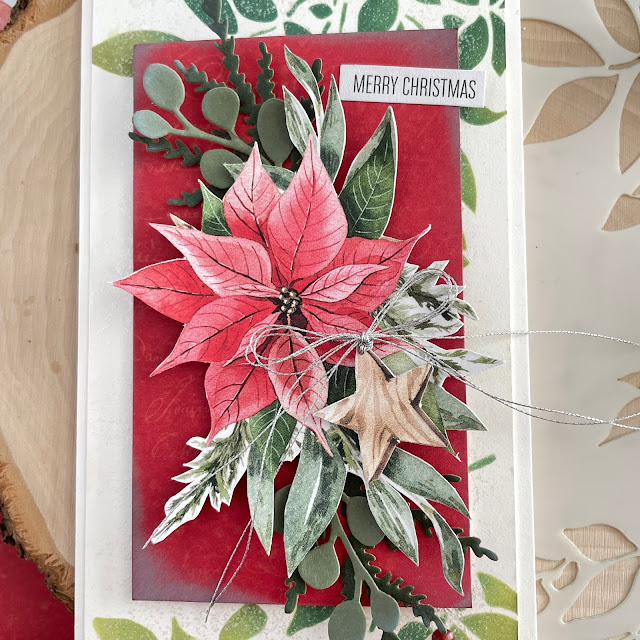
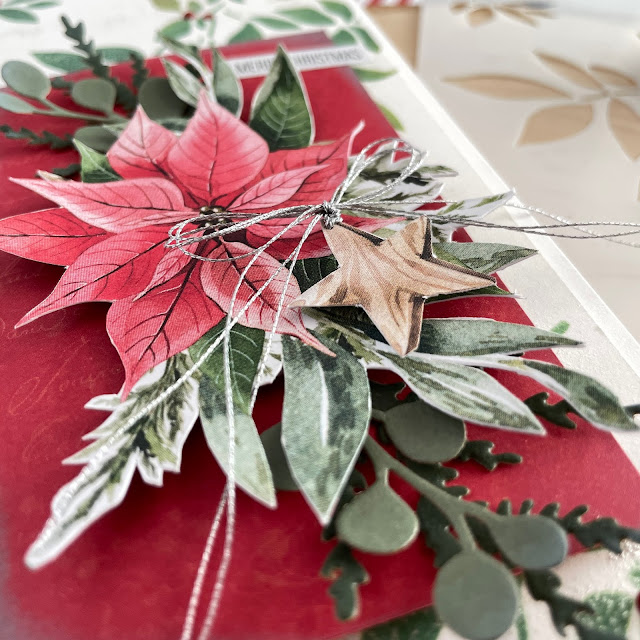
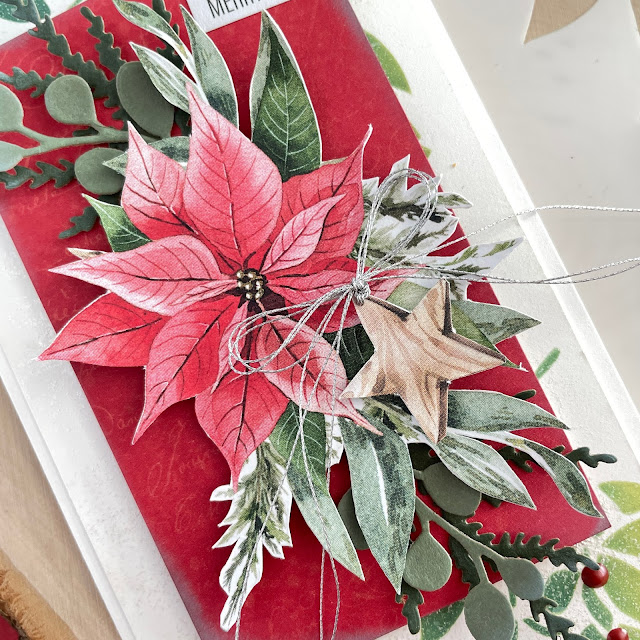
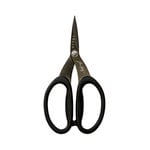
I then cut small red mat of paper from P13's Cosy Winter Red and Green Creative Maxi Pad. I added just a hint of Distress Oxide in weathered wood to the corners of the red paper. I also selected a poinsettia and star to fussy cut from the pad, using my Tim Holtz snips and WeR swivel craft knife on a self-healing craft mat to cut out the details.
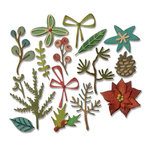
Next I cut out some Tim Holtz funky festive florals from some Kraft Cardstock in two shades of green. I love using my Magic Mat for this as it gives me clean cuts every time. (Tip for you Vagabond users: the Tim Holtz Kraft Cardstock is pretty thick, so use a cardstock shim with your sandwich to get your Thinlits to cut all the way through.) Then used some shaping tools to give a little bit of shape to the die cut leaves and the poinsettia.
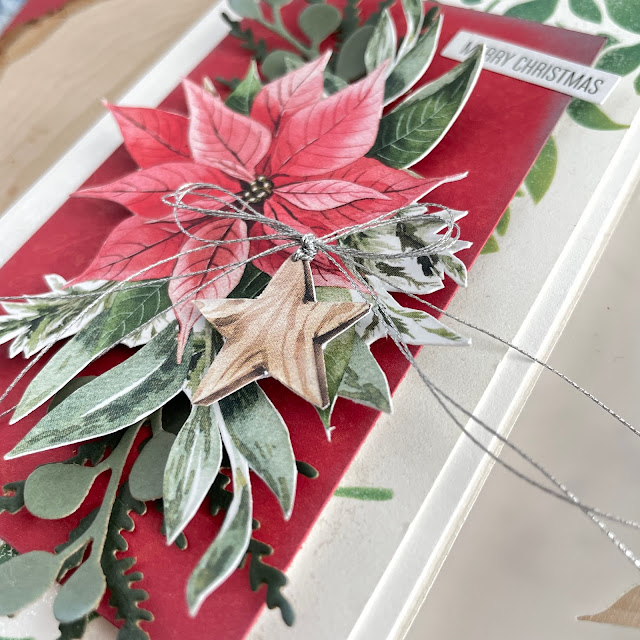
I then used some Smart Glue to adhere the die cuts to the red mat. Next I used foam adhesive to pop the poinsettia on. I then added a touch of glitter to the leaves with the Scrapbook.com glitter brush marker. Then I punched a hole through the top of the star with a pin and then added a bow of silver metallic thread and then popped it on with more foam adhesive.
Finally, I added the red mat to the white mat with leaves using foam adhesive, then used some double-sided adhesive to place all of it onto the card base. Then I added a holiday sentiment sticker and some red enamel dots to the leaves!
I hope you enjoyed this little tutorial. This was my first time doing a slimline card (I know I'm late to the party) and I can see why they are so addicting!
Until next time, happy crafting!
Adrienne
Shop the Supplies:
Scrapbook.com
I am an affiliate with Scrapbook.com. When you shop the links below, I receive a small commission from the affiliate, at no additional cost to you. This helps me balance the costs of the time and love I put into my projects and blog so I can continue to share my ideas with you for FREE. If you shop the links, thank you! I greatly appreciate it.
Below are products that I used or similar products.











0 comments
I'd love to hear your thoughts!