Christmas in July: Easy Plaid Christmas Gift Tag

by - 7:00:00 AM

I have never gotten this big of a head start on Christmas makes. Usually I wait until after Halloween to start and then I always feel rushed. I'm really enjoying getting some tags and cards done early and I think I'm going to have to make it a point to start doing this every year! 

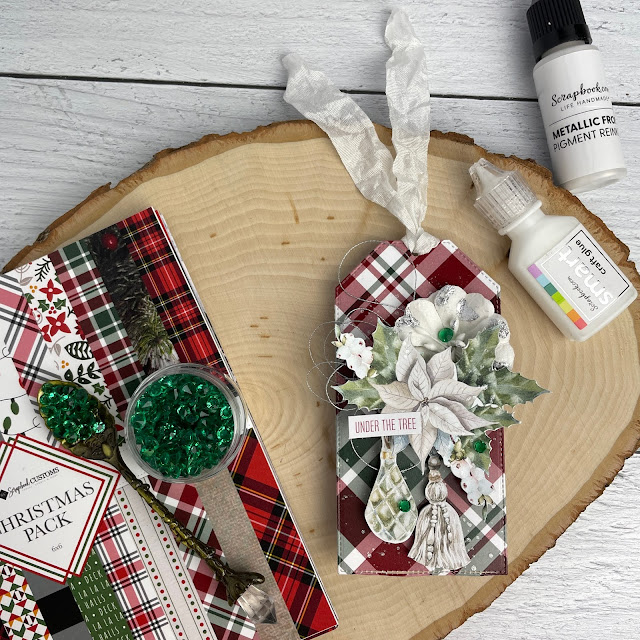
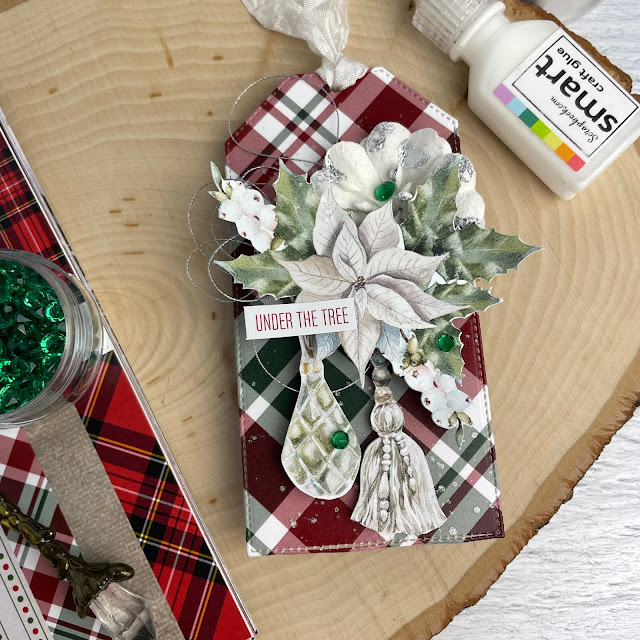
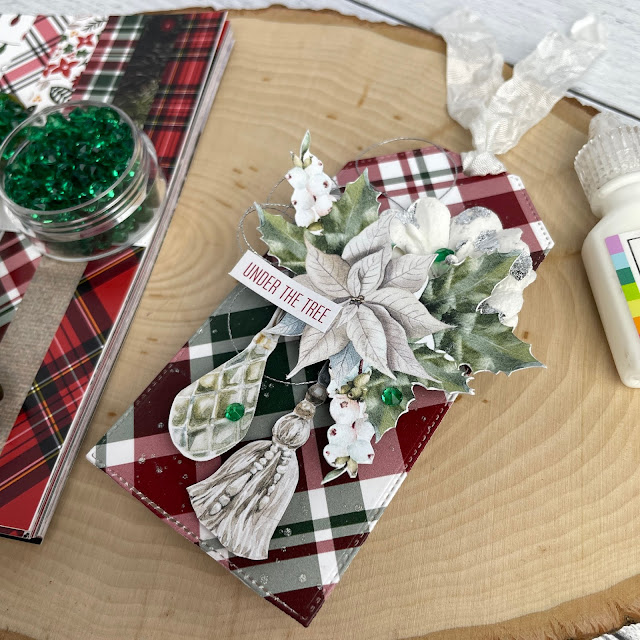
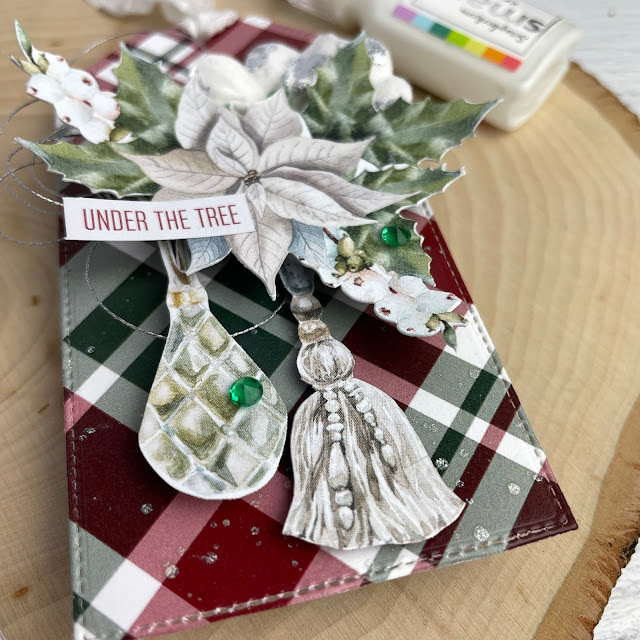
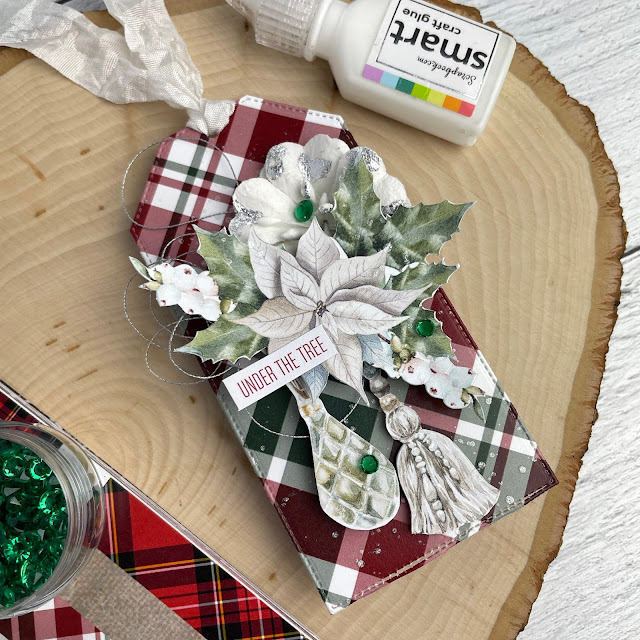
DIY Plaid Christmas Tag made with: Scrapbook Customs Christmas Pack; P13 Cosy Christmas; Scrapbook.com frost metallic ink, smart glue; Pinkfresh Studios crystals; Tim Holtz crinkle ribbon, Distress Crayons

I am going to have so many fun tags to add to presents this year! I think they are such a gorgeous addition to your packaging because they add that personal touch. Today's tag features elements from P13 and Scrapbook Customs. I love mixing and matching collections--variety is the spice of life!

DIY Plaid Christmas Tag made with: Scrapbook Customs Christmas Pack; P13 Cosy Christmas; Scrapbook.com frost metallic ink, smart glue; Pinkfresh Studios crystals; Tim Holtz crinkle ribbon, Distress Crayons

To start this tag, I cut my tag from a gorgeous plaid print from the Scrapbook Customs 6x6 Christmas Pack. I love the variety of patterns in this paid. You get tons of plaid, some photo realistic prints, cute floral and light prints and even some geometric ones! If you want to pick up your own pack for cards or tags, it's free today at Scrapbook.com while supplies last! Just add at least one other item to your cart then during checkout, click the button at the top to add this sweet little paper pack to your cart. Scrapbook.com's month-long Christmas in July sale is still going on and they have some amazing deals for you! (Let me bear my soul and tell you that I have made a couple of purchases this month...#sorrynotsorry!)

DIY Plaid Christmas Tag made with: Scrapbook Customs Christmas Pack; P13 Cosy Christmas; Scrapbook.com frost metallic ink, smart glue; Pinkfresh Studios crystals; Tim Holtz crinkle ribbon, Distress Crayons

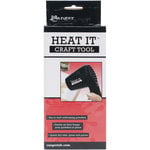
After cutting the base of the tag, I fussy cut some elements from P13's Cosy Winter Red and Green Maxi Pad. I took these cut out elements and the tag and placed them in my splat box. I then squirted a little of the Scrapbook.com Metallic Ink in frost  into a palette then added a couple of drops of water. I mixed it up with a brush and splattered the tag and fussy cut ephemera. You can use a heat tool to speed up drying (I recommend the Ranger Heat It Tool because the hot air stream isn't as concentrated like embossing tools are) or you can set them aside to air dry.

DIY Plaid Christmas Tag made with: Scrapbook Customs Christmas Pack; P13 Cosy Christmas; Scrapbook.com frost metallic ink, smart glue; Pinkfresh Studios crystals; Tim Holtz crinkle ribbon, Distress Crayons

I then took a white flower and applied a little bit of Scrapbook.com's Smart Glue to the petals. This glue dries clear but remains tacky and is perfect for applying foils. Once dry, I applied Prima's Silver Metallic Flakes and burnished them with a brush. Be sure overfill your project so you don't get sticky glue on your brush, though that is easily cleaned off with a bit of warm water and soap--it just makes it hard to finish burnishing your project!

DIY Plaid Christmas Tag made with: Scrapbook Customs Christmas Pack; P13 Cosy Christmas; Scrapbook.com frost metallic ink, smart glue; Pinkfresh Studios crystals; Tim Holtz crinkle ribbon, Distress Crayons

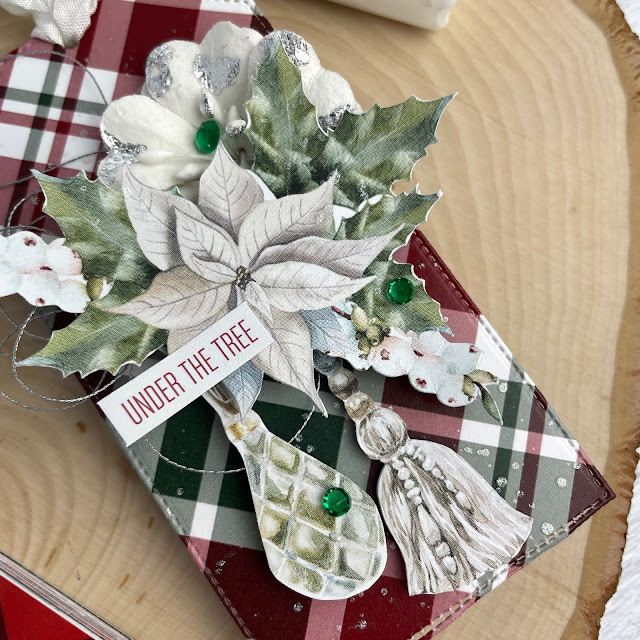
Before assembling my tag, I added just a hint more of shimmer to the poinsettia petals with Scrapbook.com glitter brush marker and then used some shaping tools to give it a little more dimension. Then to assemble everything, I started by applying a little heavy body gel to the back of my flower (Smart Glue will work for this too if you aren't big on art mediums). I placed the flower down and then nested a little silver thread, tucking it slightly under the flower so the glue would grab it. 

DIY Plaid Christmas Tag made with: Scrapbook Customs Christmas Pack; P13 Cosy Christmas; Scrapbook.com frost metallic ink, smart glue; Pinkfresh Studios crystals; Tim Holtz crinkle ribbon, Distress Crayons

I then added a small strip of 1/4" foam adhesive to the back of the poinsettia ephemera. Then I stuck the fussy cut ornament onto the foam adhesive. I then placed another strip of foam adhesive on the back of the poinsettia to sandwich the ornament ephemera. I then did the same with the tassel ephemera, sticking it onto the second layer of foam adhesive on the back of the poinsettia. The I placed another strip of foam adhesive on the back of the poinsettia. 

DIY Plaid Christmas Tag made with: Scrapbook Customs Christmas Pack; P13 Cosy Christmas; Scrapbook.com frost metallic ink, smart glue; Pinkfresh Studios crystals; Tim Holtz crinkle ribbon, Distress Crayons

To give more stability to the tassel and ornament fussy cut ephemera pieces, I placed one layer of foam adhesive on the tassel, and two on the ornament. I then stuck the whole piece down onto the tag. To finish it off, I attached some crinkle ribbon to the tag, added a sticker sentiment and glued on a few Pinkfresh Studio crystals using Glossy Accents. 

DIY Plaid Christmas Tag made with: Scrapbook Customs Christmas Pack; P13 Cosy Christmas; Scrapbook.com frost metallic ink, smart glue; Pinkfresh Studios crystals; Tim Holtz crinkle ribbon, Distress Crayons

I'll have a couple more Christmas in July projects for you coming up. I hope you are all enjoying the festiveness on my blog and Instagram as of late! But don't worry, I have some summery projects currently on my craft table as well, just in case you feel it's too early for Christmas! 

Until next time, happy crafting!
Adrienne

Shop the Supplies:


ReplicaSurfaces

Love the background I shot my photos on? It's from Replica Surfaces, a company that makes rigid photo-realistic backgrounds. This surface is called Shiplap and it's one of my favorites to photograph my projects on. You can pick up your own with a 15% discount by shopping this link. When you do, I get a small commission from the sale at no extra cost to you, which helps me continue to provide you amazing tutorials and information, just like this blog post!


Scrapbook.com

I am an affiliate with Scrapbook.com. When you shop the links below, I receive a small commission from the affiliate, at no additional cost to you. This helps me balance the costs of the time and love I put into my projects and blog so I can continue to share my ideas with you for FREE. If you shop the links, thank you! I greatly appreciate it.


Below are products that I used.


You May Also Like

0 comments

I'd love to hear your thoughts!