I am just in love with making tags right now! I think they are fun to add to gifts or send instead of a card, but they are especially fun at Christmas.
And today I'm sharing another fun Christmas tag with you! And speaking of Christmas, Scrapbook.com's Christmas in July sale is still going on and they have a sweet little freebie while supplies last! Today's freebie is the Merry Christmas die that I used to make this tag! So be sure to head over there and grab one while you still can!
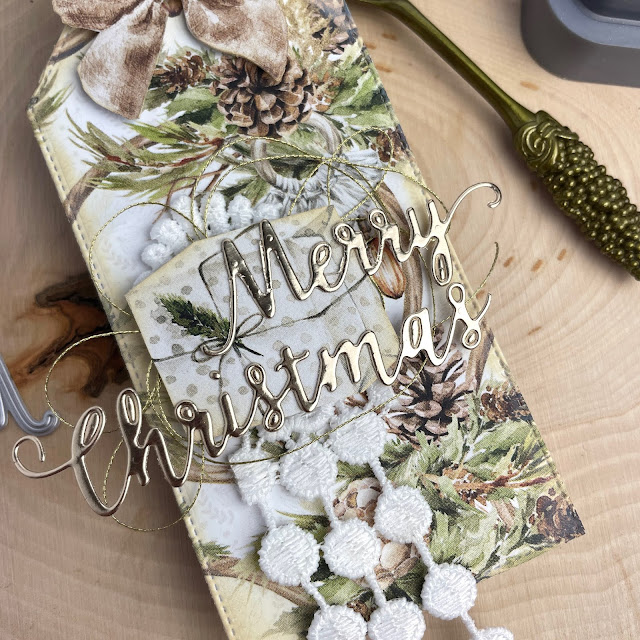
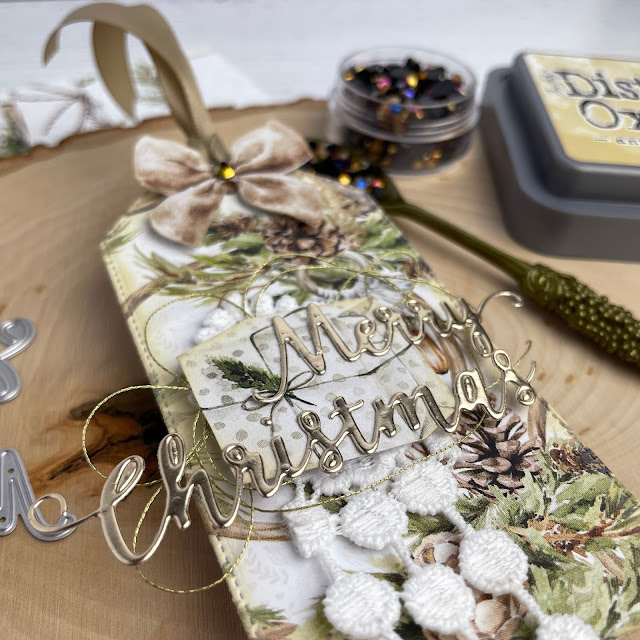
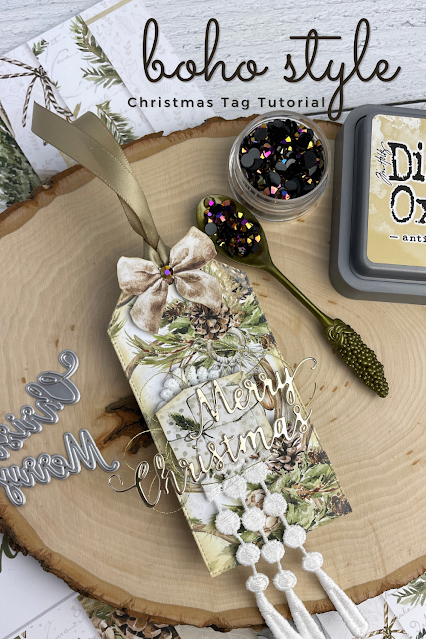
My last Christmas tag was more traditional, with red and green, but this one is all about neutrals with a pop of champagne gold.
The base of the tag and the fussy cut ephemera are from P13's Cosy Winter collection, which is full of neutrals and greens and totally reminds me of a bohemian winter in Europe. Now, let's get right into this tutorial!
I started by cutting the base of the tag from the P13 Cosy Winter 6x6 paper pad using the largest tag die from the Carta Bella Home Again stitched tags. I love the little debossed stitching on these cuts. I then used my blending tool to add just hints of Distress Oxide in antique linen around the edges to highlight the debossed stitches.
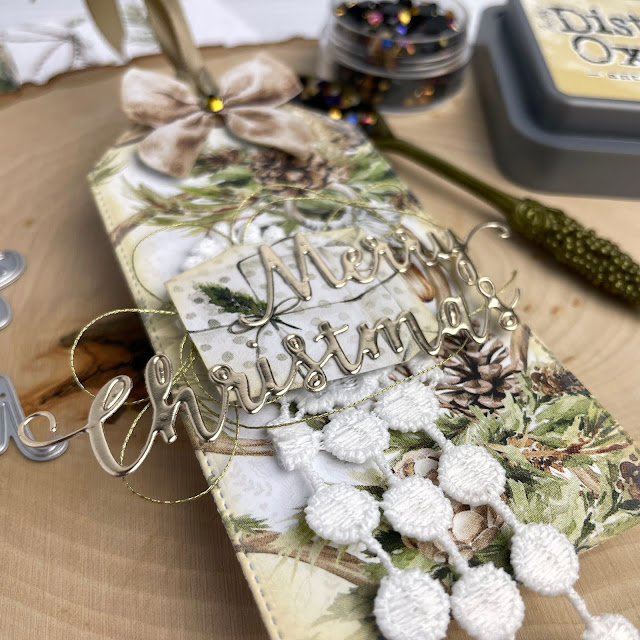
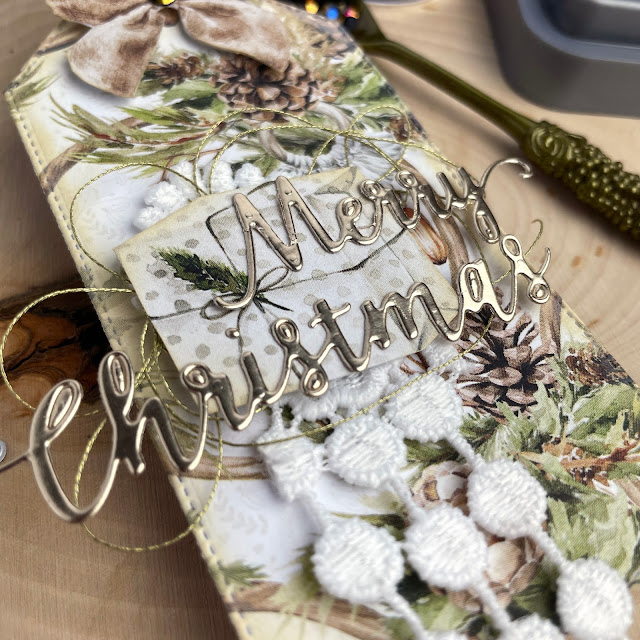
Next, I fussy cut a little present and bow from P13's Cosy Winter 12x12 paper pad. I then I added a piece of dangly lace to the tag using a bit of heavy body gel, then nested some gold metallic thread over the lace. I secured the thread in place by popping the present fussy cut over it, using foam adhesive and heavy body gel to make sure it stayed adhered to the lace and thread but still gave me dimension.
I then used Scrapbook.com's Merry Christmas die to create my sentiment, cutting it out of a champagne gold metallic kraft cardstock from Tim Holtz. I glued it down using a few tiny dabs of Smart Glue. A little goes a very long way with this glue, so make sure you practice using it beforehand if you are new to this product. I love it because you have a little work time, it dries clear and you definitely get your money's worth because you don't need much to stick things down on your projects.
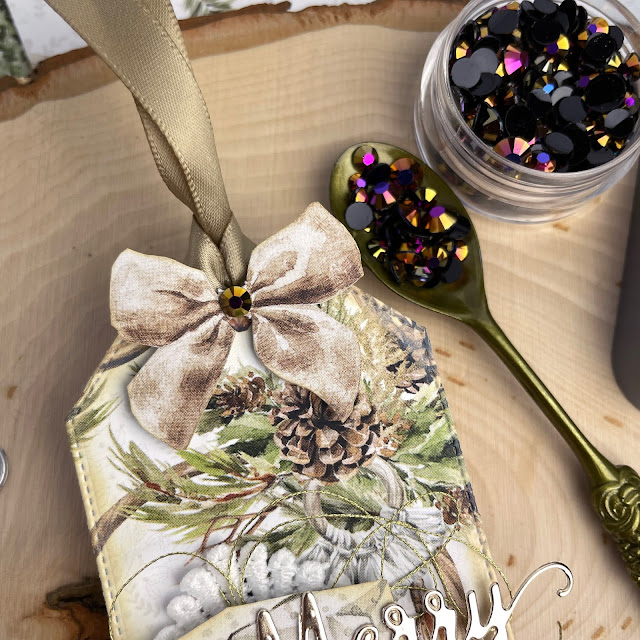
Finally, I added a bit of ribbon to the top of the tag then used more foam adhesive to pop the bow on just below the ribbon. I added a tiny dot of Smart Glue and placed one Pinkfresh jewel to the center of the ribbon just for a little more sparkle!
And that's it--easy peasy! This tag makes me want to curl up with some hot chocolate by a roaring fire with a snuggly blanket. Until next time, happy crafting!
Adrienne
Shop the Supplies:
Scrapbook.com
I am an affiliate with Scrapbook.com. When you shop the links below, I receive a small commission from the affiliate, at no additional cost to you. This helps me balance the costs of the time and love I put into my projects and blog so I can continue to share my ideas with you for FREE. If you shop the links, thank you! I greatly appreciate it.
Below are products that I used for this project.












0 comments
I'd love to hear your thoughts!