How to Take Amazing Photos of Your Craft Projects: Part 1 - The Background
In the last year, I have really upped my photography game when it comes to snapping pics of my projects. And I hope that really comes through when I share those photos of my projects here on my blog and on my social accounts.
I've had a few questions lately about my photography so I thought I would do a mini series of blogs on some of my tips for creating your own amazing photos. I know it's a bit different than my normal, but I want to be a resource for other paper crafters when it comes to every aspect of creating--from start to finish!
I want to start this mini series with the literal foundation of a photo--the background! We'll get more into arranging your items, lighting, cameras and editing in later blogs. Taking great photos of your projects starts from the ground up, making it key that your background is awesome!
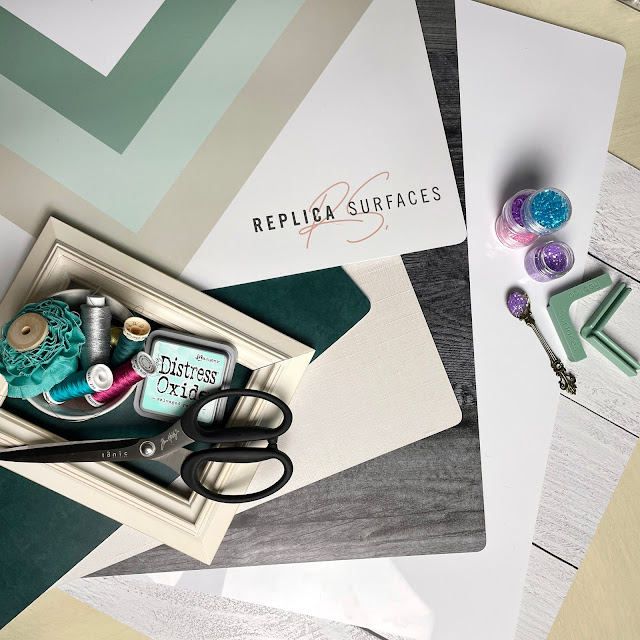
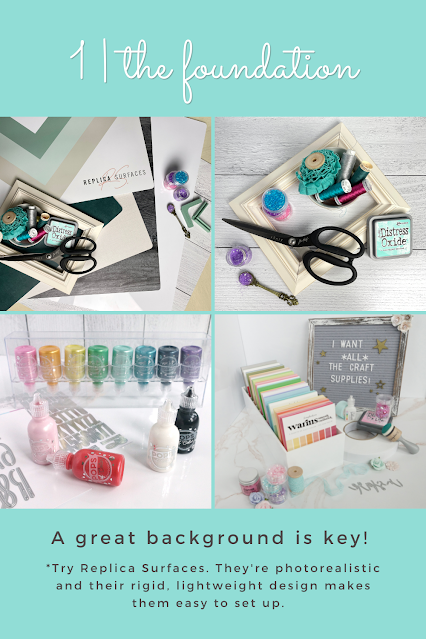
I use Replica Surfaces to take photos of my projects on. What I love about Replica Surfaces, is that the boards are rigid yet lightweight. So unlike other photo backdrops, these won't wrinkle or crease! You can also set these up to create a "wall" and a "floor" for those cards you want to stand up or your 3D projects. And when you buy two or more surfaces, you get a free set of stands to help create that seamless backdrop.
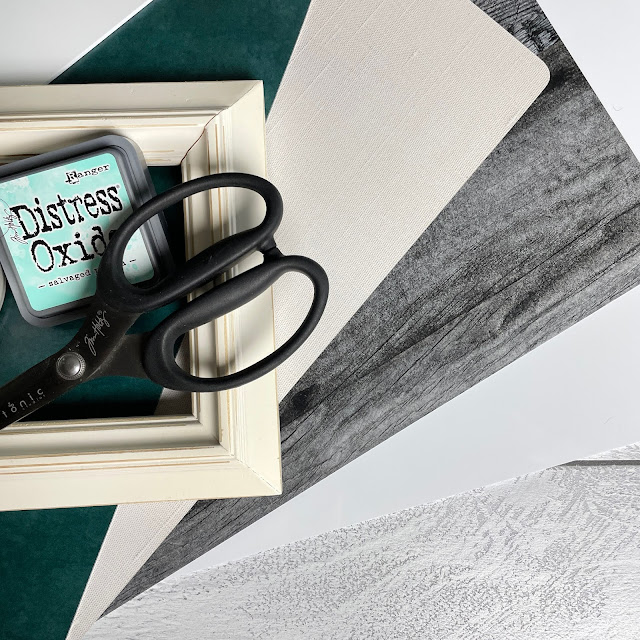
The surfaces are also photo realistic and many of them actually have a little texture to them! (Did somebody say texture?! 😂) They come in a variety of colors, from light to dark and everything from gloss white, to shiplap to tile! Every month or so the company also releases a set of limited edition surfaces. They are just as amazing as their regular catalogue of products and they sell out fast--sometimes in less than 24 hours! And once they are gone, they are gone, though occasionally one surface will get so much love they add it to the regular lineup.
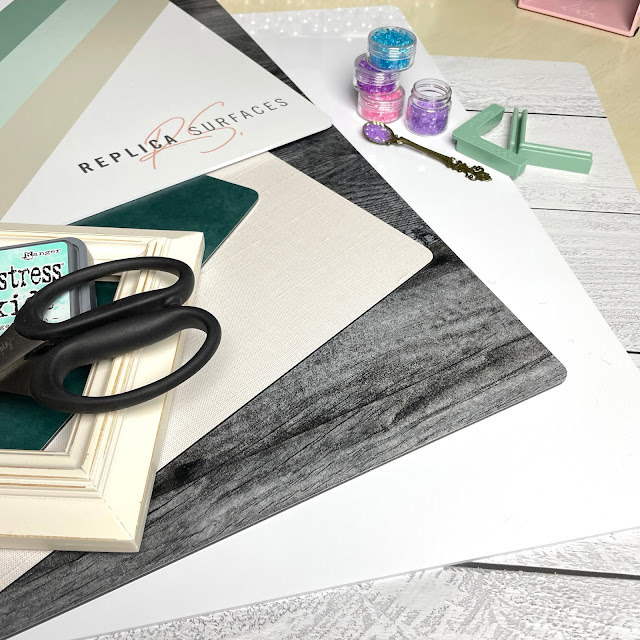
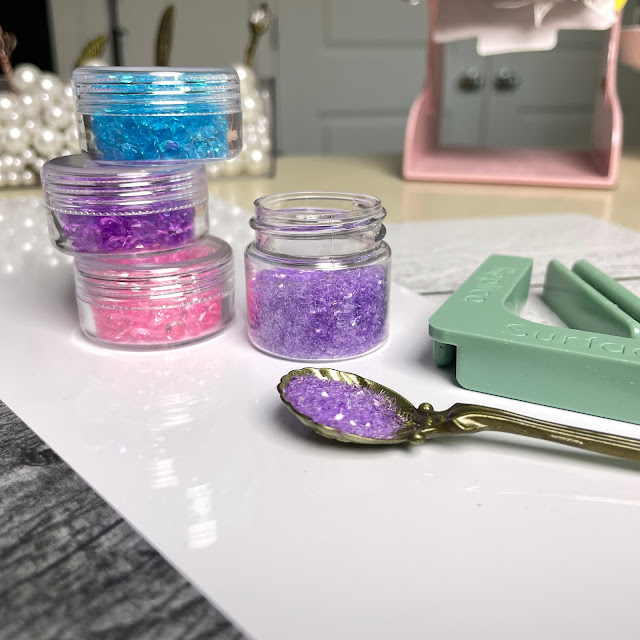
But I mostly love how easy they make it to take great photos of my projects. I mean, just look at that reflection of the stacked jars in the gloss white surface (photo above)! I actually have two of the gloss white surfaces because I knew that a second one would come in handy for bouncing light with--check out the photo below for what I mean.
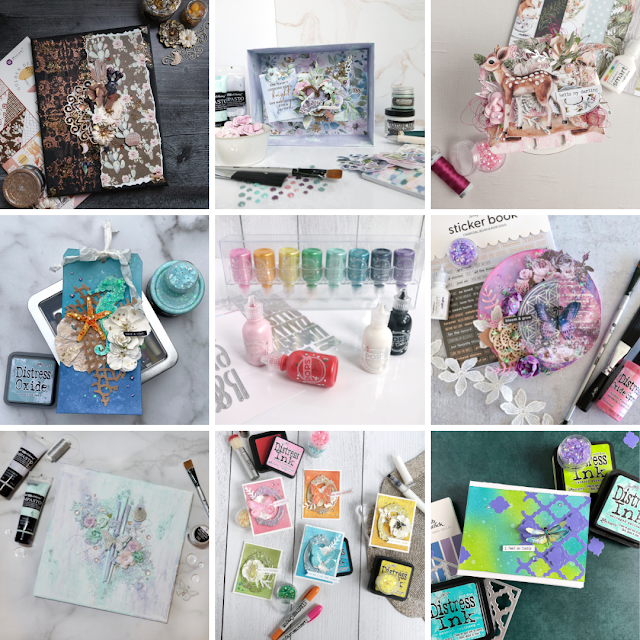
Below is just a smattering of some of the projects I've photographed with my Replica Surfaces over the past year or so. Some of these were photos were taken with studio lighting, some were taken near a window with natural light and one was even taken outside on an overcast day, which shows just how easy to use and versatile they are.
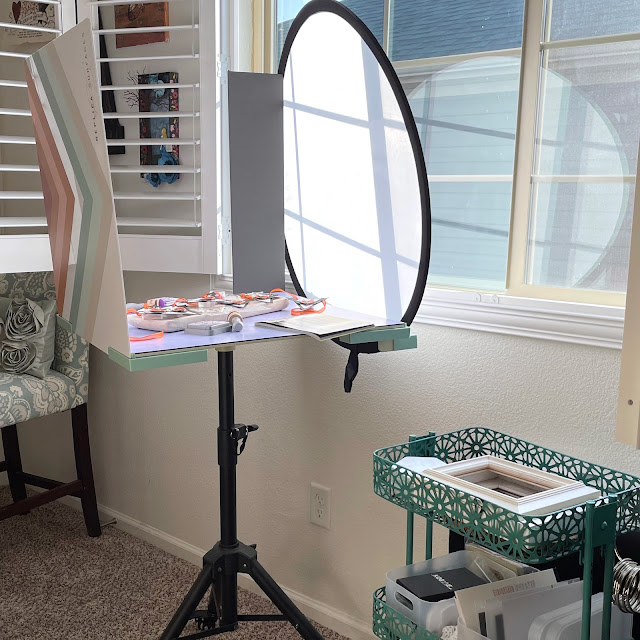
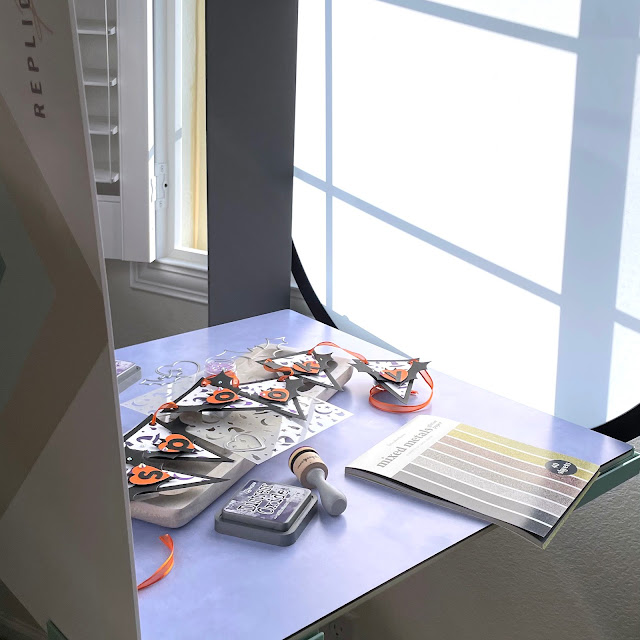
2022 Update: Now Replica Surfaces has the Replica Studio, which I now own! It is amazing because you can roll your studio right up to your window for natural light--it even has a great little handle!. You can adjust the height of your Studio and you can add a white reflector surface or background surface for front-on shots.
I typically add a white reflector surface that is opposite of my window, a diffuser to eliminate harsh shadows, which I prop up against one of the 2 flags that comes with the Studio to create special lighting effects.
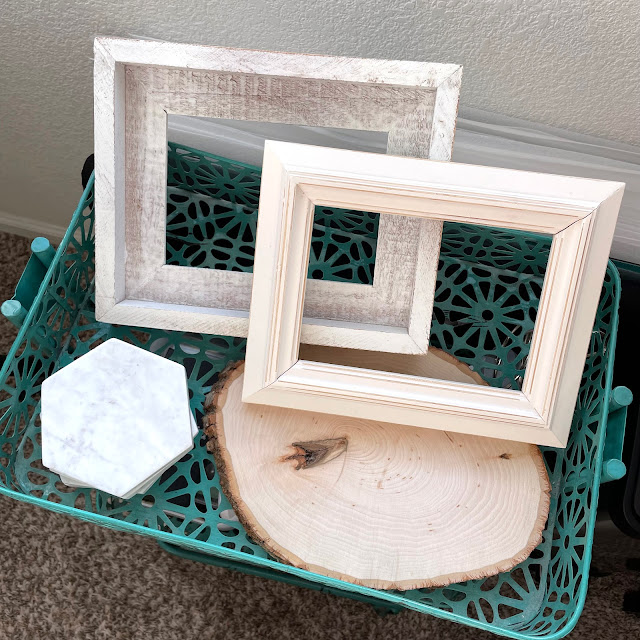
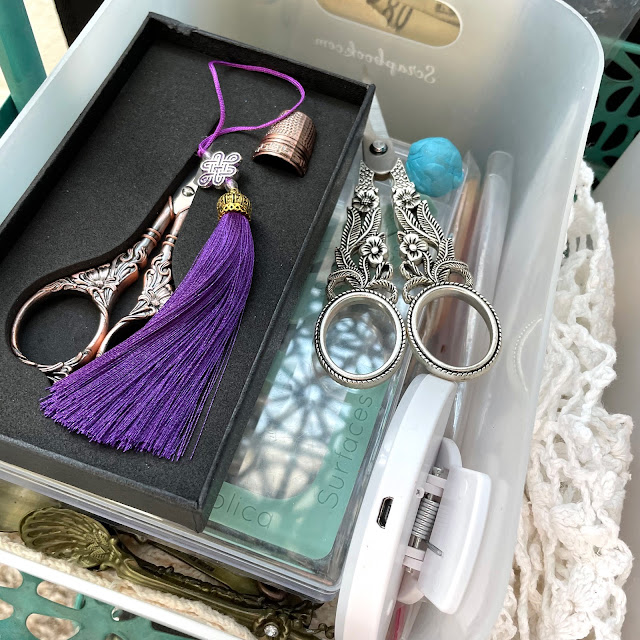
I've also created myself a photography cart, using a rolling cart. the top two levels are filled with photography props such as frames, wood slices, coasters, pretty scissors and more. I even have poster putty which helps keep items in place, like bottles of Distress Ink Spray, brushes or Pops of Color.
The bottom holds my diffuser and a few other items that I currently don't have a. place for elsewhere in my craft room. Once a project is done, I can easily set up my scene on my Studio with the Surface and props of my choice. And as soon as the natural lighting is ideal (generally in the morning for my east-facing window), I can snap away on my camera!
If you want pick up your own Replica Surfaces or Replica Studio to take your project photos on, I have a special link you can shop that will give you a 15% discount! When you shop this link, I also get a small commission from the sale, which helps me continue to provide you amazing tutorials and information, just like this blog post!
I look forward to sharing more of my project photography tips with you! Up next is photography props and how to arrange your items in your photos. Until then, happy crafting!
Adrienne
Shop Some of the Scrapbook Supply Items in my Photos:
Reneabouquets Items
Scrapbook.com
I am an affiliate with Scrapbook.com. When you shop the links below, I receive a small commission from the affiliate, at no additional cost to you. This helps me balance the costs of the time and love I put into my projects and blog so I can continue to share my ideas with you for FREE. If you shop the links, thank you! I greatly appreciate it.

























0 comments
I'd love to hear your thoughts!