How to Take Amazing Photos of Your Craft Projects: Part 3 - The Lighting
Getting the lighting just right in your photos is actually easier than you think!
Welcome to part three of my mini series on how to take amazing photos of your craft projects. Previously I shared my knowledge on choosing photo backdrops and design rules for arranging your items in your photos. So if you missed either of those blogs, be sure to go check them out!
I want you to know that I too struggled with getting my lighting just right for a while. But after a few tutorials, I was creating beautifully lit and amazing photos in no time flat! And that is what I hope to be able to provide you today--a mini tutorial on lighting basics.
Now don't get me wrong, you can get really in depth on different lighting techniques, but I find that many of those fancy techniques aren't helpful for craft project photography. And that is because you generally want bright, well-lit photos that really showcase your work, rather than interesting or moody lighting techniques. To help you take well lit photos, I'll discuss the one shadow rule, using a bounce screen, the two types of lighting to choose from--natural and artificial, plus a few other handy tips.
One Shadow Rule
Whether you go with natural or artificial light, you want to follow the one shadow rule. This means that you want your lighting to only come from one direction, giving your items in your photo a shadow only to one side. If you have multiple sources of light, you can give your items in your photo more than one photo, which is unnatural and can be confusing to the eye.
Using a Bounce Screen
Adding a bounce screen opposite of your light source takes some of your light and helps gently light your photo by softening your shadows ever so slightly. It can also help light up any parts of your photo that may be dark, such as when you have taller items that may throw long shadows. A bounce screen doesn't haven't to be expensive or specifically made for photography, though I use one or both (depending on the angle of the light on my setup) of my gloss white Replica Surfaces because it is handy. Rather, a bounce screen can be simple as a piece of white poster board, which you can buy at a craft store or even the dollar store.
Types of Lighting: Natural and Artificial Light
There are two types of lighting, both of which will give you great results. We'll start with natural light because it's free, then move on to using an artificial light.
Natural Light
To get the best natural lighting, you'll want to move your setup close to a window for best results. To figure out when you get the best natural lighting coming in, set up a scene then take photographs of it throughout the day. Then compare your photos to see which looks the best--this will be the best time of day to photograph. And because lighting changes throughout the year, you'll want to do this several times a year to recalculate your best time. Be sure to stay away from taking photos outside in the middle of the day no matter the time of year, unless it's overcast. This is because the mid-day sun can create harsh shadows.
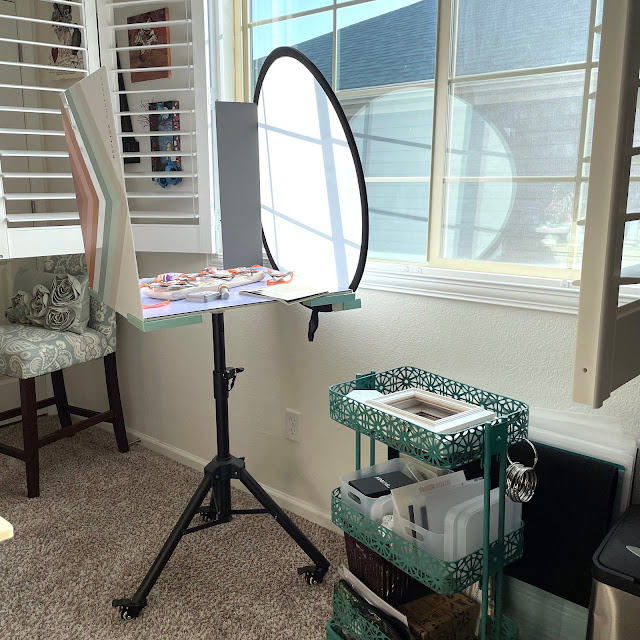
To get rid of harsh shadows when you set up right next to your window, use a diffuser. This can be a white bed sheet hung in front of your window, or a photography/video diffuser. I like to use this reflector set from Amazon.
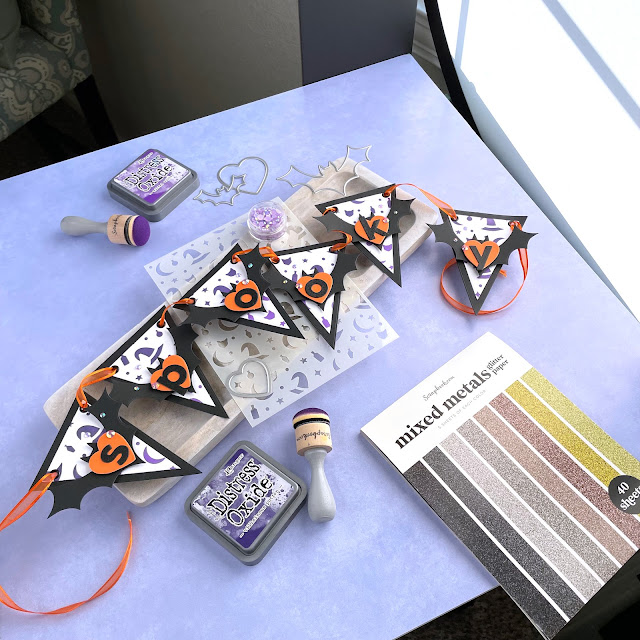 |
| Photo scene with a diffuser. |
The insert is made for diffusing. There are also silver and gold covers included to create a reflector, though I seldom use these but can come in handy on severely overcast days or when you need additional cover from harsh shadows when the sun is higher in the sky. And if you pick yourself up the Replica Studio and Surfaces, this diffuser fits perfectly in the handle of the Studio. I use a flag (comes with the Studio) to help prop the top of the diffuser up.
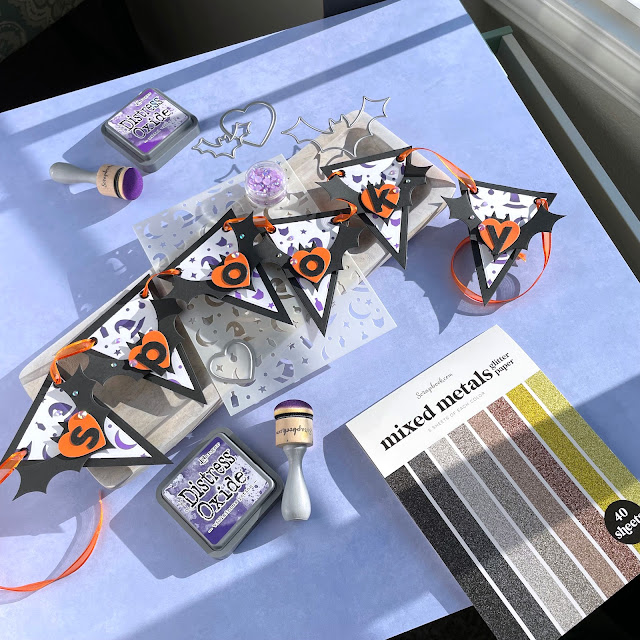 |
| Photo scene without a diffuser. |
In the above two photos you can see the difference in the scene with the diffuser and without the diffuser when you are right up next to the window.
Artificial Light
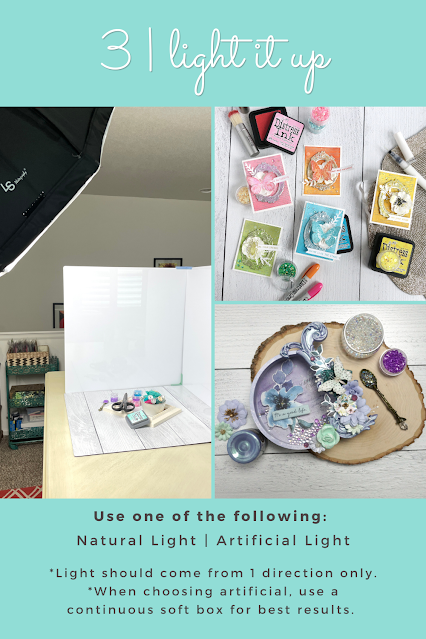
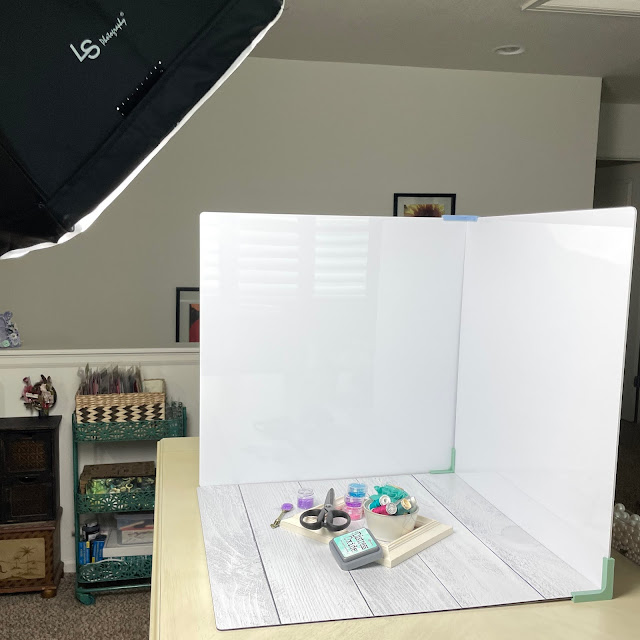
Getting a studio light is actually pretty inexpensive. I highly recommend getting a continuous soft box, like this one from Amazon that I use. I've also added an LED panel to help light my videos or use for photography on a dark day. I like the LED panel because it takes up much less room than the larger soft box and provides just as much bright light. (Make sure you grab a stand for lights that aren't sold with a stand!)
Both of these provide, soft and continuous light, keeping shadows soft in your photos. Try to stay away from ring lights. While these are good for lighting up people, they aren't that great for product photography where the lifting can look dull and fall flat. If you do happen to get panel lighting, then simply drape a white sheet in front of the light to crate your own DIY soft box, to dampen the harshness it would otherwise create.
A Couple of Other Tips
I have a couple of other tips to help you when taking photos of your projects specifically when it comes to lighting. The first is to turn off all your other lights and allow your intended light source (sunlight or studio light) to be the only source of light. This will make it much easier for the camera to discern what is white and make it easier for you to do any color correcting in post. So, for example, if you are set up in your craft room with a studio light, turn off all the lights in your room and close up your windows to avoid sunlight, lamps or overhead lights from distorting the colors your camera is seeing.
The second tip is trying out a technique called flagging, in which you set up boards to block light and create a slit of light to brighten only a section of your photo. This technique can be helpful in blocking "hot spots" or glare and it can also help create a moody feeling if you take it to the extreme, especially when shooting on dark surfaces. Just take some time to play with your photography, including your lighting setup to see what works best for you.
If you want pick up your own Replica Surfaces to take your project photos on, I have a special link you can shop that will give you a 15% discount! When you shop this link, I also get a small commission from the sale, which helps me continue to provide you amazing tutorials and information, just like this blog post!
Up next I discuss the different kinds of cameras you can use to get quality photos of your projects. Happy crafting!
Adrienne
Shop Some of the Scrapbook Supply Items in my Photos:
I am an affiliate with Scrapbook.com. When you shop the links below, I receive a small commission from the affiliate, at no additional cost to you. This helps me balance the costs of the time and love I put into my projects and blog so I can continue to share my ideas with you for FREE. If you shop the links, thank you! I greatly appreciate it.








0 comments
I'd love to hear your thoughts!