How to Take Amazing Photos of Your Craft Projects: Part 4 - The Camera
I've never been the kind of person who thinks you have to have the latest and greatest gadget to get the best results. And that is true for cameras, especially with the advancements made on phone cameras in the past several years.
Welcome to part four of my mini series on taking better photos of your craft projects! I hope that many of you have been finding this information helpful so far and it that it will give you the confidence to mix it up and try new things out! If you missed any part of this series so far, be sure to check those blogs out. I've already looked at choosing a backdrop, design rules for arranging your items and lighting tips.
Back to our look at cameras. If you don't have a DSLR or the means to buy one, don't worry! The camera on your phone will do just as good a job! No really! In fact, when I take photos, I take them with both my DSLR and my iPhone and sometimes I just like the way the iPhone picked up the color or the details better.
But if you are in the market for a DSLR as a first time user, make sure to read reviews and do your homework. In some places, you can rent a camera out to try it and see if you like it before you buy. And don't forget that it is okay to buy used. You don't need to have a model with all the fancy gadgets. A basic lens and the ability to shoot in manual or automatic is really all you need. Now let's look at ways to shoot with each type of camera.
DSLR
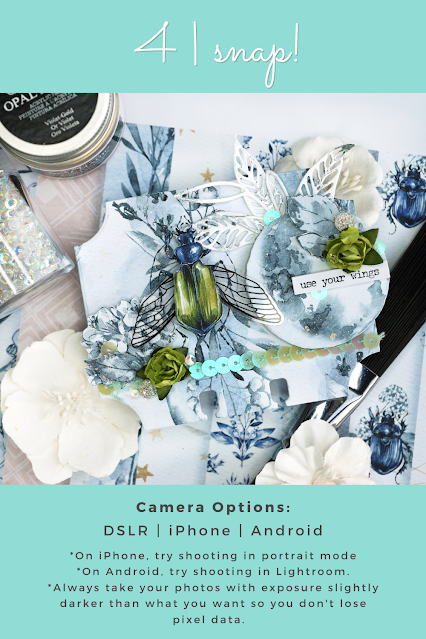
These cameras can have a lot of different buttons and functions on them so it can be a bit overwhelming, especially if you want to use a manual or semi-manual mode. My best advice, is to look up some YouTube tutorials to teach you the basics, otherwise my blog would become very long indeed. But I do want to note that you should always set your exposure to capture your images slightly darker than what you want in your photo. When your photo is too bright, the blown out parts register as flat white, and you lose that data. You can attempt to bring that brightness down later, but you'll never get the detail back. So set your exposure, test a few shots and change your exposure if you still need to. You'll always be able to brighten up your image in editing later.
iPhone
The latest models allow you to set exposure and even shoot in portrait mode, which blurs the background for you, creating a selective depth of field. Like with the DSLR or any camera for that matter, set your exposure slightly darker than what you want for your photo's final brightness. This will allow you wiggle room when adjusting in editing later and you won't lose data. When shooting your projects head-on, rather than from overhead, flip your phone upside down so the lens is on the bottom. This will allow you to shoot straight at eye level, rather than angled from slightly above.
Android
To get as much control as you would with an iPhone, such as an equivalence to portrait mode, download the Lightroom app and take your photos within the app. Test out different settings to see what works best for your particular camera lens. And as with a DSLR or iPhone, set your exposure to slightly darker than what you want for the final photo. Once you overblow your whites, you'll never get that data back and you'll have what amounts to a white hole in your photo!
Just remember, use what you got and what you are comfortable with! That's it for this particular blog post. The next one will be my final blog in this mini series and will cover editing your photos.
If you want pick up your own Replica Surfaces to take your project photos on, I have a special link you can shop that will give you a 15% discount! When you shop this link, I also get a small commission from the sale, which helps me continue to provide you amazing tutorials and information, just like this blog post!
Until the next in this series is editing your photos. Happy crafting!
Adrienne
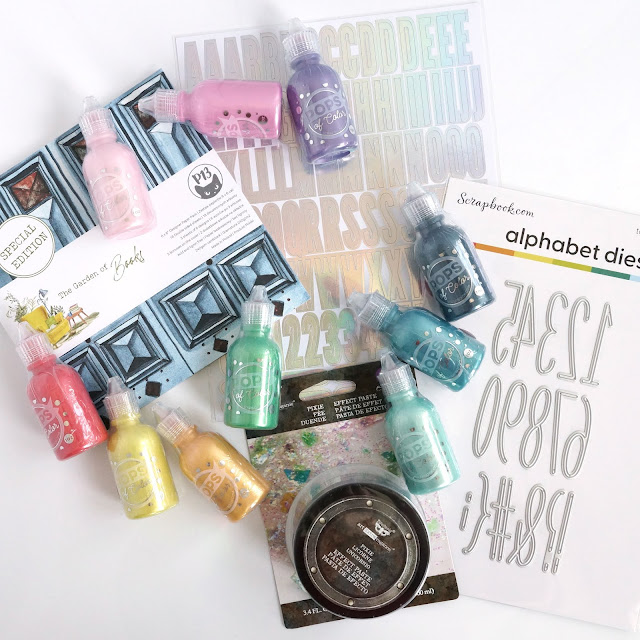
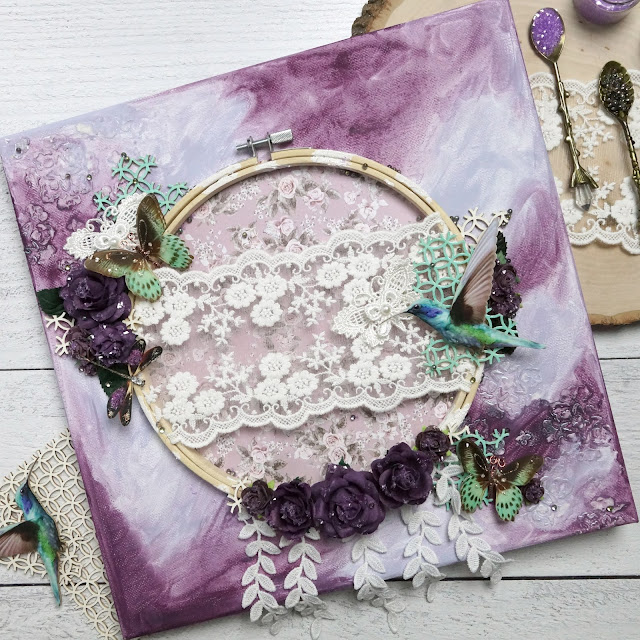
Shop Some of the Scrapbook Supply Items in my Photos:
Reneabouquets
Tiny Treasures Tranquil Glitter Glass Premium Paper Dragonflies
Printed Beautiful Board Small Magical Hummingbirds Chipboard
Beautiful Board Marquise Elements Laser Cut Chipboard
White Wide Floral Embroidered Lace
Drop Leaf Lace
Plum Roses And Leaves Mulberry Paper Flower Set
Mini Plum Mulberry Paper Roses & Leaves Set
1 Ounce Beautiful Beads Designer Glass Fairy Opal
2 Ounce Hand Tinted Dark Purple Gawdie Girl Chunky Glitter Glass
Scrapbook.com
I am an affiliate with Scrapbook.com. When you shop the links below, I receive a small commission from the affiliate, at no additional cost to you. This helps me balance the costs of the time and love I put into my projects and blog so I can continue to share my ideas with you for FREE. If you shop the links, thank you! I greatly appreciate it.









0 comments
I'd love to hear your thoughts!