I honestly love giving handmade gifts for presents. Giving handmade means you took the extra time to personalize your gift and the person receiving it knows just how much love you put into that present.
Inspiration for mixed media and altered art projects can come from a variety of places. Some find inspiration in colors, papers, sayings or moods. This particular mixed media altered art project just so happens to be inspired by my favorite TV show, Shadowhunters.
2:35:00 PM
No comments
1:00:00 AM
No comments
What's Halloween without a little Voodoo magic? I just love the idea of shelves of potions, books and dried herbs in a Voodoo shack with a little Voodoo doll tucked away amongst the tinctures and spells. I also love using mixed media techniques on cards. It really adds some little details and brings the cards to life and what better way than to make some little potion bottles and using flower soft to create that mixed media look.
1:00:00 AM
No comments
1:00:00 AM
No comments
Apparently birds of a feather do flock together because I have many friends that love Halloween just as much as I do.
1:00:00 AM
No comments
Halloween is a time of the fantastical. You can be as imaginative or creative as you want when it comes to your decor, you costume and the gifts you give.
1:00:00 AM
No comments
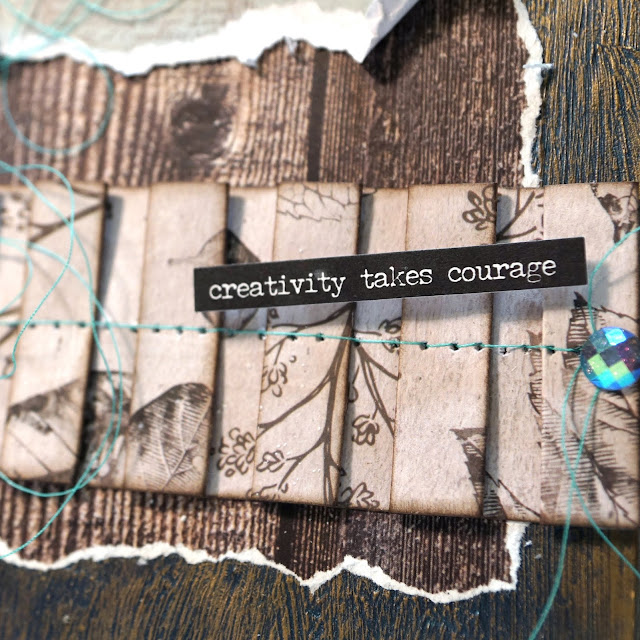
There is nothing more lovely than adding dimension and texture to your projects. I've always loved the look of pleated paper and it is perfect for adding both texture and dimension. Paper pleats also lends itself wonderfully to shabby chic projects.
12:00:00 PM
No comments
So when she got married to the love of her life, who also happens to be just as obsessed with Halloween, in October at the famous Stanley Hotel (you know, the one that inspired Stephen King's The Shining), I had to make a wedding card that was as unique as Kacia!
What better way to celebrate a wonderful day of love at a haunted hotel than by giving her a haunted house wedding card? And that is exactly what I set out to create. I also knew it needed to have skeleton flamingos because Kacia loves flamingos (and has some skeletal ones for her yard).
I turned a regular haunted house cut from Silhouette into a card. I then painstakingly created the layers for each layer of roof and siding. I wanted this card to have texture and dimension--just like a real haunted house. I also added a lot of elements that weren't included in the haunted house cut, like the skeleton flamingos, tombstones, bats, pumpkins and a witch.
Once I had all the elements cut out, I used various Distress Inks to add more dimension and give everything that old and worn look. To create the spiderweb in the front window, I used Glossy Accents to glue down black thread that I wove together.
On the smaller elements, I added details by hand, like the grin on the jack-o-lantern with a black marker, the bones on the skeleton flamingoes with white gesso and the eye of the cat and the flames of the candles in the upper windows with paint.
I also added wire legs to the skeleton flamingoes and used wire to pop two bats up above the roof of the haunted house. I grunged up the tombstones with grey and brown Distress Inks to give the look of age and mold.
When putting down the siding on the house I purposefully roughed up the bottom edge to add dimension, just like the slats of siding on a real house. On the bottom of the house and a section near the top, I added Flower Soft in burgundy for a realistic, autumn leaf look to the "crevices."
To add a little bling, I added iridescent gems to the center of the bats, gently bending their wings up for more dimension. I also added some yellow-orange gem eyes to the owl above the door.
And of course there had to be a witch in this haunted house, so I added a witch silhouette to a second floor window. The doors also got black gem knobs. The shutters were even given slats by dragging a crease tool over them.
Because the card isn't a normal size, I had to create my own envelope for it. I created a lace up envelope using eyelets and twine. To protect the card from any rough pieces of the back of the eyelets, I cut out a piece of vellum to overlay on top of the card.
And because I love Harry Potter and I think of Halloween when I think of that lovely wizarding world, I added a banner with the quote, "I open at the close..." It's a bit of a play on words, since wedding cards are opened after all the festivities and the honeymoon are over.
Products Used
The Paper Studio: Cardstock - black, white | American Crafts: Cardstock - ash, concrete, smoke | Bazzill: Cardstock - pansy, beeswax, butterfly, intense orange | Tim Holtz: Distress Ink - spiced marmalade, mowed lawn, dusty concord, ground espresso, pumice stone, hickory smoke; Distress Paint: mustard seed, mowed lawn | Ranger Ink: Glossy Accents (as adhesive) | Silhouette America: Sketch Pens - black | Heidi Swapp: Color Shine - mustard | Prima: Art Basics - gesso white | Flower Soft: Ultra Fine - Burgundy | Recollections Gems - spring mix | Elements: Crystal Stickers - smoke | Other: Thread - black
I hope you enjoyed seeing all the little details of this card!
Happy Crafting!
Adrienne
1:00:00 AM
No comments
I love books and when it comes to spooky tales, Edgar Allen Poe's tales and poems are my go-to read.
1:00:00 AM
No comments
The worlds of scrapbooking and mixed media have collided, creating a wonderful art form for home decor projects.
4:26:00 PM
2
comments
Photos in scrapbooks don't have to be special occasion photos, such as holidays, birthdays or vacations. They can be everyday mundane parts of life. And sometimes these moments are more memorable than last year's family Christmas party.
4:37:00 PM
No comments
I find that either people love weddings or they just aren't that into them. But no matter what you think of weddings, no one can deny that the bride is always gorgeous and the flower girl is always cute as all get out! In this wedding layout, sweet pastels, watercolor and tulle combine perfectly, making a shabby chic page worthy of an oh-so-adorable flower girl.
12:00:00 AM
No comments
Personalizing the outside of your album gives you a chance to feature a memorable photo and add even more meaning to a special album. It can be personalized to match the album theme, like a wedding or a trip to Disney World, or it can display a person's name. No matter how it is personalized, it adds that extra-special touch that really pops!
1:18:00 PM
No comments
Wedding layouts can be fun and frilly, shabby chic, modern, nautical or whatever fits your style! Your wedding is uniquely you and so should your scrapbook pages. Whether I'm doing a whole wedding album or just one or two pages for a "through the ages" album, I take the time to add the little details.
12:00:00 AM
No comments
Sports are a big part of many of our lives. But the scrapbook paper and embellishments don't necessarily have to be sports themed. This pastel colored layout with fun patterns proves just that.
12:00:00 AM
No comments
Sometimes scrapbook pages are about remembering and celebrating those that we have lost. I always take special care on layouts and albums such as these. I try to imbue meaning into several different elements of the page.
12:00:00 AM
No comments
I love every season for different reasons. New growth in spring, flowers in summer, the vibrant colors of fall and the crystalline beauty of snowflakes in winter.
12:00:00 AM
No comments
Halloween is my favorite holiday. Don't get me wrong, I love the Christmas and Hanukkah season--the joy, the snow, making cards, giving presents to my family and friends...but I love the crazy imagination involved in Halloween. (I'm already planning what decor to add to my already growing pile of Halloween decorations.)
It's the one holiday where you can be as crazy and weird and fantastical as you want and no one can say otherwise. You can dress up as a unicorn or zombie or your favorite book character. (Hello, Hermione!) This past October was my family's first Halloween in our new house and I just had to continue in the theme of my Edgar Allen Poe "The Raven" theme. We dressed up the house in a Dead & Breakfast theme, complete with a handmade sign out front (The Raven Talon Dead & Breakfast) and a skeleton in a lobby complete with bell cap and skeleton keys!
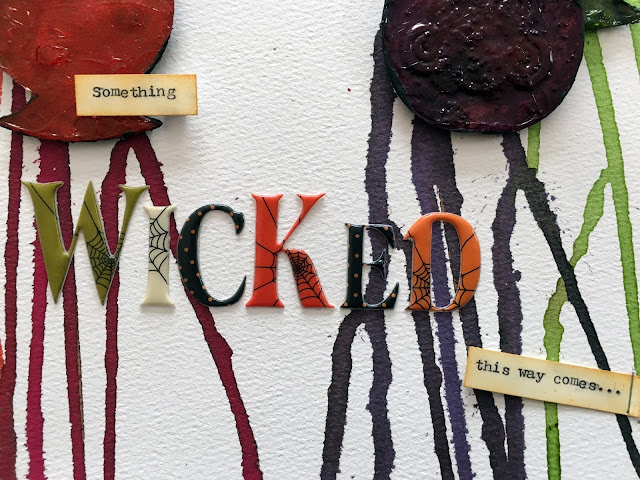
So I love making Halloween scrapbook pages! LOVE IT!! And since these adorable kids looked like a candy bucket full of "trouble," it made me think of the Song of the Witches from Shakespeare's Macbeth that was turned into a song for the Harry Potter and the Prisoner of Azkaban film. So I incorporated the lines from the song and then made some potion bottles to go with.
To make the potion bottles, I started with a sheet of cardstock and die cut my own hand-drawn apothecary bottles. I then inked, glued, painted and more to create the look of items in the bottles. The werewolf teeth are really miniature leaves.
Want to create your own potion bottle die cuts? Scroll to the bottom of the post to download your free cut file!
The vampire blood contains a few brads with diamonds on the head. The witch cackles are swirl shaped buttons and the mummy bandages is crinkle ribbon. Once everything was glued down, I covered it all with 3d gloss gel. I also added some white sand texture paste to the lids and corks of the bottles to add some grit to the page.
These bottles took a long time to dry. A looooooong time. But once they were, I added a little more distress ink to heighten the color of each bottle. Then I looped some jute twine around the tops and added the labels I had created with white cardstock, ink and grommets.
I cut out a patterned paper mat for the photo from some Tim Holtz Halloween themed paper, distressed the edges and inked it up. I also created the strips with the words to the song and title and picked out my letter stickers for "Wicked."
Once I figured out placement, I sprayed matching colored mists onto the watercolor cardstock and held it up to let the mist drip down the page. Once that was dry, I glued on all of my elements, adding some staples and enamel dots.
Products Used
Prima: Watercolor - cardstock 12x12; Color Bloom 2 - oregano; Art Basics - black gesso, 3D gloss gel; Art Extravagance - copper crackle, white sand | Recollections: Cardstock - white; Brads - small diamond; Microbeads - clear | Maya Road: Trinket Pins - leaf | Dress It Up: Buttons - color me pink | Tim Holtz: Distress Ink - fired brick, spiced marmalade, fossilized amber, peeled paint, wilted violet, dusty concord, ground espresso, black soot; Distress Spray - dusty concord; Distress Paint - barn door, seedless preserves; Idea-ology - crinkle ribbon, materialize | Tattered Angels: iridescent gold | Marion Smith Designs: Color Lab - merlot | Lindy's Stamp Gang: Moon Shadow Mist - burnt umber, incandescent copper, smoky sapphire; Starburst Spray - hag's wart orange | Ranger Ink: Alcohol Ink: poppy field, butterscotch, bottle, eggplant, mountain rose; Melt Art - UTEE | Nuvo: Crystal Drops - dark walnut | WeR: Typecast | Other: staples, jute twine, post dots, Halloween sticker letters
Keep scrolling for your free potion bottles die cut file!
Happy Scrapping!
Adrienne
>>Click here to download your free cut file! <<
12:00:00 AM
No comments
I love steampunk, especially all the gears and clocks and the imaginative mechanicals. My brother-in-law also loves vintage clocks. So for his birthday one year, I decided to make a card full of gears and a pocket watch.
12:00:00 AM
No comments
Many of the designer scrapbook papers come with double-sided pattern prints and it can be hard to stick glue all over a pretty pattern and stick it down so you can't see any of it. That is why I like to distress my paper edges a bit so some of it peeks out.
12:00:00 AM
No comments
I've never been to Disneyland or Disney World. There. I've said it. But going to at least one of the two theme parks in my lifetime is on my bucket list. So I absolutely love getting to scrap photos of my clients' vacations to either of the parks--I get to live a little vicariously through them!
12:00:00 AM
No comments
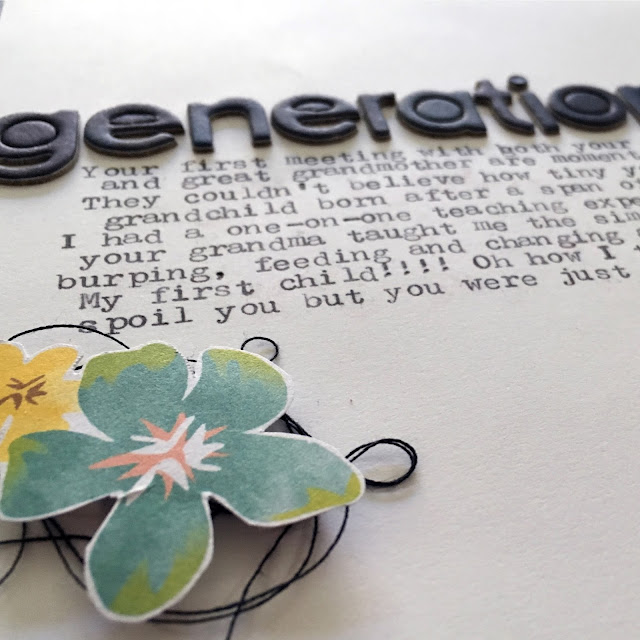
Journaling can be an important part of scrapbooking. Especially if you want to leave behind some notations for future generations, like which relative is pictured in a photo or telling the story behind a photo.
12:00:00 AM
No comments
I love chipboard and wooden elements. They add some great dimension and different textures. And if you have a lot of random buttons and chipboard banners that need using up, this style layout is a great way to make use of them!
12:00:00 PM
No comments
12:00:00 AM
No comments
I love layouts that focus on one smaller photo. It really gives me a chance to have some fun with the background and leaves plenty of room for journaling and embellishments.
8:43:00 PM
No comments
Sometimes not going for the traditional blue or pink in maternity photos and scrapbook pages is both wonderful and refreshing. That is why I loved working on several of these pages for one of my clients who opted for a red body con dress for her maternity photoshoot.
4:41:00 PM
No comments
Wedding season is quickly approaching and there is nothing like giving a personalized wedding card to the bride and groom. I think handmade cards really stand out from the crowd of store-bought cards and really shows how much you care.
12:05:00 PM
No comments


