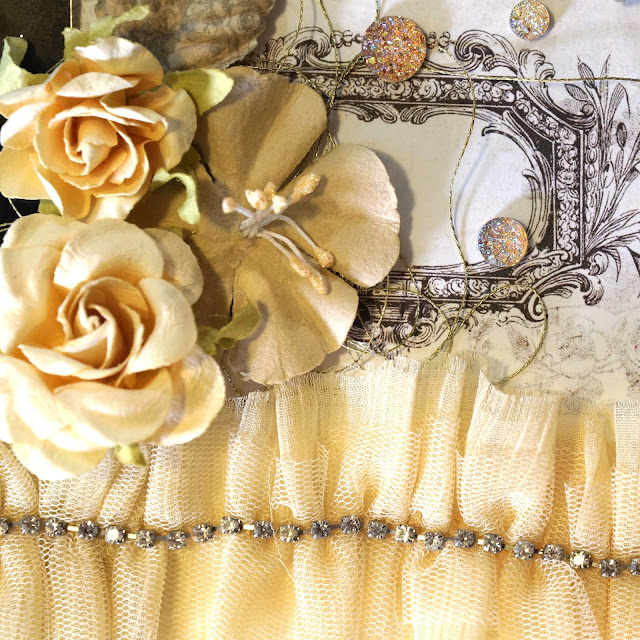
If you have been following this blog for a while, you'll already know that my Oma (grandmother) was from Austria. So for this Christmas, I decided to make my mom an early gift that embodies my Oma's love for Stille Nacht (Silent Night), her favorite carol.
I'm not sure if I just like a bit of the macabre or if I just like being creative, either way, I'm really pleased with how this little tray of "horror d'oeuvre" turned out!
1:25:00 PM
No comments
It's that time of year again! I love creating Halloween projects because you get more of a license to be weird and create odd things. And what better than Tim Holtz products to create your Halloween mixed media projects?
1:36:00 PM
No comments
My sister is having her first baby and I couldn't be more excited for her and my brother-in-law! I look forward to spoiling my future niece, as any good Tante (aunt) would do! In fact, I'm pretty sure the spoiling has already begun.
11:45:00 AM
No comments
I've always followed the beat of my own drummer which is one of the reasons why I've always loved Tim Holtz's unique scrapbooking supplies and tools.
10:30:00 AM
2
comments
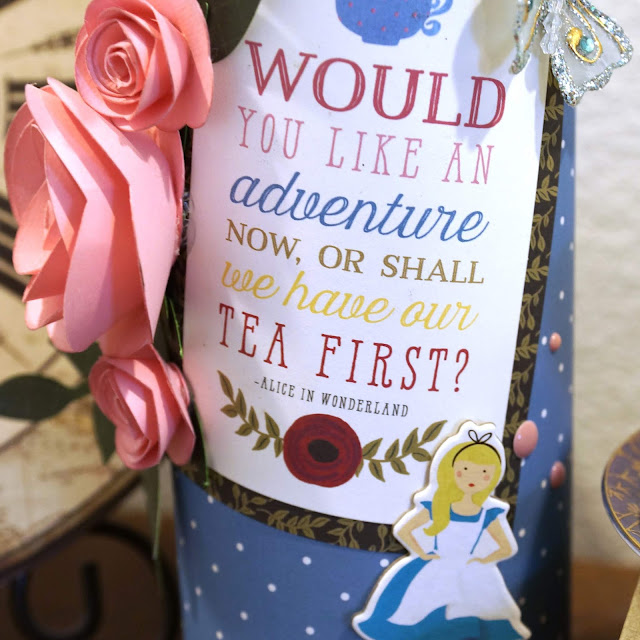
I purchased some Tim Holtz Vignette Trays on sale a while back in the hopes of creating some amazing art to display in my scrap loft or somewhere in the house. After creating two other Alice in Wonderland themed projects, I was hooked and knew I needed to make more. Plus, I had all these adorable papers and embellishments from Echo Park!
9:00:00 AM
No comments
As an environmentally conscious scrapper, I look for ways to make less waste and recycle everything that I can. I've started hoarding away boxes, jars, bottle caps and more for altering or to use in mixed media projects. I even have two trash cans in my scrap loft: one for recycling and one for things that cannot be recycled. I'm happy to say that I put much more in the recycling bin that I do the trash bin.
9:00:00 AM
No comments
Have you ever seen a project surface and just knew right away what you wanted to do with it? That's how I felt about this Tim Holtz assemblage clock.
Today, I'm sharing with you the second in a series of Alice in Wonderland themed projects. This one features a beautiful Renea Bouquets Mad Hatter embellishment along with elements and papers from Echo Park's Alice in Wonderland collection.
After seeing a project by Tim where he added some micro LED lights to the inside of his assemblage clock, I knew I wanted to try the same thing. I also felt it would be perfect to help light up the darker colors of the Mad Hatter embellishment as well as emphasize the depth in the project.
I started by altering the outside of my assemblage clock using gesso, a stencil and also Finnabair waxes for color. Then I added paper to the inside of the clock by covering the back and wrapping the sides. I also made a grassy knoll for the Mad Hatter to be attached to.
Then I created some paper flowers and leaves then glued all of my embellishments on to the outside, including some chipboard stickers and pre-made paper flowers. I also altered a mini pocket watch from Tim Holtz, adding a coordinating cream paper and a tiny fussy cut cupcake inside and filling the bottom of it with clear microbeads. I hung this and a teapot charm from one of the bells and added a Frank Garcia crown to the other bell.
Next I attached the Mad Hatter to his grassy knoll and then glued some paper flowers to the inside of the clock. To insert the fairy lights, I used my Dremel tool to drill a hole in the back plate of the clock. I strung my lights through and just like Tim, I wound them around a popsicle stick. Then I added tiny die cut butterflies with glitter to the background.
After glueing in the grass with the Mad Hatter, I added some Renea Bouquet pearls to the front of the clock, placed my lights behind the grass and closed up my clock. And there you have it! A perfect item to display in my Alice Scraps Wonderland loft!
Products Used
Tim Holtz: Idea-ology - assemblage clock, mini pocket watch; Distress Glitter - stormy skies; Distress Ink - mowed lawn | Echo Park: Alice in Wonderland - always be kind, 3x4 journaling cards, border strips, 6x6 paper pad, chipboard phrases, chipboard accents, enamel dots, blue and cream coordinating papers | Bazzill: Cardstock - string of pearls | Renea Bouquets: Beautiful Beads - bronzed teal; Alice in Wonderland - mad hatter | Spellbinders: D-Lites - flutter tree | Bead Landing: Chain Extenders - silver; Charmalong - teapot | Recollections: Microbeads - clear | The Crafters Workshop: 12 x12 Stencil - tiny circles | Ranger: Glossy Accents; Tacky Tape | Prima: Art Basics - black gesso, modeling paste; Art Alchemy Wax - turquoise satin; Mini Sachet - surf; Butterflies - farfalla; French Regalia - crowns I | Other: micro LEDs, popsicle stick, hot glue, pop dots, Dremel tool
Happy Crafting!
Adrienne
You Might Also Like:
9:00:00 AM
No comments
This is a project I created quite some time ago but just never got around to photographing. Between my contract social media work, music groups and scrapbooking clients, squeezing in time to make and photograph my own projects is pretty low on the priority list.
3:30:00 PM
No comments
9:30:00 AM
No comments
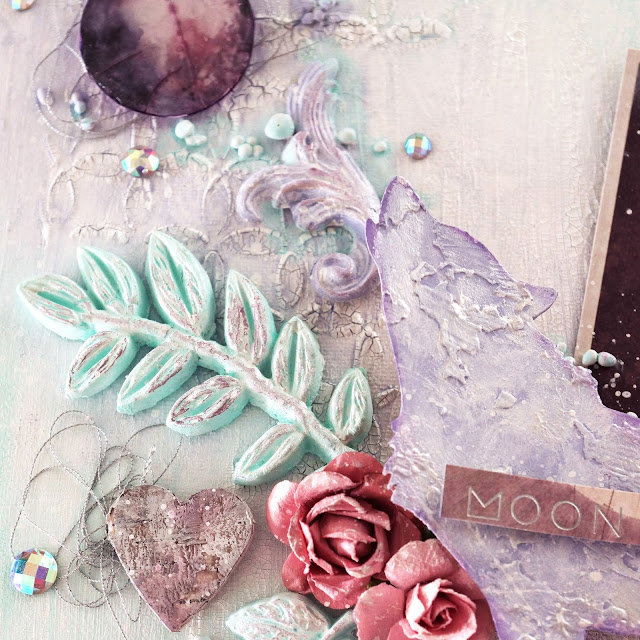
Many of the mixed media projects I have created so far have used black gesso and rich colors, however this time, I wanted to create something pastel colored with white gesso.
1:00:00 PM
No comments
8:00:00 AM
No comments
Sometimes a photo is just so pretty that you don't want a whole bunch of embellishments on the page distracting you from the photo. And that is exactly what this photo was.
8:00:00 AM
No comments
Bad weather is the perfect time to stay indoors and work on scrapbook pages. I even managed to film a process video for this one!
7:00:00 AM
No comments
1:00:00 AM
No comments


