Tim Holtz Sizzix Christmas 2021: Polar Bear Card
Glacial blues melt with this cozy card.
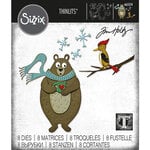
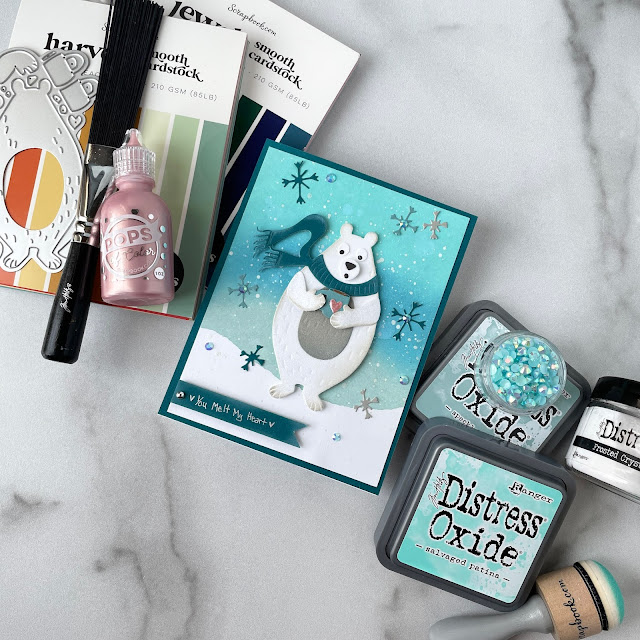
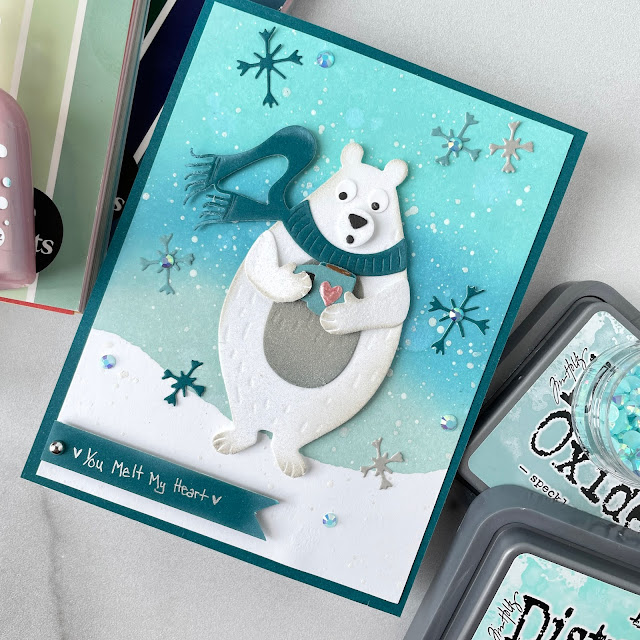
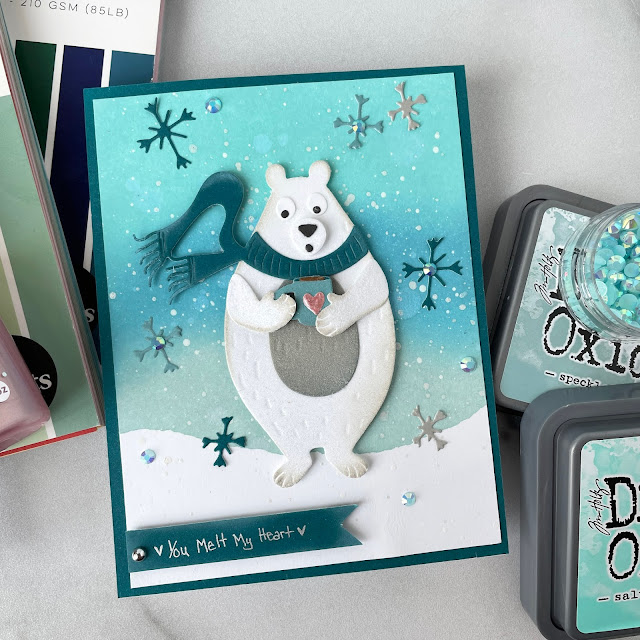
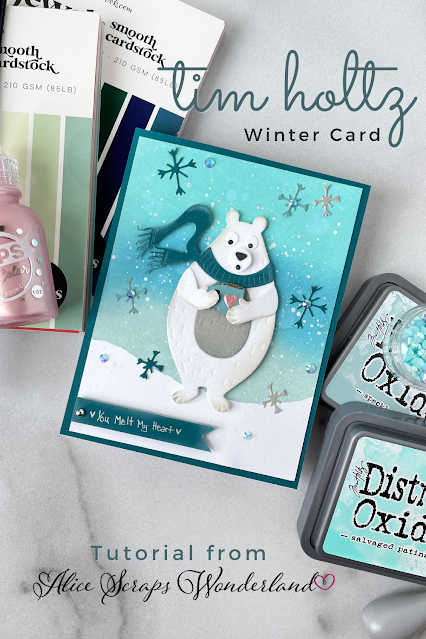
Thanks to Scrapbook.com for sending me some of the products from the Tim Holtz Sizzix holiday 2021 release! I fell in love with this sweet bear die! I also wanted an excuse to use a ton of teal on a project too so I turned him into a cute little polar bear!
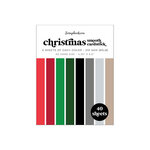
I cut the layers of the Cozy Winter die out using several of the Scrapbook.com A2 smooth cardstock pads. I just love the deep teal from the Jewels pad and the soft teal and pink in the Harvest pad. I also used the Christmas pad to cut out that adorable nose, eyes and mouth as well as the belly. For the white, I used a Solar White flat card front.
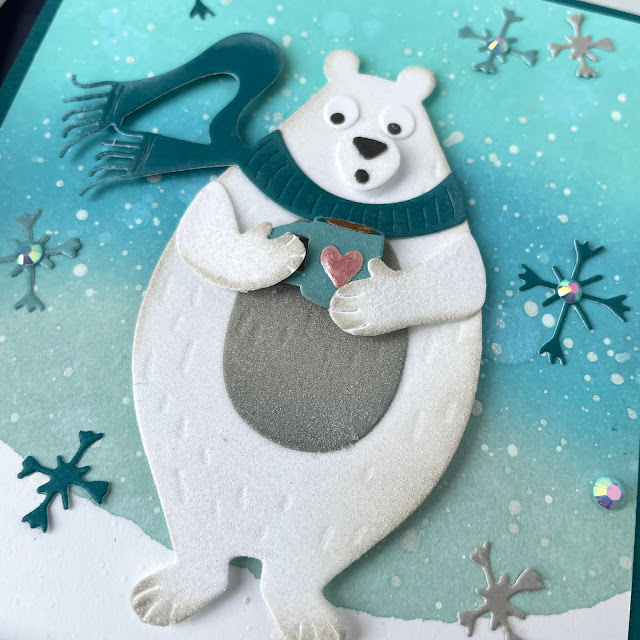
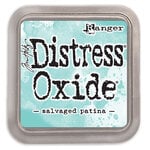
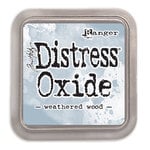
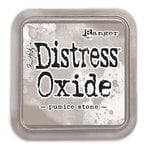
Once my layers were all cut out, I added a little Distress Oxide Ink to some of the edges of the dies. I added a bit of Salvaged Patina to the scarf and mug, Weathered Wood to the bear's belly and Pumice Stone to the white layers of the bear.
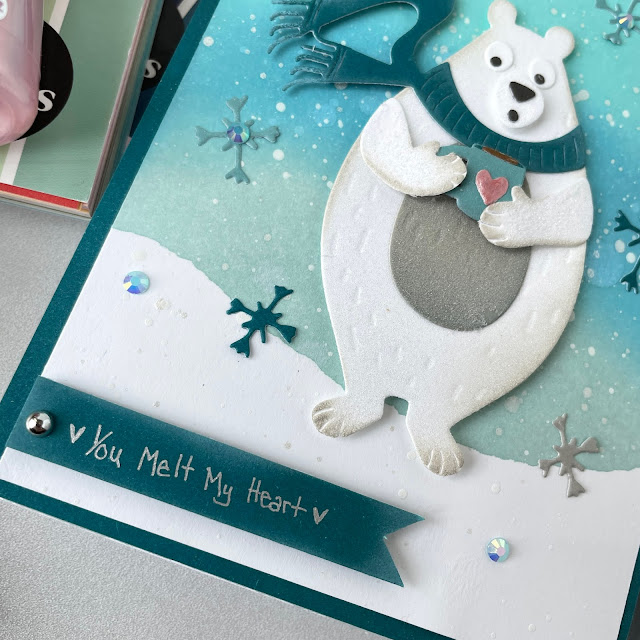
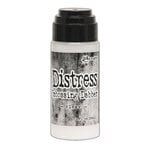
Before assembling the layers, I used the Distress Embossing Dabber to put a layer of embossing ink over the white and grey layers (except for the whites of his eyes) and then embossed the layers with Frosted Crystal. It's not because he looks frosty, I mean he sort of does, but I wanted something to mimic the texture of fur and I thought this was a nice touch. Be sure that when you do the step with the dabber that you don't rub it across the paper as it will smear your ink--just dab. Not having the entire surface covered with embossing ink and powder will add to that "furry" texture! Also, be sure to not overheat the powder or you'll turn it glossy. I recommend trying it out on a scrap piece of paper first to get the hang of it.
I glued on the eyes, scarf and belly using matte Distress Collage Medium. I then attached the layer for his mouth and nose using a foam square to pop it up and add dimension. I then glued his nose and mouth on with collage medium and did the same for the layers of the mug. To pop the mug up off his belly, I used a foam mounting square then used collage medium to glue his arms at the shoulders and to the mug, giving him a nice 3D appearance.
For the background, I cut down a flat solar white card front by a quarter inch on each side. To mask off a snowy ground, I used a piece of Scrapbook.com's 4 inch Mint Tape. I tore one edge of it to create a sloped ground and stuck it to the front of the card. I then started blending my oxide inks, starting off with Salvaged Patina at the top, then Broken China in the middle and ending with Speckled Egg. Once I was happy with the ink blend, I pulled off the Mint Tape.
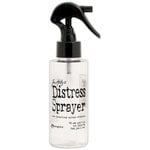
To create the look of snow falling, I used my Distress Sprayer to spritz and splatter the ink blend. I love this sprayer because it does a great job of splattering and not just misting! I dabbed off excess water with a link free cloth to lift the ink for a more pronounced look in some places and then dried it with my Ranger Heat It tool. I then watered down a small amount of Prima's Impasto paint in Snow White. Using my splatter brush, I splattered the card front.
To add a little sparkle to that snowfall, I watered down a small squeeze of Scrapbook.com's Frost Ink from the reinker bottle in a palette. Again, I used my splatter brush to add drops of sparkly snowfall to the card front. Once I was happy, I hit the card front with another blast from the heat tool to avoid smudging anything.
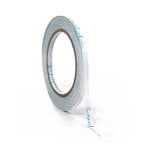
I then added the inked background onto another piece of the deep teal cardstock using 1/4 inch double sided adhesive. I then adhered the bear with some 1/4 inch foam tape and a few small foam squares. I then glued on some of the snowflakes from that same die set using collage medium.
I didn't have a stamp sentiment that I thought matched this card so I hand wrote my own using the American Crafts Metallic Marker in silver. The super fine point makes it a breeze to add small sentiments. I cut the sentiment into a banner and then added a little Salvaged Patina ink and adhered it with more foam tape. For more sparkle, I added a metallic silver droplet on the sentiment banner and a few Pinkfresh jewels because you can never have too much sparkle on a holiday card! I then used the new Scrapbook.com Pops of Color in Rose Gold to add some shimmer and dimension to the heart on the mug as well.
Wait, did I just make a project with zero flowers?! 😂 Well, there are layers and I used one of my favorite colors and some sparkle, so I guess I don't have to have flowers, lol! I think it turned out so cute and cozy and this bear melts my heart. Until next time, happy crafting!
Adrienne
Shop the Supplies:
I am an affiliate with Scrapbook.com. When you shop the links below, I receive a small commission from the affiliate, at no additional cost to you. This helps me balance the costs of the time and love I put into my projects and blog so I can continue to share my ideas with you for FREE. If you shop the links, thank you! I greatly appreciate it.
Below are products that I used or similar products.














0 comments
I'd love to hear your thoughts!