Tim Holtz Sizzix Christmas 2021: Poinsettia Gift Tag Trio
It's that time of year when things get a little chaotic in the craft world. You have one foot in Halloween/Thanksgiving/Autumn makes and the other in Holiday/Winter makes.
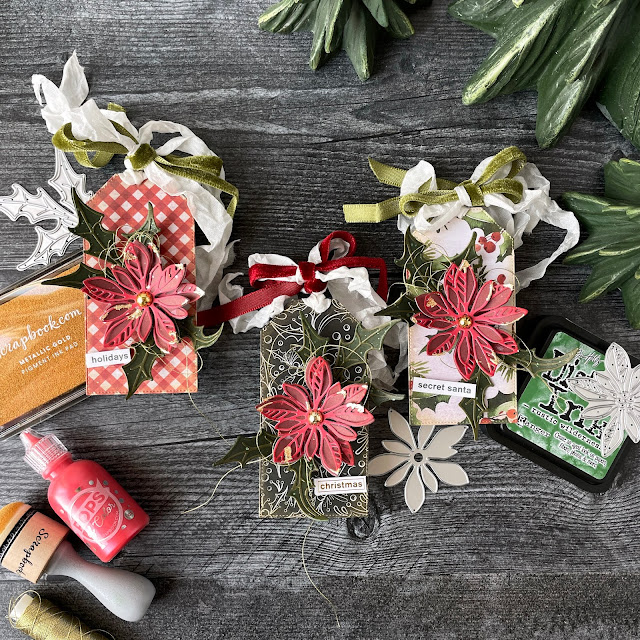
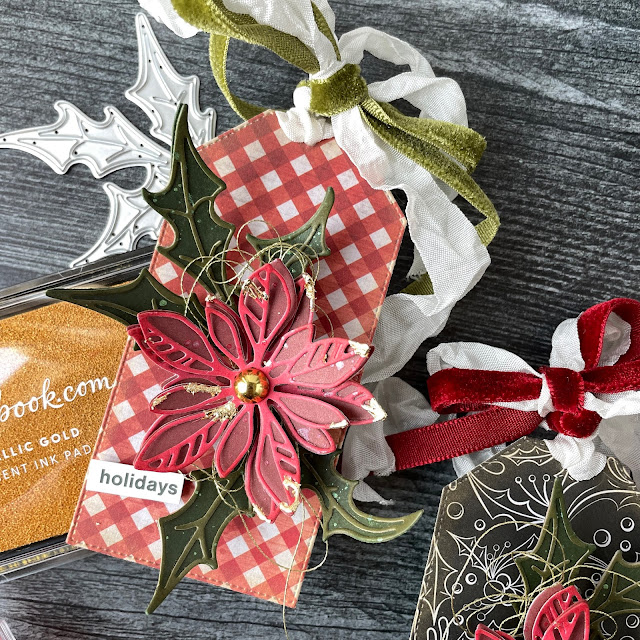
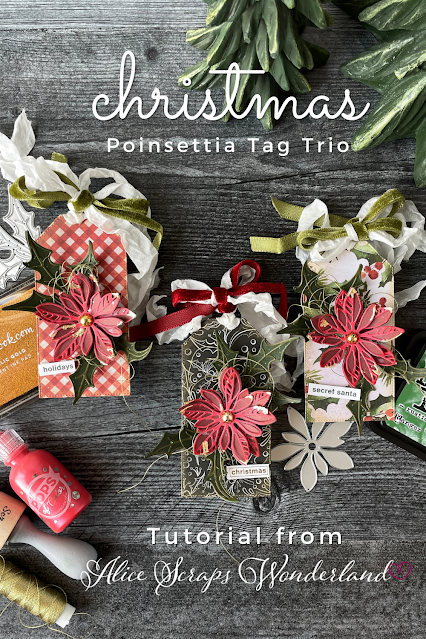
I want to give a big shoutout to Scrapbook.com for sending me some of the new Tim Holtz and Sizzix Christmas dies! If you follow me on Instagram or here on my blog, you know there are two things I absolutely adore--flowers and layers! So I created a trio of poinsettia gift tags with some serious layering!
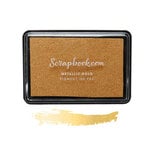
I started by choosing some holiday paper out of my stash from Tim Holtz and cutting out tags using the Carta Bella stitched tag die set, using the largest of the nesting dies. I then used Scrapbook.com's gold metallic ink and a domed foam blender to add a bit of gold to the edges of the tag to highlight that debased faux stitching. (I especially love how it turned out on the black and white patterned paper!)
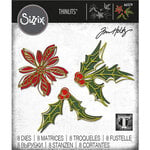
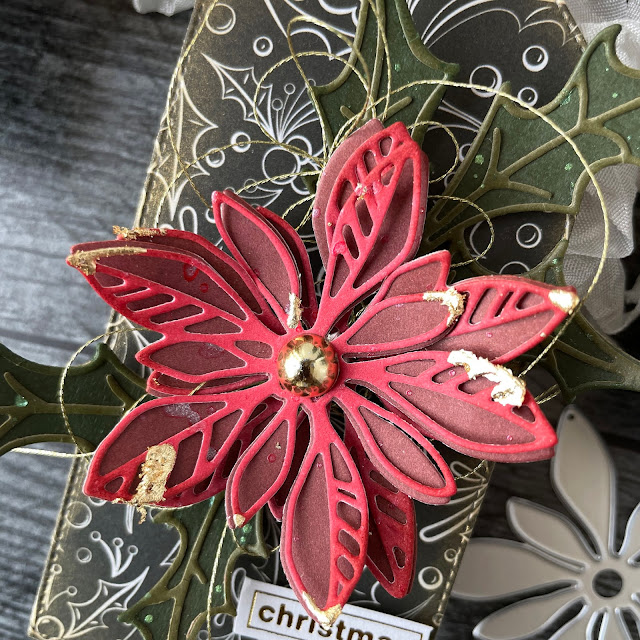
Next I selected 2 hues of red cardstock from Scrapbook.com's Christmas A2 smooth cardstock pad and cut out 6 of each of the flower layers from the new Seasonal Sketch Tim Holtz die. I then used a shaping tool to shape the flower petals.
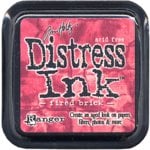
Using the matte Distress Collage Medium I glued the lighter red layer over the darker red layer, just in the center, leaving the petals unglued. Just holding the two layers together, I used a domed foam blending tool to add some Distress Ink in fired brick to some of the edges.
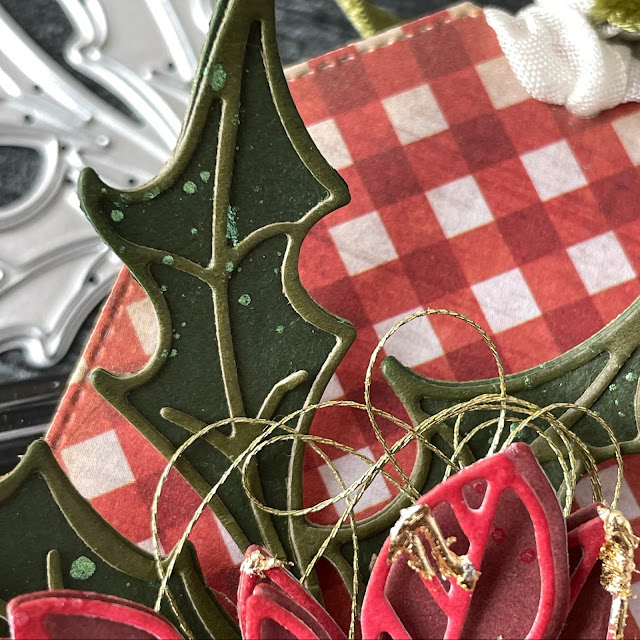
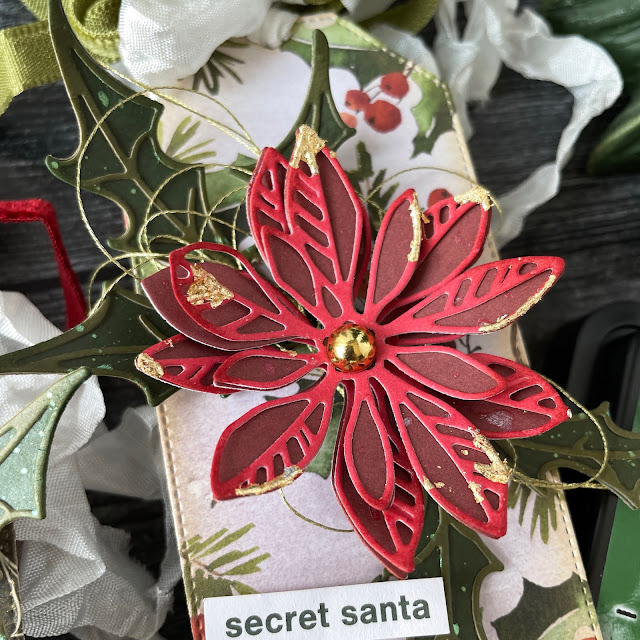
I then selected 2 hues of green from Tim's cool kraft stock pad, cutting out 1 set of leaves for each of the 3 tags. I used collage medium again to the glue the layers together, but this time gluing the entire top layer down to the bottom layer. I then used the shaping tool to give more dimension to the leaves as well. I then used a domed foam blending tool to add a bit of distress Ink in rustic wilderness to the edges of the leaves.
I placed all the red layers in my splat box and mixed a couple of drops of Pops of Color cherry pie and a drop of water together in a palette. I then used my splatter brush to add splatters of shimmer to the flowers. I set these aside and then put the leaves in the splat box.
I gave my Distress Mica Spray in bubbling cauldron a shake, unscrewed the lid and dipped a brush in. I tapped the brush above the leaves to add splatters of shimmer to the leaves then set these aside to dry as well.
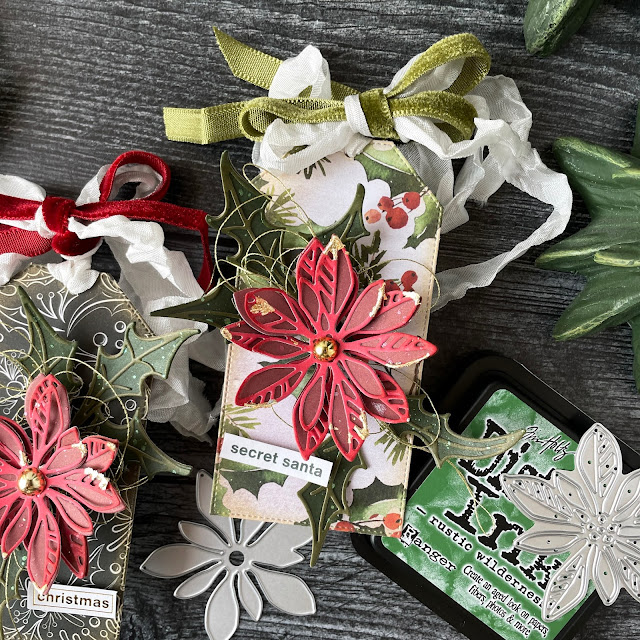
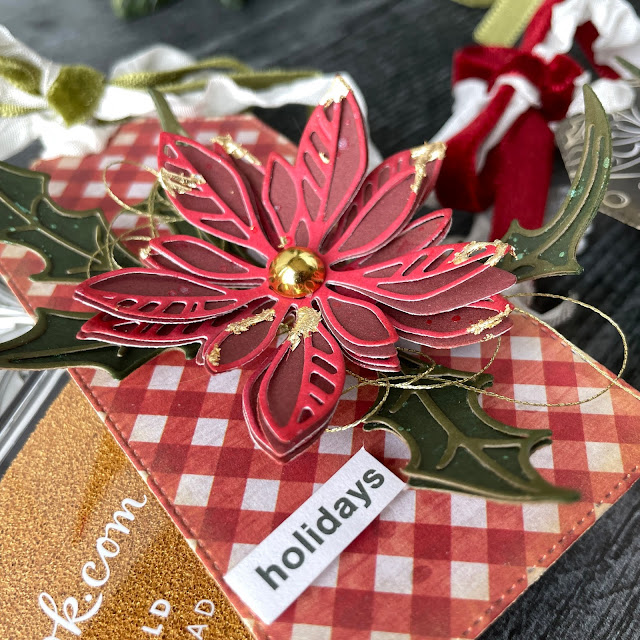
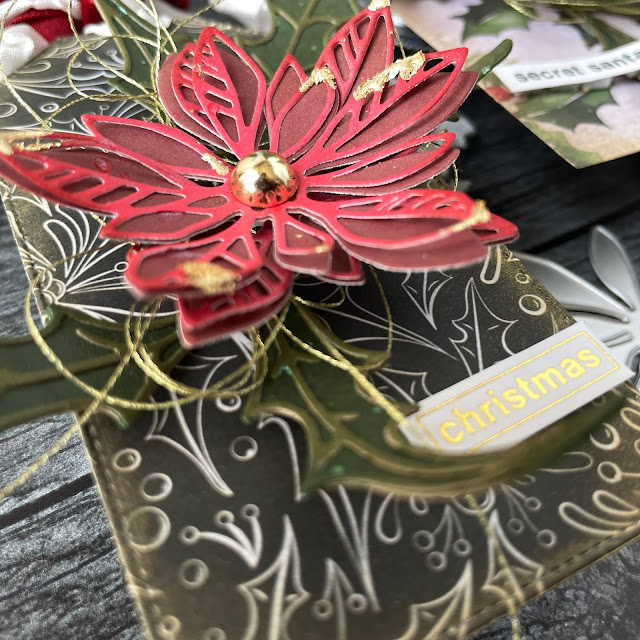
Once my flowers and leaves were dry, I began the layering process. I used a drop of Smart Glue to adhere the base of each leaf die to a tag. I then used a small foam square adhesive to layer one flower set over the other, offsetting them so that you could see all the layers.
For a bit more gold sparkle, I added a little Smart Glue here and there on the flowers, allowing it to dry. This glue remains tacky after drying so it's perfect for adding gold leaf or foil. I placed some Prima metallic gold flakes over the tacky glue and using a brush, burnished it and brushed off the excess.
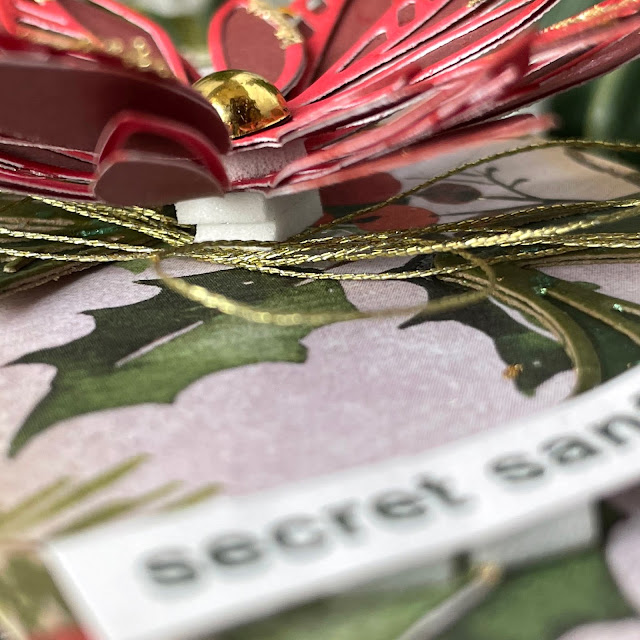
I couldn't stop with the gold so I nested up some gold thread, added 2 layers of foam squares to the back of the layered flower petals and pressed it into the nest of thread. To get the nested thread to stick to the tag, I used a small sticky square to sandwich the gold thread between the foam and the sticky square and then placed it onto the tag. (The photo above shows my layering of foam adhesive and die cuts.)
To finish off each tag, I added a sticker sentiment, a gold droplet to the center of each flower and some crinkle ribbon and velvet trim from Tim's cool and warm sets.
I don't know about you, but there is nothing I love more than lusciously layered paper flowers! Until next time, happy crafting!
Adrienne
Shop the Supplies:
I am an affiliate with Scrapbook.com. When you shop the links below, I receive a small commission from the affiliate, at no additional cost to you. This helps me balance the costs of the time and love I put into my projects and blog so I can continue to share my ideas with you for FREE. If you shop the links, thank you! I greatly appreciate it.
Below are products that I used or similar products.















0 comments
I'd love to hear your thoughts!