Window to Paradise Mixed Media Vignette Tutorial with Prima Marketing

by - 2:00:00 PM

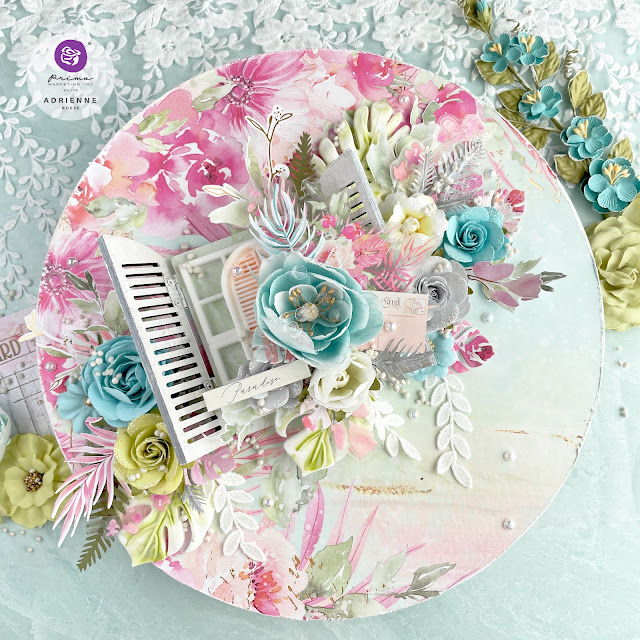
Here’s your ticket to paradise!

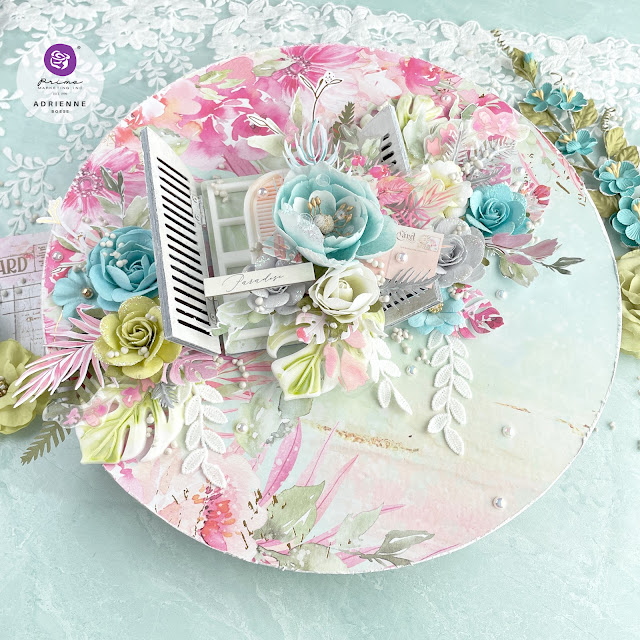
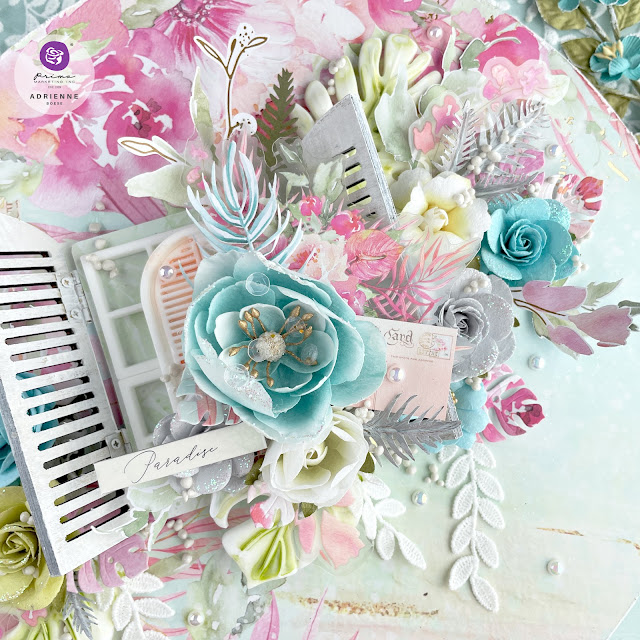
Window to Paradise mixed media created with: Prima postcards from paradise, paper, paper flowers, rub on transfers, floral ephemera, moulds; Finnabair metallique paint in dragonfly and spring blossom, woodland fern mechanicals; Frank Garcia Memory Hardware parisian shutter arch; Redesign with Prima monsterra moulds; Sharon Ziv window to the Soul mould; Sunny Studio snippets summer greenery die; Scrapbook.com foam adhesive; Dress My Craft acetate

When you think of paradise, what is the first thing that comes to mind? A tropical destination with warm sandy beaches is probably one of them. But what about something closer to home? 

Window to Paradise mixed media created with: Prima postcards from paradise, paper, paper flowers, rub on transfers, floral ephemera, moulds; Finnabair metallique paint in dragonfly and spring blossom, woodland fern mechanicals; Frank Garcia Memory Hardware parisian shutter arch; Redesign with Prima monsterra moulds; Sharon Ziv window to the Soul mould; Sunny Studio snippets summer greenery die; Scrapbook.com foam adhesive; Dress My Craft acetate

Hundartwasser, a famous Austrian architect known for his artistic designs, once said, “Art is the window to paradise.” And I very much agree with that sentiment. My craft room is like my own personal paradise that I get to play in nearly everyday. It may not have warm, sandy beaches with aqua waters, but it does have a lot of Prima flowers

Window to Paradise mixed media created with: Prima postcards from paradise, paper, paper flowers, rub on transfers, floral ephemera, moulds; Finnabair metallique paint in dragonfly and spring blossom, woodland fern mechanicals; Frank Garcia Memory Hardware parisian shutter arch; Redesign with Prima monsterra moulds; Sharon Ziv window to the Soul mould; Sunny Studio snippets summer greenery die; Scrapbook.com foam adhesive; Dress My Craft acetate

And when you get to create with a collection as gorgeous as Postcards from Paradise, it certainly makes that tropical getaway seem a lot closer. So let’s get into this little tutorial! 

Window to Paradise mixed media created with: Prima postcards from paradise, paper, paper flowers, rub on transfers, floral ephemera, moulds; Finnabair metallique paint in dragonfly and spring blossom, woodland fern mechanicals; Frank Garcia Memory Hardware parisian shutter arch; Redesign with Prima monsterra moulds; Sharon Ziv window to the Soul mould; Sunny Studio snippets summer greenery die; Scrapbook.com foam adhesive; Dress My Craft acetate

Start off with a 12 inch circle as your base. I used a white wooden one, but an MDF will work great for this too since it’s getting covered in paper. Trace out your circle onto the Floral Paradise 12x12 sheet of paper, cut it out and distress the edges. Then use a liquid adhesive to glue the paper down onto your circle, such as Soft Gloss Gel or Collage Medium. 

Window to Paradise mixed media created with: Prima postcards from paradise, paper, paper flowers, rub on transfers, floral ephemera, moulds; Finnabair metallique paint in dragonfly and spring blossom, woodland fern mechanicals; Frank Garcia Memory Hardware parisian shutter arch; Redesign with Prima monsterra moulds; Sharon Ziv window to the Soul mould; Sunny Studio snippets summer greenery die; Scrapbook.com foam adhesive; Dress My Craft acetate

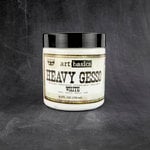
The Memory Hardware Parisian Arch Shutter perfectly matches the shutter window from Postcards from Paradise. I knew I wanted to create a window to paradise, or at least one full of flowers, for this project. I dry brushed the Parisian Arch Shutter with a bit of White Gesso to make it more white, but you can leave it as if you like. 

Window to Paradise mixed media created with: Prima postcards from paradise, paper, paper flowers, rub on transfers, floral ephemera, moulds; Finnabair metallique paint in dragonfly and spring blossom, woodland fern mechanicals; Frank Garcia Memory Hardware parisian shutter arch; Redesign with Prima monsterra moulds; Sharon Ziv window to the Soul mould; Sunny Studio snippets summer greenery die; Scrapbook.com foam adhesive; Dress My Craft acetate

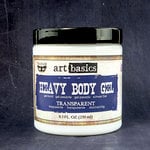
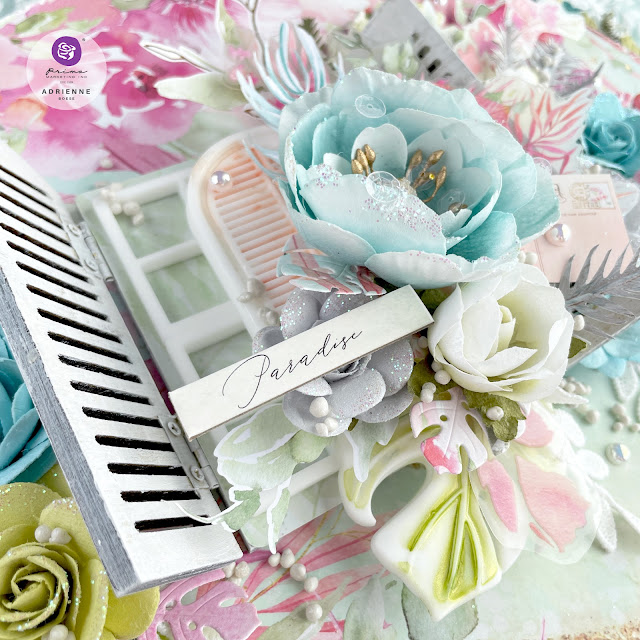
Select a green 3x4 Journaling Card and glue it to the inside of the shutter. On top of that, add two window frames from the Sharon Ziv Window to the Soul mould. Then adhere this shutter onto your circle base with a little bit of Heavy Body Gel

Window to Paradise mixed media created with: Prima postcards from paradise, paper, paper flowers, rub on transfers, floral ephemera, moulds; Finnabair metallique paint in dragonfly and spring blossom, woodland fern mechanicals; Frank Garcia Memory Hardware parisian shutter arch; Redesign with Prima monsterra moulds; Sharon Ziv window to the Soul mould; Sunny Studio snippets summer greenery die; Scrapbook.com foam adhesive; Dress My Craft acetate

While that sets up a bit, spray water onto three leaves from the ReDesign Monstera mould. Dab a little bit of Metallique Paint in Dragonfly down the center of each leaf and down veins of each leaf. Spray with more water to get the paint to flow more if needed or blot any excess off with a lint free cloth or paper towel. The goal here is to just add a touch of green to each leaf so that it looks like watercolor. Now let’s do the same thing with the shutter from the Postcards from Paradise mould, only using Metallique Paint in Spring Blossom

Window to Paradise mixed media created with: Prima postcards from paradise, paper, paper flowers, rub on transfers, floral ephemera, moulds; Finnabair metallique paint in dragonfly and spring blossom, woodland fern mechanicals; Frank Garcia Memory Hardware parisian shutter arch; Redesign with Prima monsterra moulds; Sharon Ziv window to the Soul mould; Sunny Studio snippets summer greenery die; Scrapbook.com foam adhesive; Dress My Craft acetate

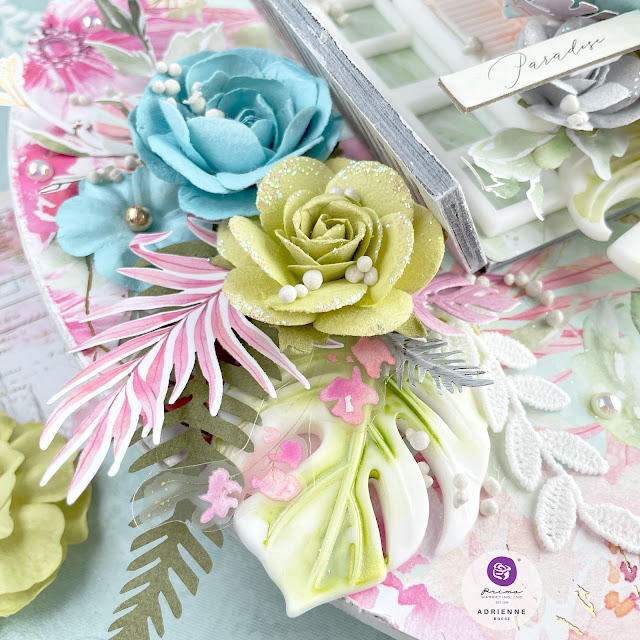
Once the Monstera leaves are dry, glue them down onto your project, placing one on either side of the window. Don’t be afraid to get them under there so that they prop up the shutters a bit. The third one gets glued down to the bottom right of the window. I used Heavy Body Gel for this, so I found placing an acrylic stamping block on top of it to hold it in place while the glue dried a bit very helpful. 

Window to Paradise mixed media created with: Prima postcards from paradise, paper, paper flowers, rub on transfers, floral ephemera, moulds; Finnabair metallique paint in dragonfly and spring blossom, woodland fern mechanicals; Frank Garcia Memory Hardware parisian shutter arch; Redesign with Prima monsterra moulds; Sharon Ziv window to the Soul mould; Sunny Studio snippets summer greenery die; Scrapbook.com foam adhesive; Dress My Craft acetate

While the glue for the Monsterra starts to cure a bit, paint some Mechanicals Woodland Ferns with a little bit of White Gesso. This helps it match the project better. Set these aside to dry a bit while you work on the next few things. (The Woodland Ferns aren't sold in most stores now, so I have included two different options for you below of similar Mechanicals.)

Window to Paradise mixed media created with: Prima postcards from paradise, paper, paper flowers, rub on transfers, floral ephemera, moulds; Finnabair metallique paint in dragonfly and spring blossom, woodland fern mechanicals; Frank Garcia Memory Hardware parisian shutter arch; Redesign with Prima monsterra moulds; Sharon Ziv window to the Soul mould; Sunny Studio snippets summer greenery die; Scrapbook.com foam adhesive; Dress My Craft acetate

I wanted to add some die cut monstera leaves to this project as well to add a bit more of the paper, so I die cut some Sunny Studio Summer Greenery monstera leaves from what was left over of the 12x12 sheet that I cut the circle out of. You can add any type of leaf die to this project and it will look amazing, so don’t worry about not having a tropical leaf die!

Window to Paradise mixed media created with: Prima postcards from paradise, paper, paper flowers, rub on transfers, floral ephemera, moulds; Finnabair metallique paint in dragonfly and spring blossom, woodland fern mechanicals; Frank Garcia Memory Hardware parisian shutter arch; Redesign with Prima monsterra moulds; Sharon Ziv window to the Soul mould; Sunny Studio snippets summer greenery die; Scrapbook.com foam adhesive; Dress My Craft acetate

Pick out some of the Rub On Transfers that have lots of florals. I chose one large bouquet and a couple of sprigs. Apply these to some thick acetate (I like the 25 mil pack from Dress My Craft) and then cut these out with your favorite pair of sharp scissors. Now they are perfect for layering over and under paper flowers! Then pick out some floral ephemeraephemera—some green leaves, pink flowers and a blue fern leaf, as well as the postcard from the regular icons ephemera pack. I also pre-trimmed some of my favorite vine lace from Reneabouquets to add to this project as well. 

Window to Paradise mixed media created with: Prima postcards from paradise, paper, paper flowers, rub on transfers, floral ephemera, moulds; Finnabair metallique paint in dragonfly and spring blossom, woodland fern mechanicals; Frank Garcia Memory Hardware parisian shutter arch; Redesign with Prima monsterra moulds; Sharon Ziv window to the Soul mould; Sunny Studio snippets summer greenery die; Scrapbook.com foam adhesive; Dress My Craft acetate

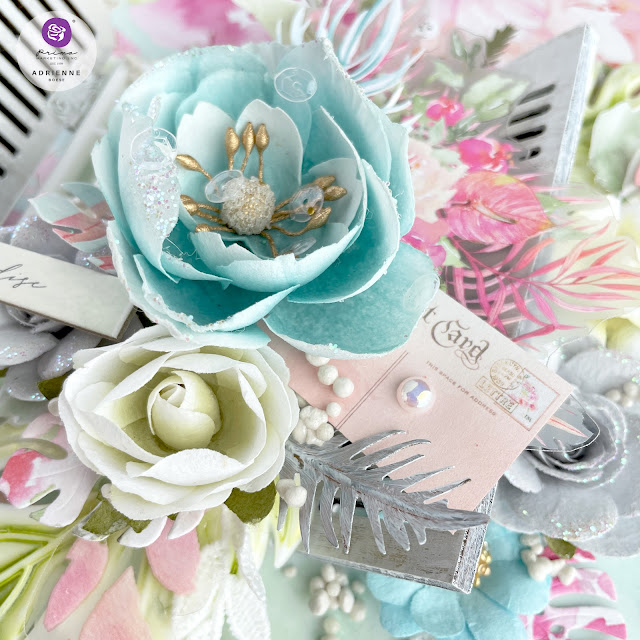
Now it’s time to start adding on all the paper flowers, ephemera and more on this project. Start by adding a little foam adhesive, cardboard or other type of element to the top of your shutter mould that will help you pop it up so you can layer it over the monstera leaf mould. Using foam adhesive or cardboard is a great way to keep all of your elements level for more stacking. Then used Heavy Body Gel to actually glue it in place. I tucked a fern leaf from one of the flower packs in under the the shutter mould. 

Window to Paradise mixed media created with: Prima postcards from paradise, paper, paper flowers, rub on transfers, floral ephemera, moulds; Finnabair metallique paint in dragonfly and spring blossom, woodland fern mechanicals; Frank Garcia Memory Hardware parisian shutter arch; Redesign with Prima monsterra moulds; Sharon Ziv window to the Soul mould; Sunny Studio snippets summer greenery die; Scrapbook.com foam adhesive; Dress My Craft acetate

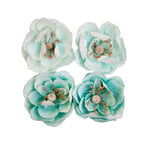
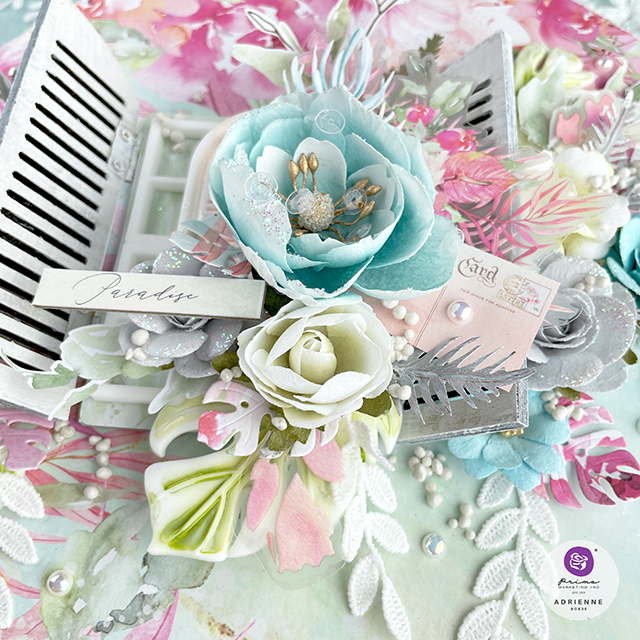
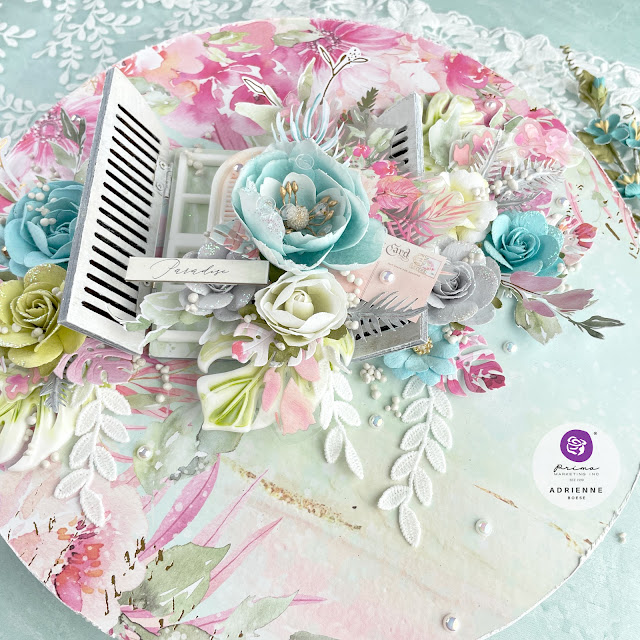
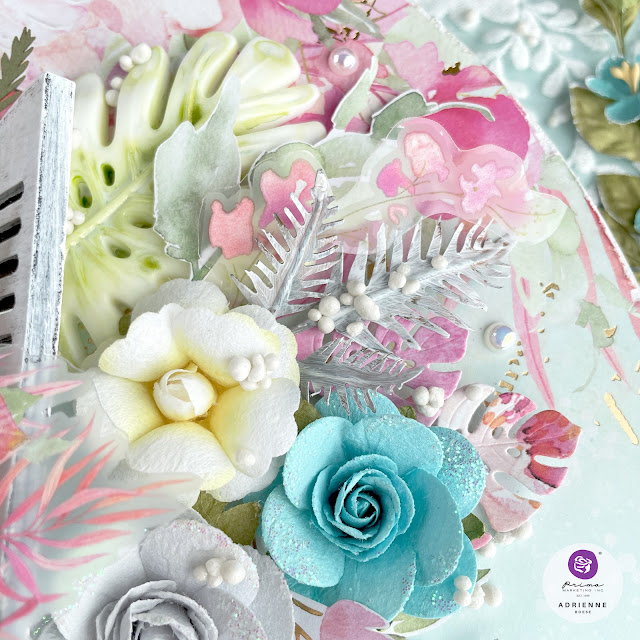
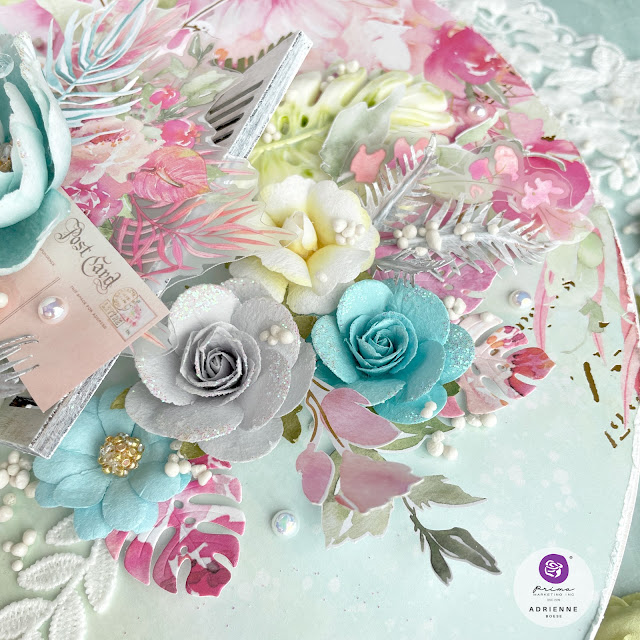
The bouquet Rub On Transfer got a little bit of foam to pop it up as well. Angle it so that it sticks out to your liking. On top of the shutter mould and rub on transfer, add flowers then tuck in a lace vine, die cut leaves, a small woodland fern, and ephemera. 

Window to Paradise mixed media created with: Prima postcards from paradise, paper, paper flowers, rub on transfers, floral ephemera, moulds; Finnabair metallique paint in dragonfly and spring blossom, woodland fern mechanicals; Frank Garcia Memory Hardware parisian shutter arch; Redesign with Prima monsterra moulds; Sharon Ziv window to the Soul mould; Sunny Studio snippets summer greenery die; Scrapbook.com foam adhesive; Dress My Craft acetate

Repeat the same process on either side of the window, working on one side at a time. Once all of your lace, flowers, ephemera, die cuts and more are in place, use some Soft Gloss Gel to apply Art Stones around your project. To finish it off, add some pearls from the Shaker Confetti and a Chipboard Sticker that says “Paradise.” 

Window to Paradise mixed media created with: Prima postcards from paradise, paper, paper flowers, rub on transfers, floral ephemera, moulds; Finnabair metallique paint in dragonfly and spring blossom, woodland fern mechanicals; Frank Garcia Memory Hardware parisian shutter arch; Redesign with Prima monsterra moulds; Sharon Ziv window to the Soul mould; Sunny Studio snippets summer greenery die; Scrapbook.com foam adhesive; Dress My Craft acetate

I think this is a really pretty project and I love that it creates a little window vignette. It was a fun challenge layering moulds on top of each other, but with a little foam adhesive and an acrylic stamp block, it was a breeze. I hope that you enjoyed this little tutorial! 
Until next time, happy crafting!
Adrienne 

Shop the Supplies:


Scrapbook.com

I am an affiliate with Scrapbook.com. When you shop the links below, I receive a small commission from the affiliate, at no additional cost to you. This helps me balance the costs of the time and love I put into my projects and blog so I can continue to share my ideas with you for FREE. If you shop the links, thank you! I greatly appreciate it.

Below are products that I used or similar products.


Amazon

I am an affiliate with Amazon. When you shop the links below, I receive a small commission from the affiliate, at no additional cost to you. This helps me balance the costs of the time and love I put into my projects and blog so I can continue to share my ideas with you for FREE. If you shop the links, thank you! I greatly appreciate it.






You May Also Like

0 comments

I'd love to hear your thoughts!