Prima Marketing Postcards from Paradise: Easy Layered Card Tutorial
It’s release day for Prima Marketing and today we are celebrating the gorgeous Postcards from Paradise collection from The 3 Girls Tale!
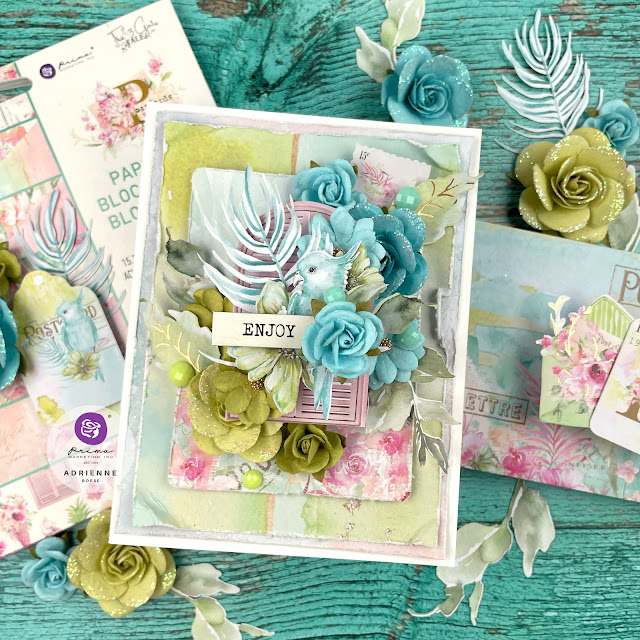
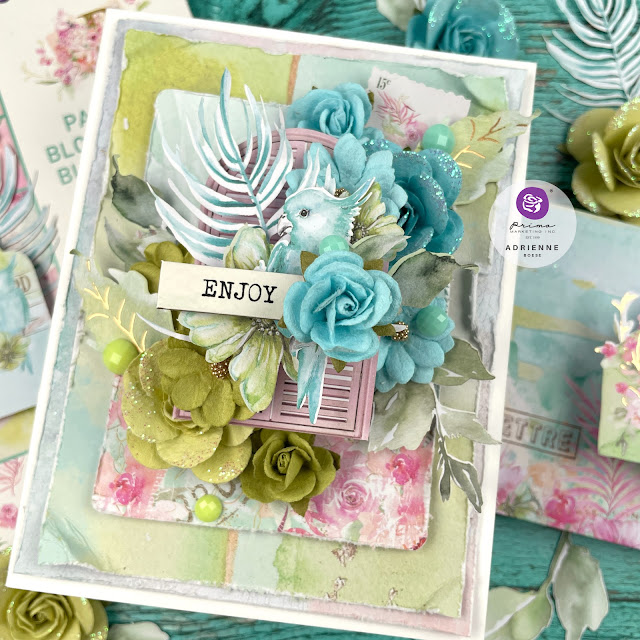
This collection has me envisioning a tropical paradise with warm, sandy beaches and a cool drink in my hand. It’s the perfect collection for sending some warm wishes to a friend or family member. So I used pretty aqua and chartreuse colored elements to create a layered card.
Now this isn’t the type of card you’d send in the mail. This is one you would want to hand deliver to the recipient or attach to the outside of a gift. I love taking advantage of hand delivering to create that extra dimension on my cards! I’ll have a full tutorial video up on my YouTube channel, but if you’d rather read the directions, then keep scrolling!
Here’s what you’ll need to make this project:
- 662233 Postcards from Paradise Collection 6x6 Paper Pad
- 662240 Postcards from Paradise Collection Journaling Cards
- 662301 Postcards from Paradise Collection Ephemera
- 662318 Postcards from Paradise Collection Floral Ephemera
- 662356 Postcards from Paradise Collection Say it in Crystals
- 662288 Postcards from Paradise Collection Chipboard Stickers
- 664565 Postcards from Paradise Collection Aloha Flowers
- 664541 Postcards from Paradise Collection Harmony Flowers
- 963040 Art Basics Heavy Body Gel
Some other supplies you might find useful include:
- Smooth white cardstock
- Roller adhesive
- 1/8 inch double sided adhesive
- Foam adhesive
- Scissors
- Distressing tool or blade
- Rectangle die and die cut machine
- White flowers
This card is an A2 size, so I’ll be providing those measurements for you. Start by cutting a piece of smooth white cardstock to 8.5 x 5.5 inches and score it at 4.25 inches to create a card that is 5.5 inches tall by 4.25 inches wide.
Take 2 sheets of patterned paper from the 6x6 paper pad: a blue/pink sheet and a green/blue sheet. These are background type patterns without much on them, but make the perfect base layers. Cut the blue/pink sheet to 5.25 x 4 inches and the green/blue paper to 5 x 3.75 inches.
I don’t like to waste paper so for the blue/pink paper which is the bottom patterned paper layer in this card, I die cut out the center of it using a 3 x 4 inch rectangle die. I’ll use this paper later for another card or to die cut leaves from for another project. This isn’t a necessary step, but I like to be as environmentally friendly in my craft room as possible—and this is a collection about paradise, after all!
Next, distress the edges of the two patterned papers with a distressing tool or a blade. Place 1/8 inch double sided adhesive around the rectangle cut out on the blue/pink sheet or on the back of the green/blue sheet (leave some room along the edges) and place the green/blue paper on top of the other patterned paper. Distress the edges of the green/blue paper further by adding small tears and folding the corners a bit for some more dimension.
Select the journaling card that has the script word “escape” on it. We’ll be covering up this script with our other elements. Distress the edges of the journaling card and adhere it down with some foam adhesive to pop it up a bit.
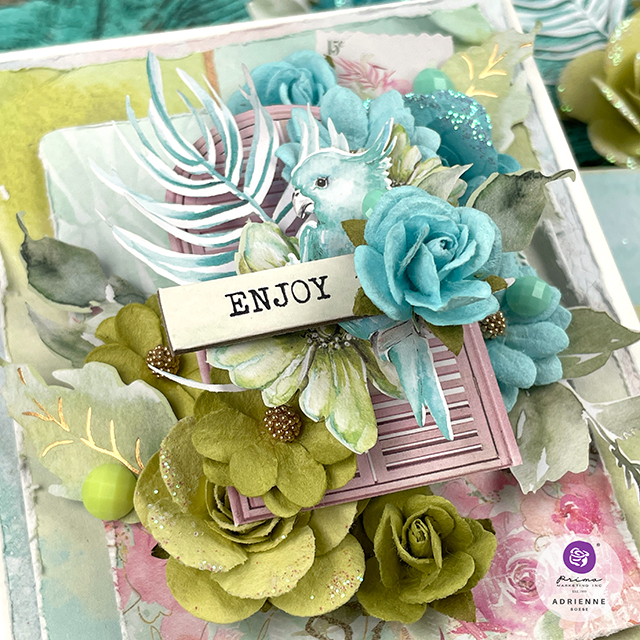
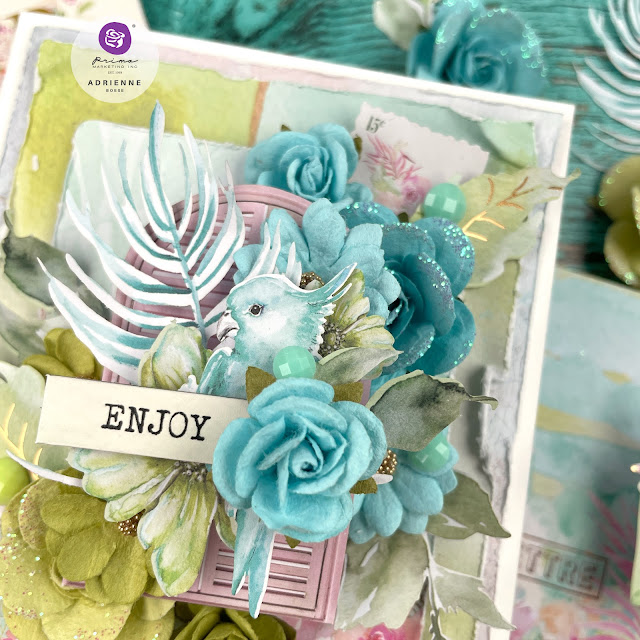
Pull out these supplies for the embellishments: some green and blue flowers from the Aloha and Harmony flower set (I used the smallest flowers in the Harmony set); a blue fern and green leaves from the Floral Ephmera pack; and some green flowers, postage stamp, blue parrot and small louvered doors from the Ephemera pack.
You may also want to use one of the grey flowers from the Harmony flower pack, or a white flower with similar height to it as the blue and green Harmony flowers. This flower won’t really be seen because it will help support the louvered door ephemera. I used a Dry Desert flower from the Pretty Pale collection. I have a couple left over and this is a good way to use them up.
Using Heavy Body Gel, glue your large blue and green flower in place. I held the ephemera door piece up to make sure I got the two flowers in the right place. Then I added a piece of foam adhesive to the back of the white flower to pop it up to the same height as the green and blue flowers and added it to the center with a dollop of Heavy Body Gel.
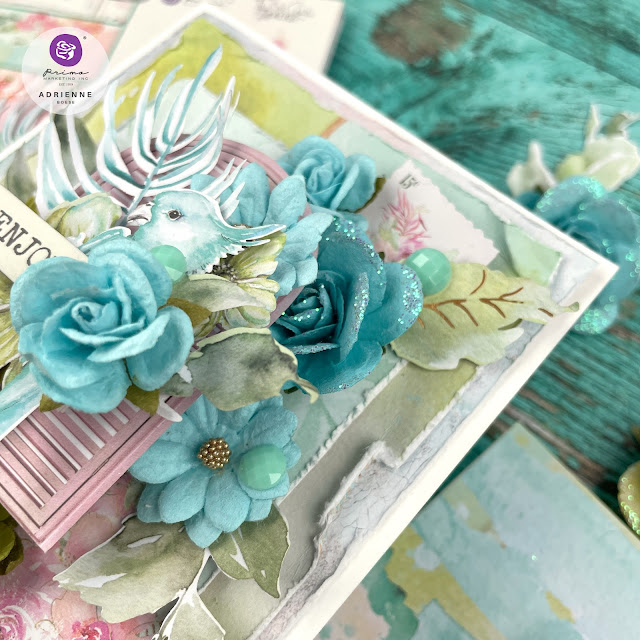
Add the door ephemera piece with some heavy body gel and then tuck in some of the smaller flowers around the two flowers already on the card. Tuck in some green leaf ephemera and the postage stamp ephemera piece.
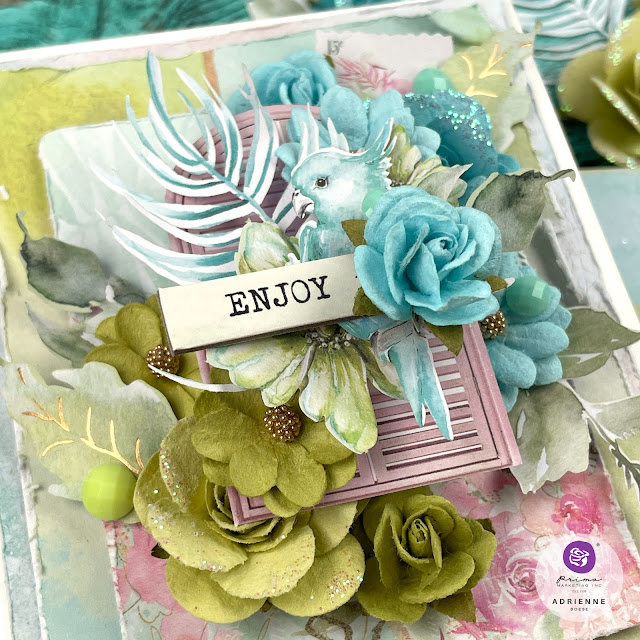
Add some small pieces of foam to the back of the parrot ephemera and layer the two pieces of green flower ephemera under him so they are peeking out just a little. Curl the edges of the blue fern ephemera piece with your fingers and add it to the ephemera cluster, holding it in place with a layer or two foam adhesive (I trimmed the stem off just a tiny bit before layering it underneath).
Adhere the small blue and green flowers with less dimension to the top of the door with Heavy Body Gel. Then adhere the layered parrot ephemera in place and adjust your flowers on the door if needed. The parrot gets the “enjoy” chipboard sticker on top as well as one more blue flower with a piece of leaf ephemera tucked under it.
Finally, add a few gems to the card and adhere it to your piece of white cardstock with some roller adhesive! I really love how this card turned out. I’ll be presenting it to my niece who turns 4 later this summer. Her party is a “zoofari” theme, so this is the perfect collection to match her party theme! At our local zoo, we have a whole room of bright and colorful Budgies you can walk through, and this little parrot ephemera sort of reminds me of them (I know, I know, Budgies are parakeets, but still, the colors match)!
Until next time, happy crafting!
Adrienne
Shop the Supplies:
Scrapbook.com
I am an affiliate with Scrapbook.com. When you shop the links below, I receive a small commission from the affiliate, at no additional cost to you. This helps me balance the costs of the time and love I put into my projects and blog so I can continue to share my ideas with you for FREE. If you shop the links, thank you! I greatly appreciate it.
Below are the elements from the Postcards From Paradise collection and Prima Marketing that I used.







0 comments
I'd love to hear your thoughts!