Prima Marketing Postcards from Paradise: Flamazing Altered Embroidery Hoop Tutorial
It’s another release day for Prima Marketing, and today is the colorful and tropical Postcards from Paradise collection.
This collection from The 3 Girls Tale is all summer vibes, in bright hues of pink, aqua and chartreuse in their signature watercolor style. I’m usually all about the pastels, but I’m totally smitten with this collection! It has me dreaming of sandy beaches, crystal clear waters, warm breezes and tropical plants.
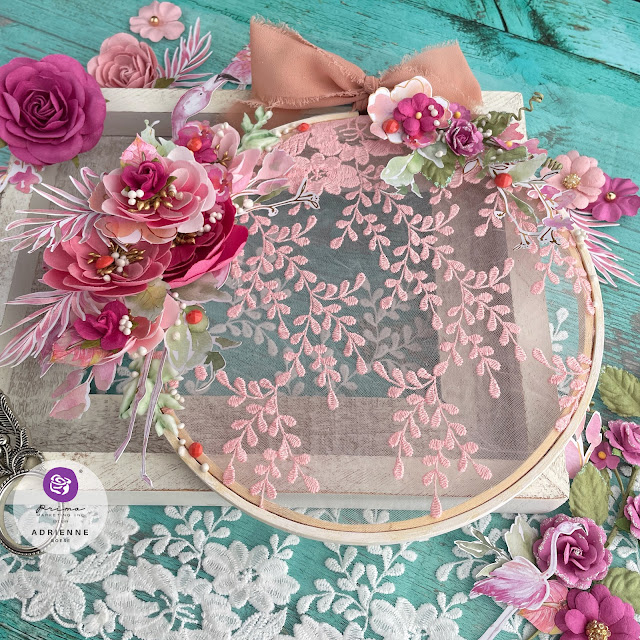
One of the things that really caught my eye about this collection (besides the beautiful flowers) was the gorgeous lace. It’s such a fun element to incorporate into mixed media and altered projects and I was so excited to use it in a project. I decided the perfect way to really highlight just how beautiful this lace is, was to display it in an altered embroidery hoop.
Make sure that you check out the YouTube tutorial video over on the Prima Channel for this project to each step!
Here is what you’ll need to recreate this project:
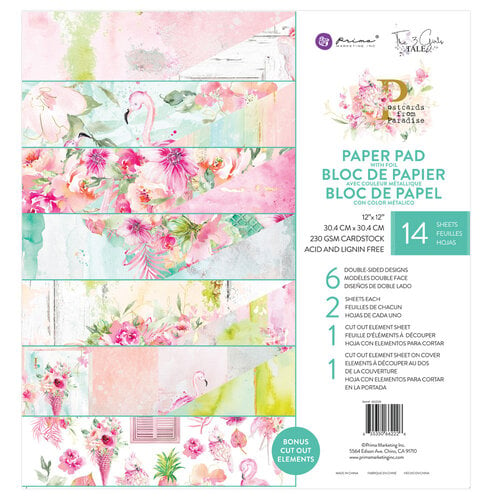
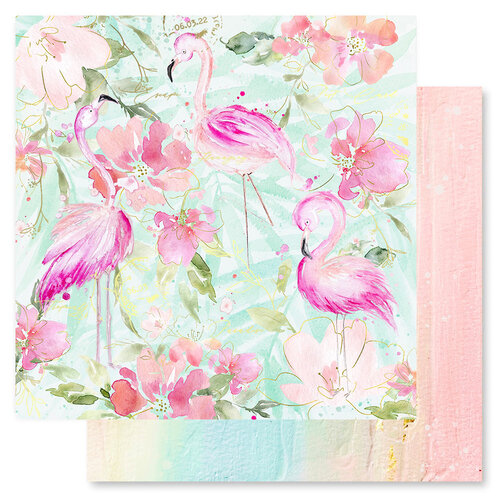
- 662226 Postcards from Paradise 12x12 Paper Pad, or the singular 850548 Flamazing sheet of paper
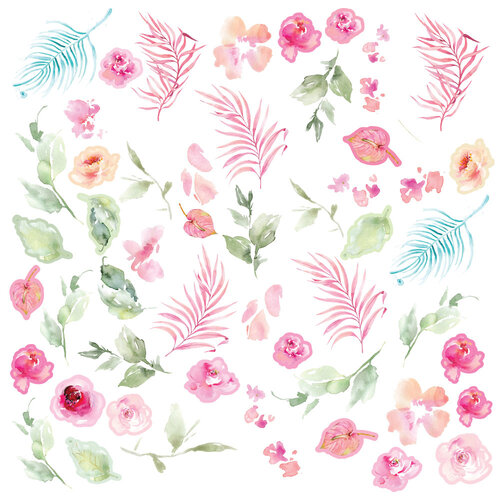
- 662318 Postcards from Paradise Floral Ephemera
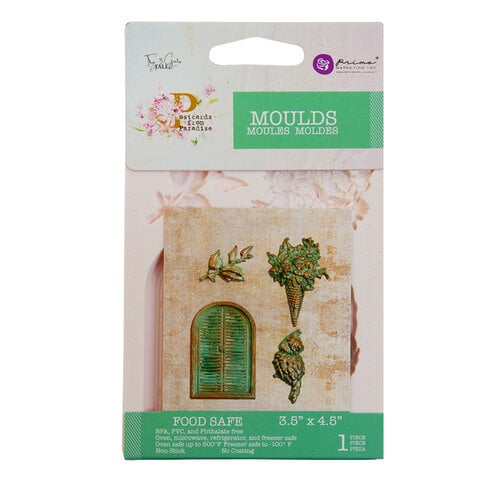
- 662332 Postcards from Paradise Moulds and your choice of resin or paper clay
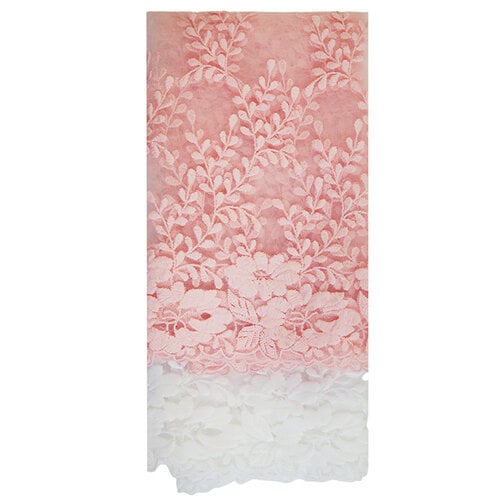
- 662325 Postcards from Paradise Lace
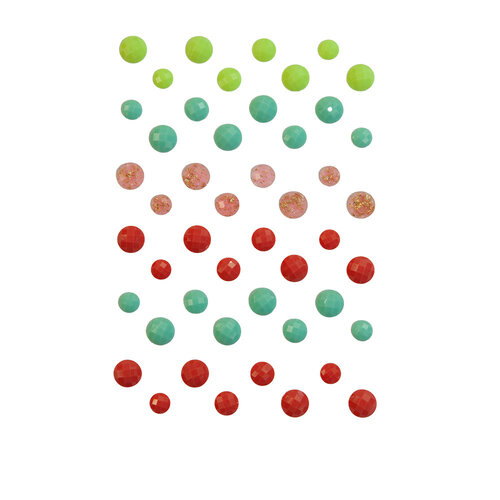
- 662356 Postcards from Paradise Say it in Crystals
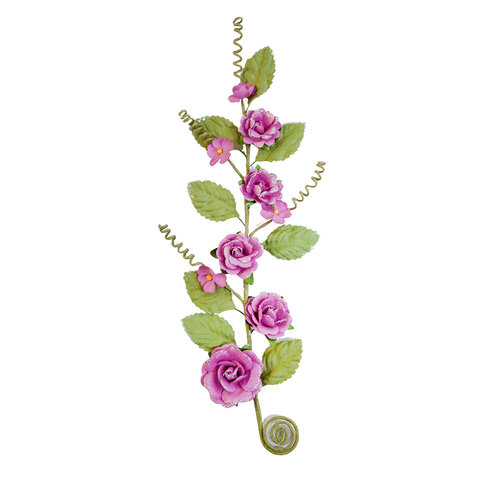
- 664510 Postcards from Paradise May Flowers
- 664565 Postcards from Paradise Aloha Flowers
- 664534 Postcards from Paradise Blissful Day Flowers
- 963040 Art Basics Heavy Body Gel
- 961435 Art Basics Soft Gloss Gel
- 964511 Art Alchemy Impasto Paint in Snow White
- 966423 Art Alchemy Impasto Paint in Victorian Green
- 963705 Art Ingredients Art Stones
- 631895 Art Philosophy Metallic Pastel Accents Watercolors
Other items you’ll need or will find handy:
- 8 inch embroidery hoop
- Paintbrushes
- Small pair of scissors or a craft knife and self healing mat
- Fabric scissors
- Foam adhesive
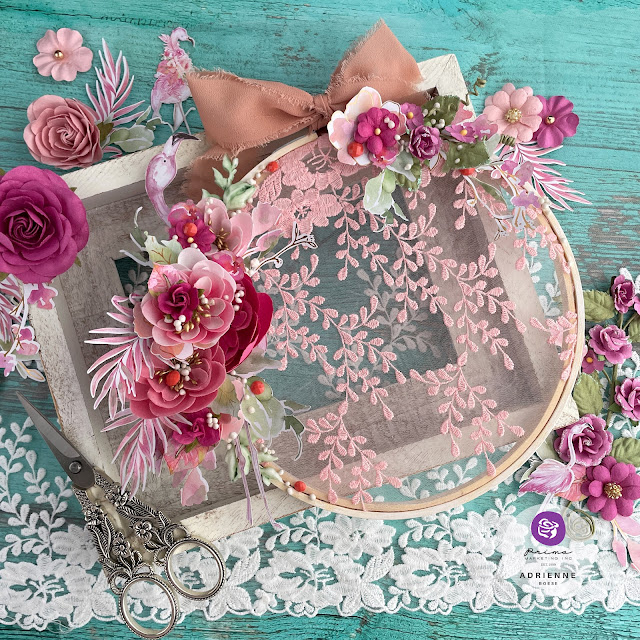
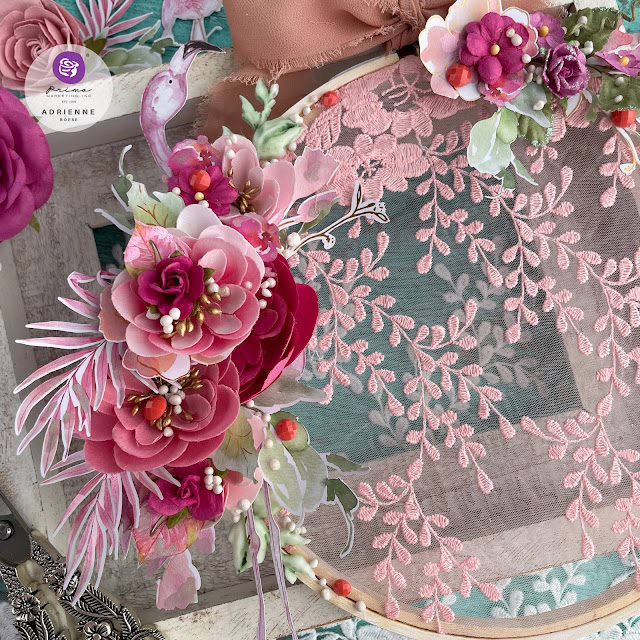
Because I wanted to use a flamingo from the Postcards from Paradise paper pad, I decided to use the pink lace to create an all pink project. Start by adding the lace to an 8 inch embroidery hoop and trimming off the excess. I decided to put the flowers at the top so that it looked like the vines were hanging down. Then dry brush on a little bit of Snow White impasto paint onto the edges of the embroidery hoop just to add a bit of a shabby chic touch.
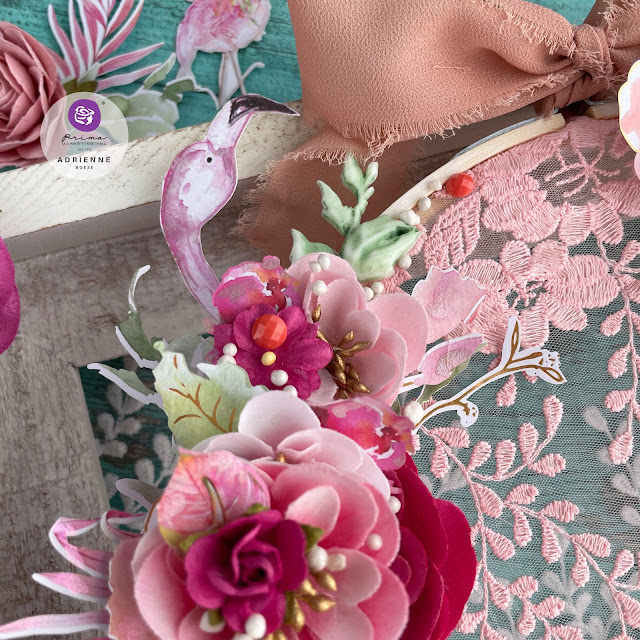
Next you’ll fussy cut a flamingo from the Flamazing paper from the 12x12 pad (if you are using a smaller embroidery hoop, one of the flamingos on the cut out sheets will work perfectly). I like to use a swivel craft knife for fussy cutting, but a small pair of scissors is also a good option for fussy cutting. After your flamingo is cut out, add some Metallic Pastel watercolor to areas of the flamingo, because this flamingo must be “flamazing” and sparkly!
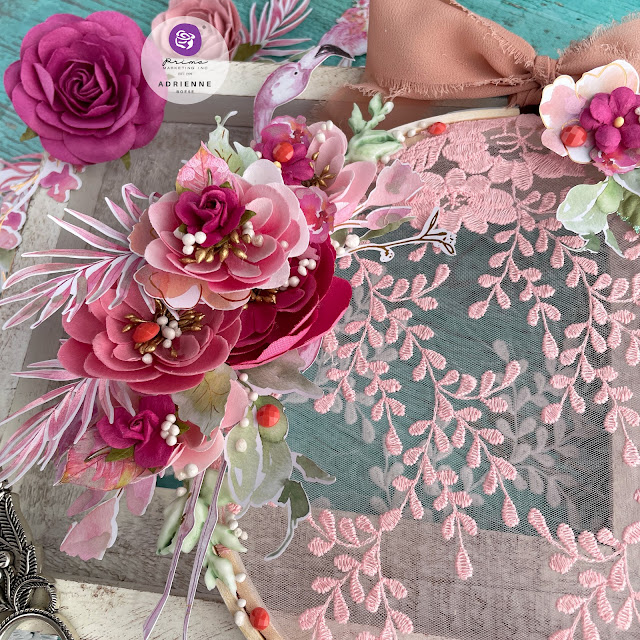
Attach the flamingo to the embroidery hoop with two layers of foam adhesive, making sure that most of the foam adhesive attaches to the wooden edge of the embroidery hoop for stability. Pull out all the pink flowers you want to add, the Floral Ephemera pack and two leaf sprigs from the Moulds.
Paint the leaf moulds with some watered down Victorian Green Impasto Paint. Before the paint dries, wipe the raised areas or highlights with a baby wipe, lint free towel or paper towel to bring back some of the white. (If you are using air dry or paper clay, paint your moulds with gesso or the Snow White Impasto Paint first.)
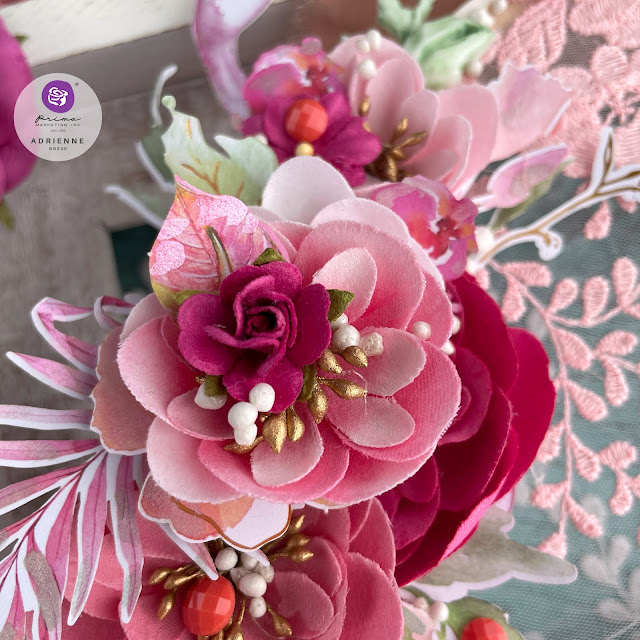
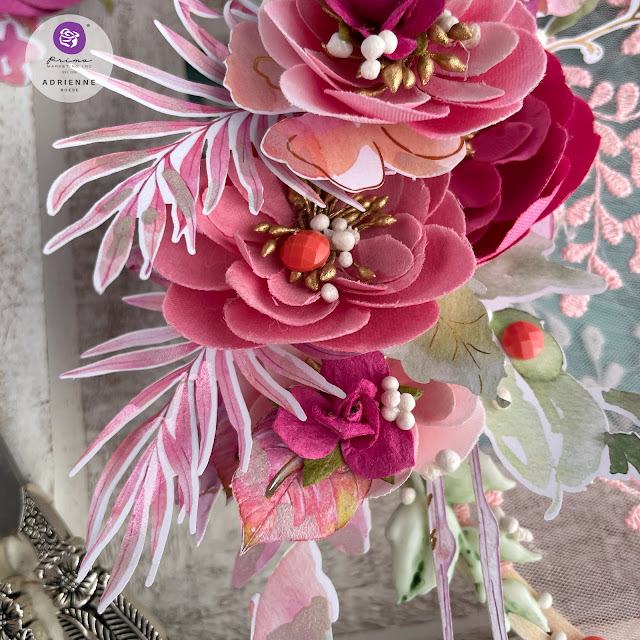
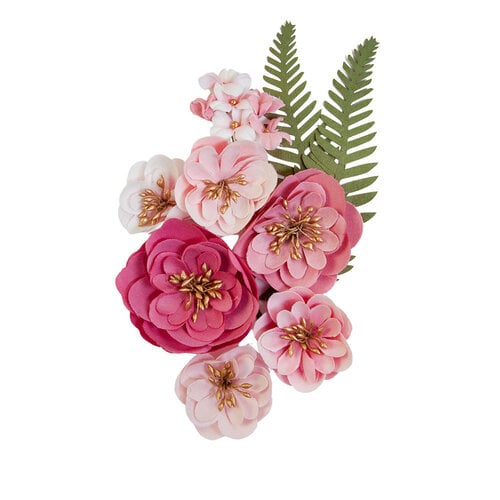
Using Heavy Body Gel, adhere your flower and ephemera cluster in place. If you need to pop an element up, use some foam adhesive. I used several pieces of ephemera, but made sure to use 2 of the pink fern-like florals to mimic a flamingo’s feathers and wings. I added in a few green leaf ephemera pieces too, as this seems more natural thank all pink leaves. Then tuck in your leaf moulds above and below the flower cluster to frame it in.
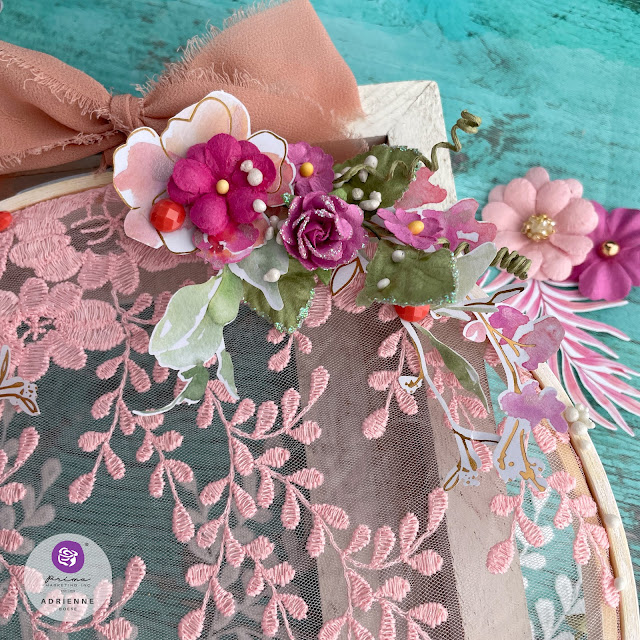
On the opposite side of the embroidery hoop, add another small cluster of ephemera pieces and a small pink flower for a bit of balance. Take out the watercolors again and add some accents to the pink parts of your ephemera for additional sparkle.
Once all of these elements are in place and you’ve added metallic watercolors, apply some Art Stones for a bit of texture, using Soft Gloss Gel. For a final sparkly touch, add some of the salmon pink gems from the Say it in Crystals set.
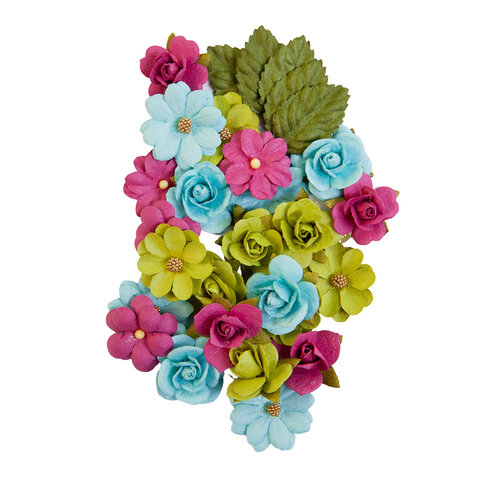
I think this collection is just stunning and has so many beautiful elements to it. And don’t worry, I’ll be using the green and aqua flowers in this collection as well!
Until next time, happy crafting!
Adrienne
Shop the Supplies:
Scrapbook.com
I am an affiliate with Scrapbook.com. When you shop the links below, I receive a small commission from the affiliate, at no additional cost to you. This helps me balance the costs of the time and love I put into my projects and blog so I can continue to share my ideas with you for FREE. If you shop the links, thank you! I greatly appreciate it.
Below are the elements from the Postcards From Paradise collection that I used.




0 comments
I'd love to hear your thoughts!