
Off the Page: Spellbinders Cardfront Sentiments Mixed Media Tutorial
Raise your hand if you love to receive craft supplies! Here's a little something you can make and display in your craft room to remind your loved ones that they should buy you craft supplies.

When it comes to projects that I do on behalf of Spellbinders, I usually create tags or cards. But my favorite paper craft is mixed media. And when I saw this quote from the new Glimmer Cardfront Sentiments collection, I was rolling with laughter. And the idea came to me that I needed to make this and hang it front and center in my craft room as a good reminder to my family what I love to be gifted!

I wanted the Glimmer sentiment to be the star of this canvas, so I chose a 6 inch round canvas. I just wanted the texture and Distress Oxide Spray to peek out around the edges of this canvas. Start by applying Cloud Whip through a stencil with a palette knife. I used the 6x6 Pebble Grid stencil from The Crafter's Workshop.

Once that texture paste is dry, spritz a little bit of Distress Oxide Spray onto the canvas. I used Saltwater Taffy, but you can use whatever your favorite color is! Then get the spray to move and oxidize with a good spritz of water. While the canvas is drying work on the other elements of the project.

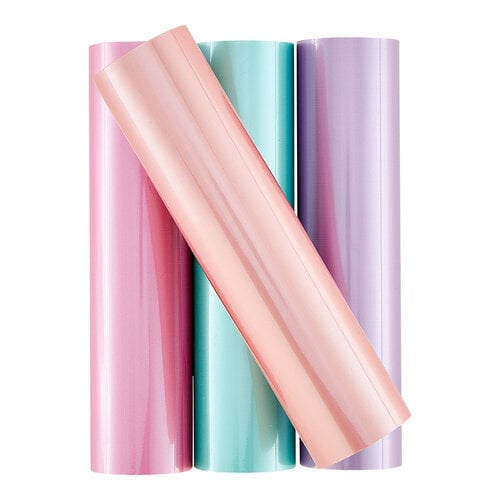
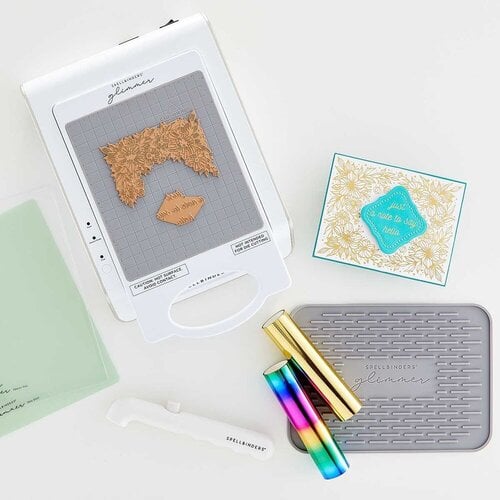
Heat up your Glimmer platform while you cut your foil to size. I used the coral color from the Satin Pastels variety pack as this matched the spray I chose really well. Then apply your foil to some smooth white cardstock. I cut the sentiment and a mat out using a set of nested arch dies. I used the peach from the Boho A2 Smooth Cardstock pad for the matte. Adhere these pieces together with a bit of roller adhesive and punch a hole in the top to turn it into a tag. I added little peach lace ribbon to the tag.

I then applied a bit of Distress Oxide in Saltwater Taffy to some smooth white cardstock and cut out several of the paintbrush bristles from the Butterfly Burst die. I made sure to leave it white at the base of the bristles, so it looked like the brush was dipped in paint. Cut the other parts of the brush out of a light brown cardstock and metallic gold cardstock. I cut two layers of the paintbrush handle for more stability.

Adhere the tan and gold layers together with liquid adhesive. Next, use 1/4 inch double-sided adhesive to adhere the bristles in place. I cut some of the bristles up to stagger them and make it look more realistic. I then used a small strip of 1/8 inch double-sided adhesive to adhere the bottom portion of the handle to the main portion of the handle as these cut out as separate pieces.

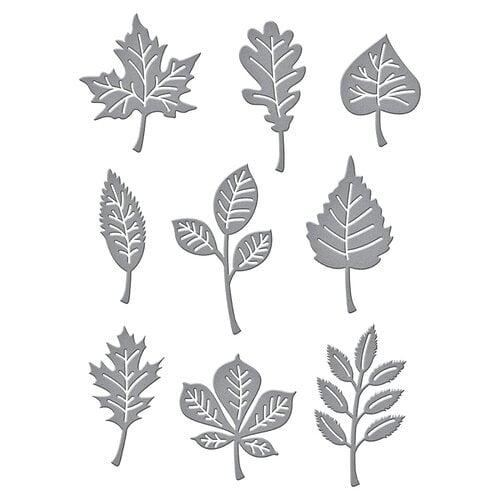
I cut a bunch of leaves from the Warms and Boho A2 Smooth Cardstock pads as well as some leftover Distress Oxide inked paper. Give your leaves a little shape with your fingers or shaping tools for a more realistic look.

Glue down an initial layer of coordinating flowers with heavy body gel, tacky glue or hot glue so that you can layer the tag over the top, allowing the flowers to support your tag. Tuck in some of your die cut leaves then add on your paintbrush to the edge of your tag with a bit of your favorite adhesive. Then add on a couple more flowers and leaves on top of the brush and tag. Finish off the project by adding some sparkly gems!
I now have this canvas hanging up in my craft room where family can see it. Hopefully they will all remember to buy me craft supplies for upcoming holidays and my birthday! 😉
Until next time, happy crafting!
Adrienne
Shop the Supplies:
Scrapbook.com & Spellbinders
I am an affiliate with Scrapbook.com and Spellbinders. When you shop the links below, I receive a small commission from the affiliate, at no additional cost to you. This helps me balance the costs of the time and love I put into my projects and blog so I can continue to share my ideas with you for FREE. If you shop the links, thank you! I greatly appreciate it.
Below are the main products that I used or similar products.


0 comments
I'd love to hear your thoughts!