Prima Marketing Sharon Ziv Collection: Nature's Greenery Mixed Media Tutorial
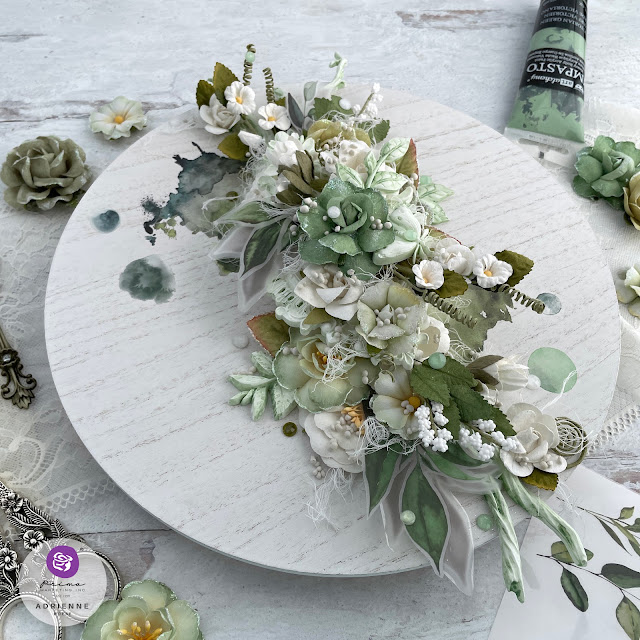
Nothing says lush green meadow quite like the latest Sharon Ziv collection's florals.
I just love how so many of Prima Marketing's products evoke a sense of nature, particularly their flowers. I'm a nature girl at heart and love spending time out in my flower gardens cultivating beautiful blooms. And that is why I'll forever love Prima flowers!
First, I just want to say that I am so honored to have been selected to be a member of the 2023 Prima Design Team! This opportunity is literally a dream come true for me and I can't wait to share inspiration, ideas and tutorials with all of you!
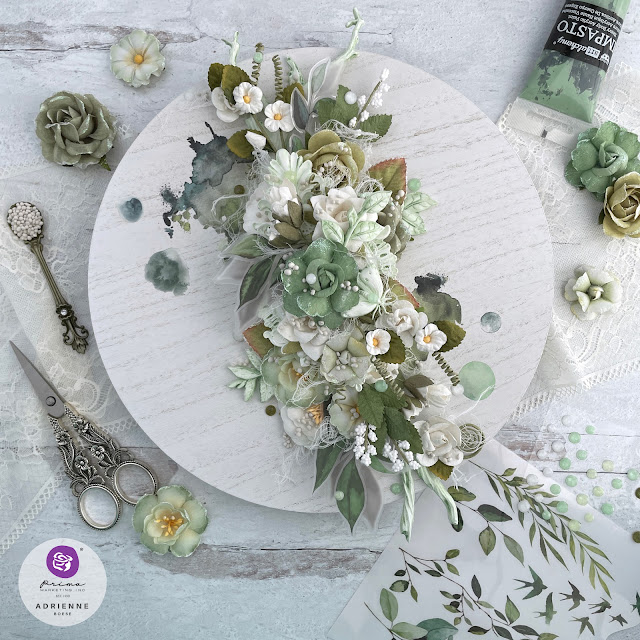
Now, let's dive into these gorgeous greens in my first Prima DT project! For the base of this project, I used a 12 inch round white-washed wood base for this project. I picked it up at Michaels and new this piece would be perfect for decor transfers because it was painted and ready to go. I selected several of the Greenery Day watercolor-like transfers and cut them loose from the main sheet of transfers. For the larger one, I cut it in half so I could place a portion of it on the top left and bottom right of the wood piece. I set these aside until I finished the next step, but I always like to plan out which transfers I'm going to use.
I wanted to add just a bit of resin to this project and selected some of the branch moulds from the previous Sharon Ziv collection as well as some leaves from two different moulds (Leafy Blossoms and Watercolor Floral) as well as the large frame from the Grungy Frames mould. I love to have moulds ready to go whenever I do a project, so I pour resin in to a bunch of different molds in advance and then store them in a box until I'm ready to use them. After pulling out what I wanted, I primed them with White Gesso.
Once the gesso on the moulds is dry, I mix a bit of the Victorian Green Impasto Paint with water and brush it on a mould. Before it fully dries, I wipe the highlights, or raised areas, with a flour sack cloth to bring the white back in. This gives it the look of dry brushing without all the work!
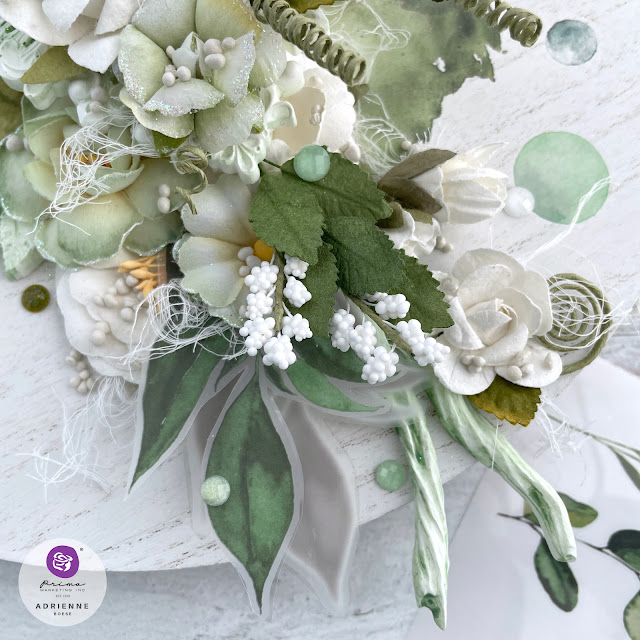
I like to dry fit my elements and placed the branches in a vertical line on the wood circle so that I could see where my design transfers should go. I applied the transfers and then glued the resin branches down with Heavy Body Gel.
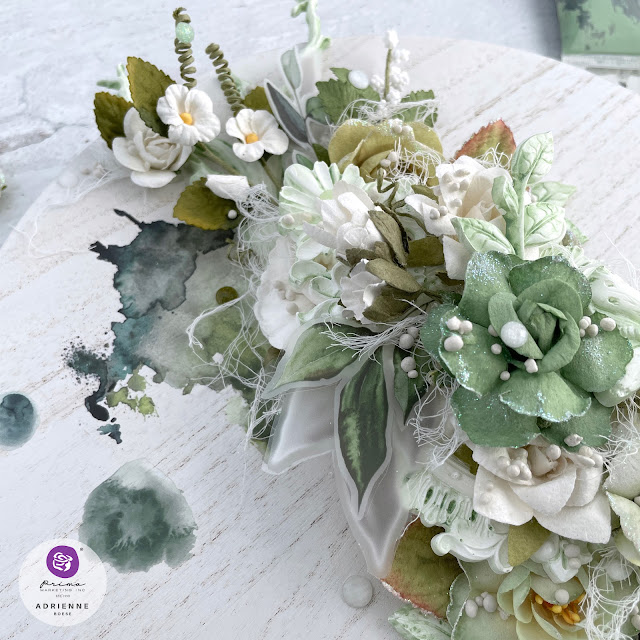
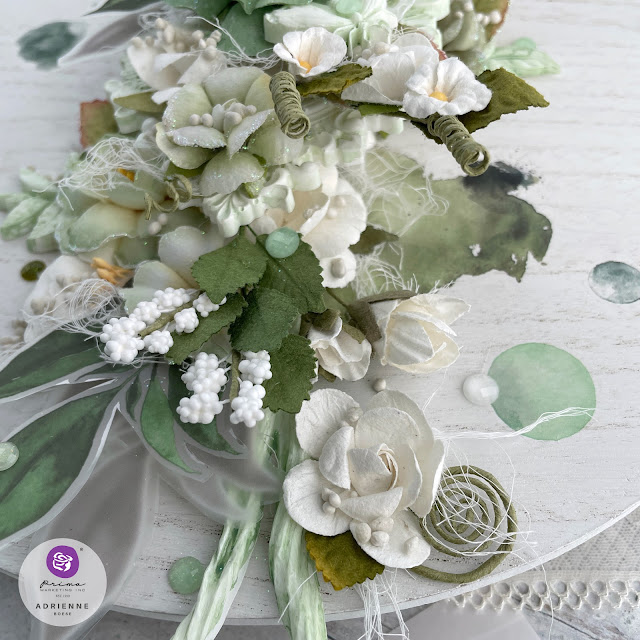
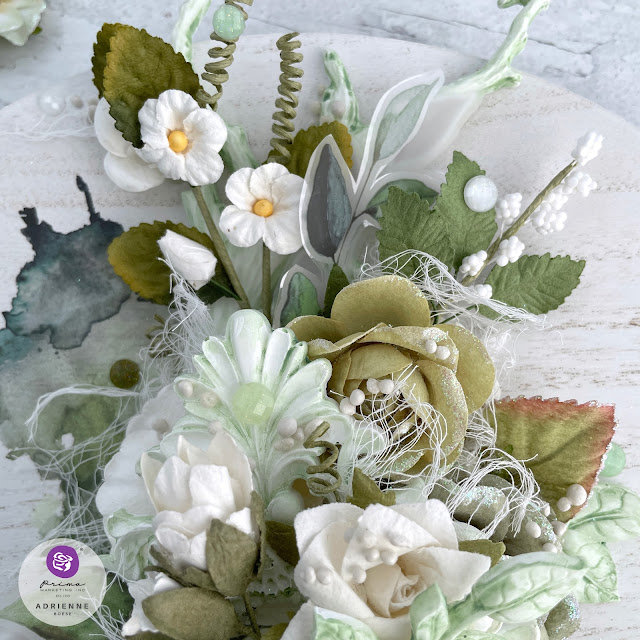
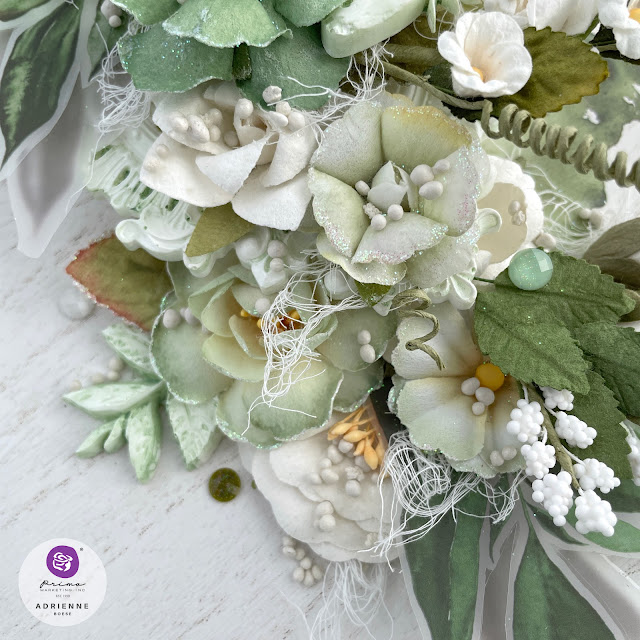
I knew I wanted to tuck several of the leaves from the transfers in amongst my flowers so I applied the green and the shadow grey version to acetate and fussy cut them out. I then began gluing down all of my flowers, tucking in leaves from the flower packs and the acetate transfer leaves (to put space between the shadow layer and the green layer, I added two layers of small foam squares between the two layers). I also tucked in bits of cheesecloth for added texture and a hint of textiles. I made sure to distress the edges of the cheesecloth for that shabby chic look.
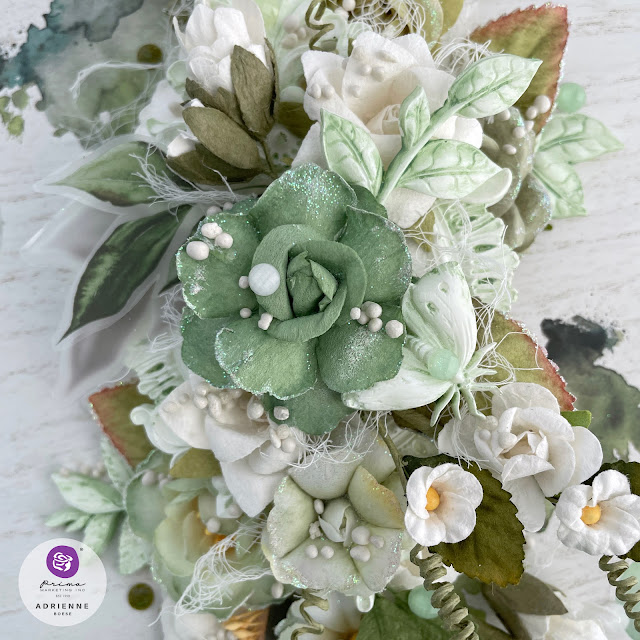
The bottom layer of flowers are mostly the larger white flowers from the Lily White and Porcelain Florals packs, with some of the green ones from the collection tucked in. The resin frame got placed in the center with heavy body gel. As I built my layers up, I added flowers on stems and more green flowers from the Elemental Bliss pack. The Spring Branch got cut in half, with the two sprigs on either side of the frame and the larger flowers at the bottom cut off and used separately from the two branches in my flower cluster.
I also picked out a butterfly mould from the Watercolor Floral collection that I placed to the top center of the cluster along with one of the darker green flowers. I also tucked in the leaf moulds amongst the flower cluster.
For additional texture, I applied the medium sized Art Stones with Soft Gloss Gel. To finish it all off, I added a few gems from the Sharon Ziv collection.
I really love how this mixed media project turned out. Green isn't a color I often gravitate to, but I adore the soft greens in this collection and love how it looks with the white flowers. I really feel like I've created a lush meadow of flowers or a small piece of an enchanted forest! I think it truly is magical.
Until next time, happy crafting!
Adrienne
Shop the Supplies:
Scrapbook.com
I am an affiliate with Scrapbook.com. When you shop the links below, I receive a small commission from the affiliate, at no additional cost to you. This helps me balance the costs of the time and love I put into my projects and blog so I can continue to share my ideas with you for FREE. If you shop the links, thank you! I greatly appreciate it.
Below are some of the main products that I used for this project.






0 comments
I'd love to hear your thoughts!