Easy Mixed Media Easter Eggs
Need a quick Easter craft? These little eggs come together in no time!
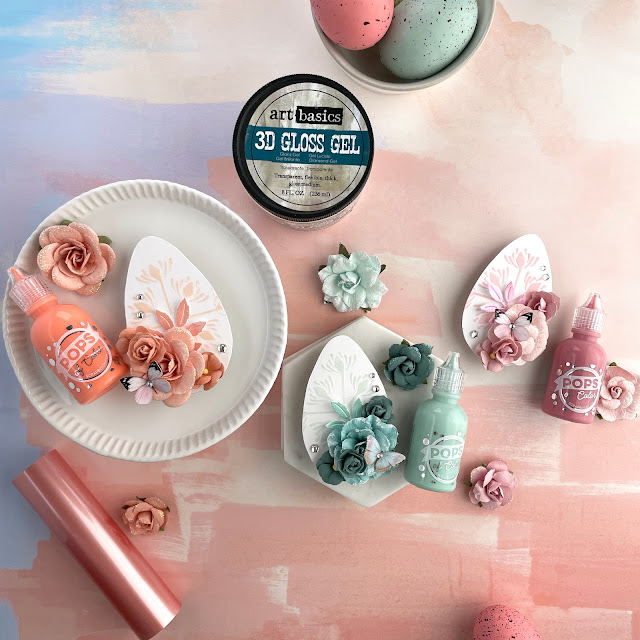
I've pulled together supplies from some of my favorite companies to create these little Easter eggs. And they are simple and easy to make. In fact, they may even be a fun family craft!
I'll list the specific supplies I used in case you want to recreate these exact ones. Otherwise, here are the supplies you'll need:
- Scrapbook.com Pops of Color
- Prima 3D Gloss Gel
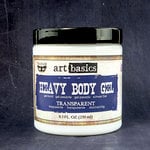
- Prima Heavy Body Gel (or hot glue will work in a pinch)
- Prima paper flowers
- Distress Collage Medium Matte
- A Crafter's Workshop stencil
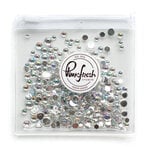
- Pinkfresh Studio gems
- Reneabouquets Butterfly Kisses (or small butterfly stickers, ephemera, dies or embellishments)
- White cardstock
- Coordinating cardstock
- Small leaf die
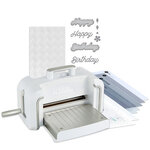
- Die cut machine
- Chipboard
- Scissors
- Palette knife
- Mint Tape
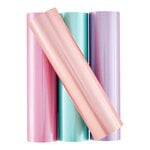
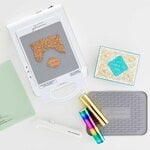
- Optional: Hot foil platform, quick trimmer and hot foil rolls in coordinating colors
- Optional: Magic Mat
- A pencil
Start by drawing out a small egg shape on a piece of white cardstock and cut this shape out. Then trace this shape two more times onto white cardstock and three times onto chipboard and cut these all out. Glue the white cardstock pieces onto the chipboard pieces using Distress Collage Medium Matte. I like this liquid adhesive for paper applications because there is less water content in this glue, meaning your paper won't wrinkle as it dries. If you want added assurance your paper adheres well to the chipboard, place the egg under a stamping block for a minute.
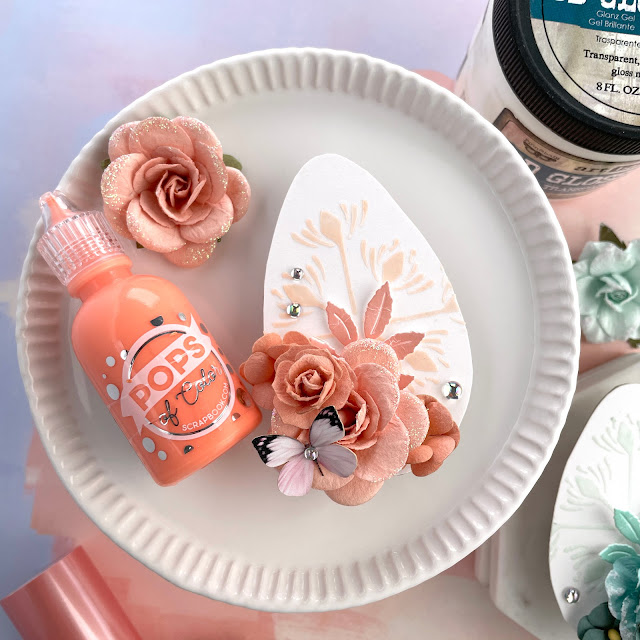
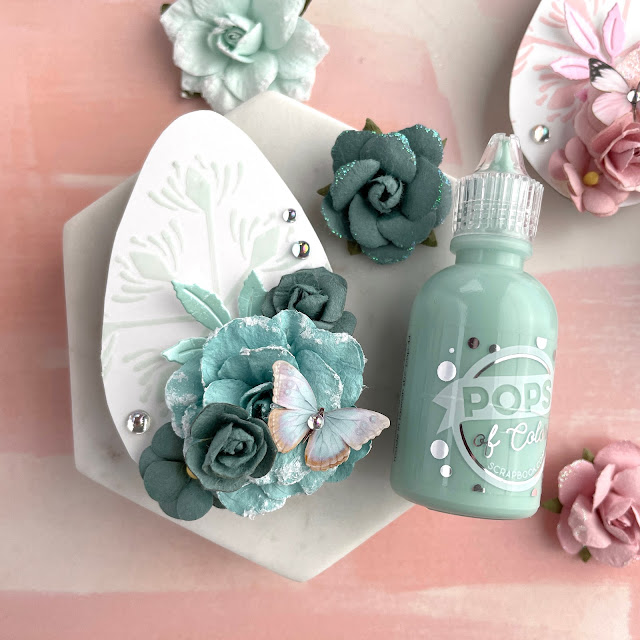
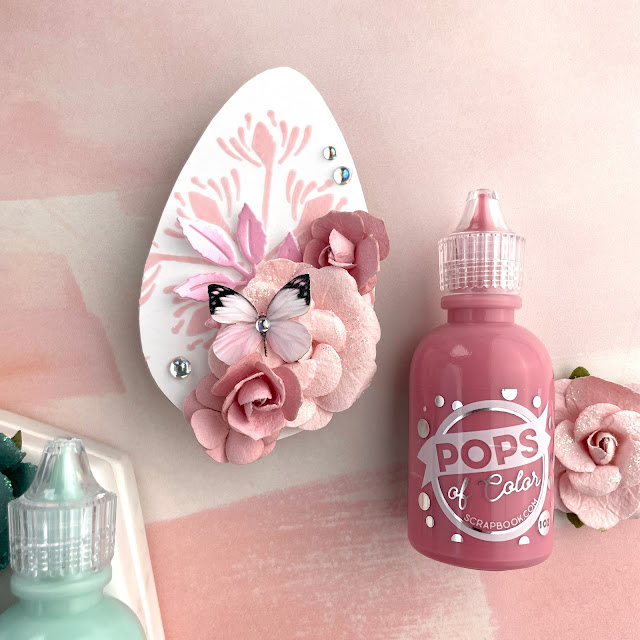
Next, place a small amount of Prima's 3D Gloss Gel onto a nonstick craft mat or a piece of plastic packaging. Squeeze a small amount of your chosen Pops of Color on top and mix the mediums together. This will create a tinted gel. I mixed a bit of Satin Pops of Color with each of my gloss colors (Mint, Dusty Rose and Summer Peach) for a pastel and slightly shimmery gel.
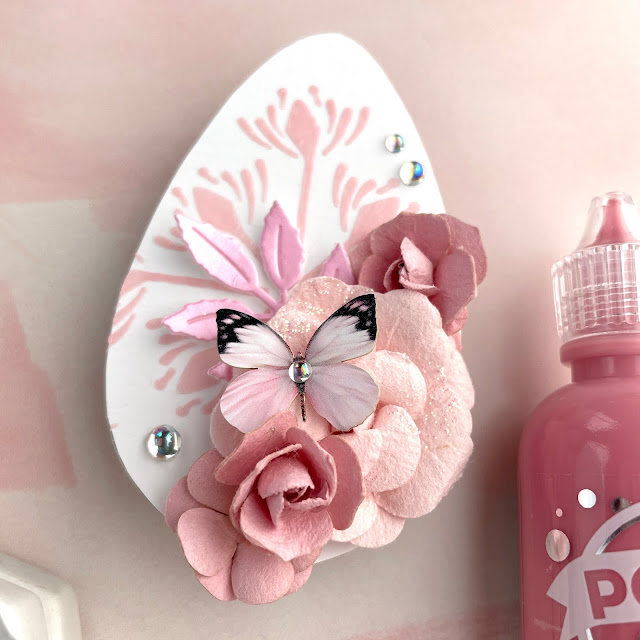
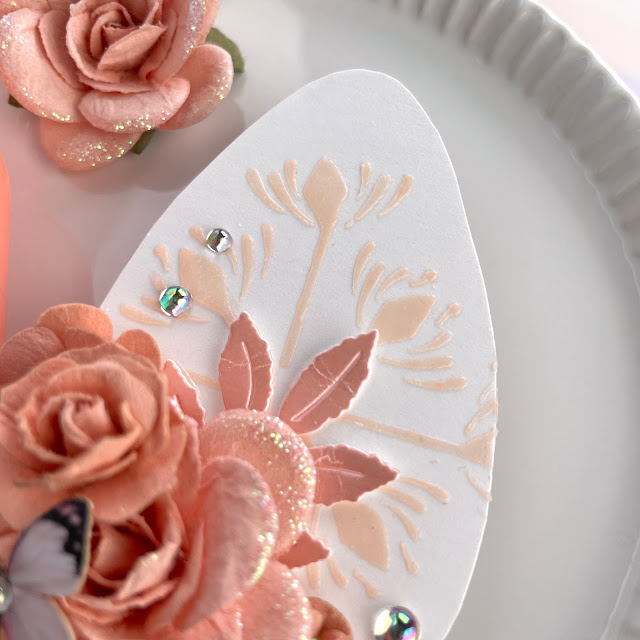
Place your stencil over the egg and add Mint Tape to mask of any of the design you don't want. Scrape your custom gel through the stencil. Be sure to clean off your stencil in between colors to keep your stencil clean and to avoid contamination of colors.
It won't take your stenciled gel long to dry, especially if you live in a dry climate. While you are waiting, die cut some small leaves out from a coordinating cardstock. If you want to get a little fancier like I did, hot foil a solid rectangle in coordinating foil onto a piece of cardstock and die cut your leaves from the foil.
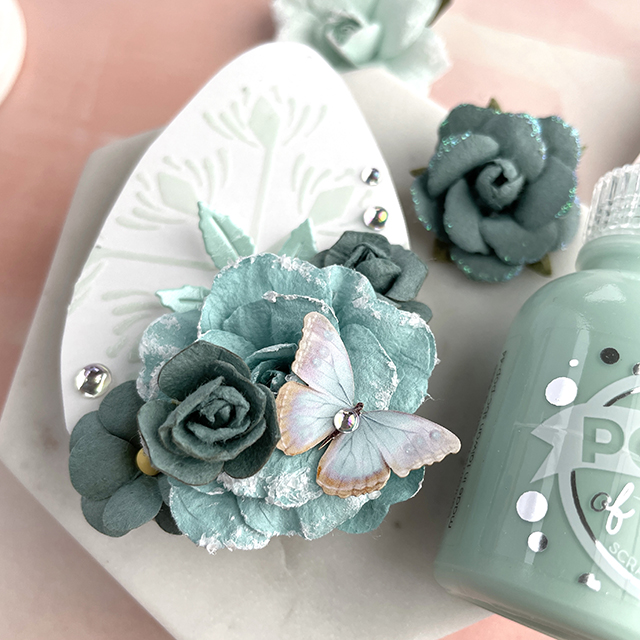
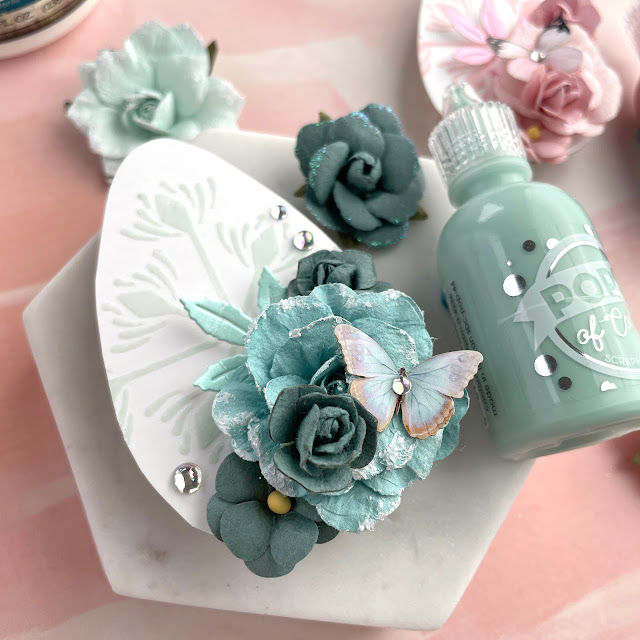
Once the stenciling is dry, add on a few small Prima flowers using their Heavy Body Gel to glue them down. If you don't have heavy body gel, you can use the 3D Gloss Gel or hot glue. Tuck your leaf die cut in amongst the flowers.
For the butterfly, I used some Reneabouquets Butterfly Kisses from my stash. But you can also use the Butterflies 2 die from Scrapbook.com and cardstock, stickers or ephemera from one of your favorite collections for this. Gently bend the wings of the butterfly and glue it down with a small dab of the adhesive you used for the flowers.
To finish off the project, add a couple of gems. I think these turned out so cute and would be cute to use on your Easter table settings.
Until next time, happy crafting!
Adrienne
Shop the Supplies:
Reneabouquets
Butterfly Kisses Aurora Borealis Pink
Butterfly Kisses Spun Lavender
Prima Marketing
Peach Tea Fresh Flavor Flowers
Indigo Abstract Beauty Flowers
Scrapbook.com, Spellbinders & Sizzix
I am an affiliate with Scrapbook.com, Spellbinders and Sizzix. When you shop the links below, I receive a small commission from the affiliate, at no additional cost to you. This helps me balance the costs of the time and love I put into my projects and blog so I can continue to share my ideas with you for FREE. If you shop the links, thank you! I greatly appreciate it.
Below are products that I used for this project.










0 comments
I'd love to hear your thoughts!