How to Make Your Holiday Gift Wrap Extra Magical
Adding a magical touch to your holiday gift wrapping can bring a little extra magic to the season.
Hi, crafty friend! The Prima Design Team and the Redesign Petites Team were challenged to a gift wrap battle to see who could create the most exquisite gift! This was the perfect opportunity to use one of the pleated/origami Japanese-style gift wrapping methods.
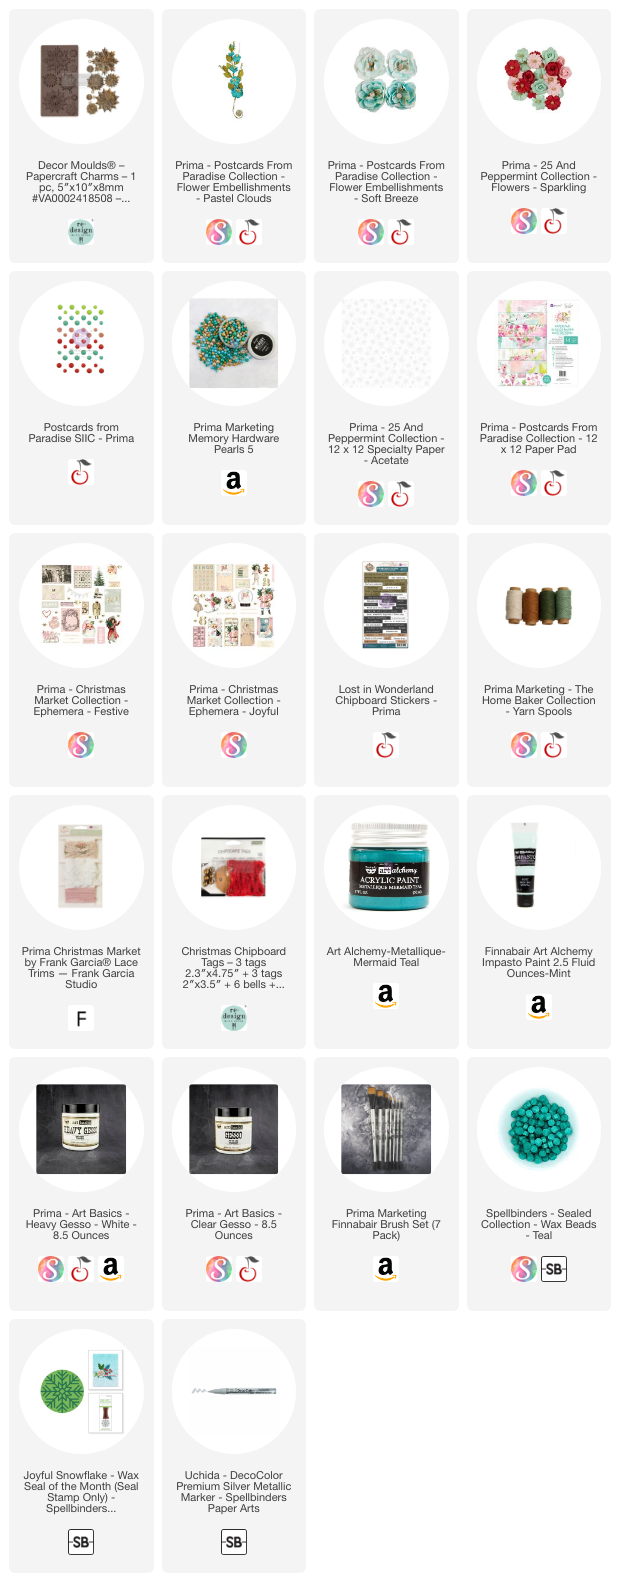
I decided on a pleated pocket design that would allow me to stuff the outside of the gift with lots of pretty Prima goodies! (You can shop the main supplies used below!) Along the bottom of the gift, I taped some lace to the package and tied a bow around it.
In the lower pocket, I placed a card [tutorial for the card]. Before sticking it in the pocket, I attached one of the Redesign Papercraft Charm mould. I pained two casts from the mould, first with Finnabair's Metallique Acrylic Paint in Mermaid Teal, focusing on the lowlights of the mould. I then wet a paper towel and rubbed the paint off of the highlights. Then I painted the highlights with Finn's Impasto in Mint. Finally, I dry brushed the highlights with her White Gesso.
I hot glued the two casts together, then popped on a crystal from the Postcards from Paradise collection. I strung some of the white Spool of Yarn from The Home Baker collection through the snowflake cast and then placed it over the back of the card's envelope.
I poured some melted wax over the yarn and envelope, then pressed a wax seal into it. Once hardened, I used a silver marker to add a metallic touch to the seal.
In the second pocket went a set of tags. I used the Redesign Chipboard Tags as the base and traced two of them onto two different sheets of 12x12 paper from the Postcards from Paradise collection. I cut the traced tags out and punched the hole through the top then attached them to the chipboard base.
I decorated the tags with lace, flowers, ephemera, pearls and chipboard stickers from various collections (Christmas Market, Lost in Wonderland, 25 & Peppermint and Postcards from Paradise). I used a bit of white gesso to paint the edges of the chipboard stickers, flowers and the tags for a more frosty look.
In the top pocket I placed one of the stemmed flowers from Postcards from Paradise after adding touches of white gesso to it. And that's it; until next time, happy crafting!
Adrienne
Shop the Supplies:
Scrapbook.com, A Cherry On Top, Spellbinders, Sizzix & Amazon
I am an affiliate with multiple companies. When you shop the links below, I receive a small commission from the affiliate, at no additional cost to you. This helps me balance the costs of the time and love I put into my projects and blog so I can continue to share my ideas with you for FREE. If you shop the links, thank you! I greatly appreciate it.
You can also use the code adrienne15 for 15% off your order on the Prima Marketing Retail site.
Below are products that I used for this project.


0 comments
I'd love to hear your thoughts!