How to Alter a Christmas Stocking + a Layered Tag!
This altered Christmas stocking and layered tag will make your mantle sparkle!
Hi, crafty friend! I’m super happy with how this altered Christmas stocking and tag turned out! I’ve been dying to use some of my Miel fabric for a more “plush” project and this was the perfect way to use it! (You can shop the full list of supplies at the bottom of this post!)
So let’s get into this tutorial, starting with the altered stocking. I got this stocking off Amazon and it had the usual fluffy cuff that many stockings have. But I wanted something a little more elegant to match the linen fabric that makes up the body of the stocking. I took one of the fabric sheets from Miel and cut it in half.
Then I placed the two lengths of fabric good sides together and sewed them together on one of the shorter sides. I then placed this around the stocking cuff and pinned where I would need my second seem to turn it into a continuous loop of fabric then sewed along these pins.
Then I placed the loop of fabric around the cuff, tucking the long raw edges under the bottom of the cuff and on the inside of the stocking, pinning it into place. I then backstitched by hand along the inside and under the cuff, sewing the embroidered Miel fabric into place.
With the stocking being done, I then moved on to making a layered tag. I used my trimmer to cut a tag from some Christmas Market paper. Then I cut a tag of the same size from the 25 & Peppermint Acetate Sheet. I placed the two pieces together and punched a hole in the top.
I used a bit of the leftover Miel fabric and some lace, sewing them both onto the bottom of the patterned paper tag. Then I used foam adhesive to float the acetate above the patterned paper.
I built my cluster of flowers ephemera and lace on top of the acetate, hiding the foam adhesive. I also popped on some chipboard stickers and crystals, then added some twine to the top of the tag.
This particular stocking came with a letter of my choosing (I of course chose an A) and decided to decorate that wooden letter with some ephemera and a flower as well.
I hope this tutorial gives you the confidence to alter a Christmas stocking—or even make your own! I also hope you love the tag as much as I do—I think it turned out super pretty. Until next time, happy crafting!
Adrienne
Shop the Supplies:
Scrapbook.com, A Cherry On Top, Spellbinders, Sizzix & Amazon
I am an affiliate with multiple companies. When you shop the links below, I receive a small commission from the affiliate, at no additional cost to you. This helps me balance the costs of the time and love I put into my projects and blog so I can continue to share my ideas with you for FREE. If you shop the links, thank you! I greatly appreciate it.
You can also use the code adrienne15 for 15% off your order on the Prima Marketing Retail site.
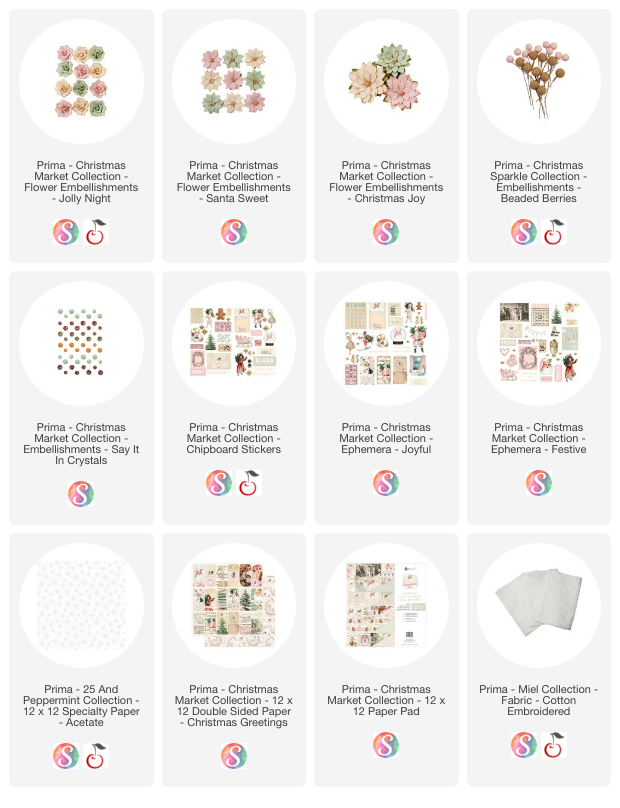
Below are products that I used for this project.


0 comments
I'd love to hear your thoughts!