DIY Glittering Snowflake Christmas Ornaments Tutorial
These DIY glitter snowflake Christmas ornaments are the perfect addition to your tree or for gifting this holiday season.
I'm participating in Redesign Petite's 12 Days of Petites showcasing fun DIYs for the holiday season using some of the latest Redesign holiday products. (You can shop the full list of supplies at the bottom of this post!)
So many of you loved my gothic Halloween tree ornaments that I did earlier this year and I wanted to share a Christmas version of it. But this time, instead of just a Reel tutorial, I have a full YouTube tutorial video that you can check out over on the Prima Marketing channel right now!
With that said, let's get into some tips and tricks, and additional helpful information that will help you create these sparkling ornaments.
First, let's talk about the ornaments you can use. You can use glass, but plastic/shatterproof ornaments work perfectly for this as well. You'll definitely want to select an ornament that will be able to hold/display the mould casting you want to use, or find a mould that is perfect for the ornament you do have! I really like the disc-shaped ornaments, like I used for these ornaments and my Halloween versions. The flatter, wider space really allows for a variety of mould castings to be used.
Second, is the material you use for casting. I like resin because it really shows all the amazing detail in the mould, but if you don't like using resin, Redesign's Modeling Material or paper clay will both work really well. And if you like a more shabby chic look, paper clay is perfect!
For resin, you'll want to use a quick curing resin, such as Alumilite's Amazing Resin (which you can buy from the Redesign retail site). This resin is ready to de-mould in 8-10 minutes. And you'll definitely want to de-mould at this time, while the resin is set up enough to hold the mould's details, but still soft and pliable. This will give you the ability to shape the resin cast to your ornament.
Some of the other items you'll want on hand, besides Finn's art mediums (Heavy Body Gel, Heavy White Gesso, and Soft Matte Gel), waxes and her glitters, include:
- Finn's paintbrushes and stenciling brushes
- Paint color that matches your chosen glitter colors (such as Finn's Liquid Acrylics or Impasto)
- Wooden dowels or other long-handled craft tools to hold your ornaments while they dry
- A jar or vase to hold the ornaments on your dowel or tool while drying
- Painter's tape or craft tape such as washi tape to hold the resin castings down as they finish curing on the ornaments
- Some ribbon or trim
- A hot glue gun
- Gems
- Fixative spray or hairspray
You might also find that some cups or rolls of tape will help you hold your ornaments in place while gluing the castings on.
Now let's talk about why I do a base layer of paint that matches the glitter. I don't usually glitter right where the ornament cap connects to, but I do want that area to match in color. Plus it just provides a nice matching base to the glitter. If you get a scratch on the ornament down the road, or you just didn't get a spot quite as nicely, it will be less noticeable because of the matching paint color.
And it's always important to make sure you prime your ornament and resin first. These non-porous surfaces need some "tooth" to help other mediums like paint stick well to your ornaments and resin casts.
And finally, let's talk about why I do two layers of gel and glitter. While the ornaments are super sparkly with that first layer of gel and glitter, I do think locking in that first layer with a second layer of gel and glitter is important. Plus it amps up the sparkle even that much more.
Just be aware that two layers can use up quite a bit of glitter in Finn's tubes. You can probably cover 3-4 ornaments, depending on the size, with a fresh tube of her glitter. Also, you will get glitter in your Soft Matte Gel while doing this project. So if you have a pretty fresh or mostly full jar of gel, I recommend placing some in a small container to use for this project, so you don't contaminate a full jar of gel with glitter.
I hope that you'll take the time to head over to the Prima YouTube channel and watch the full tutorial video there, so you can see just how easy it is to create these dazzling ornaments. Plus, I mention how long you should let the gel and glitter layers cure for in that tutorial video. Until next time, happy crafting!
Adrienne
Shop the Supplies:
Scrapbook.com, A Cherry On Top, Spellbinders, Sizzix & Amazon
I am an affiliate with multiple companies. When you shop the links below, I receive a small commission from the affiliate, at no additional cost to you. This helps me balance the costs of the time and love I put into my projects and blog so I can continue to share my ideas with you for FREE. If you shop the links, thank you! I greatly appreciate it.
You can also use the code adrienne15 for 15% off your order on the Prima Marketing Retail site.
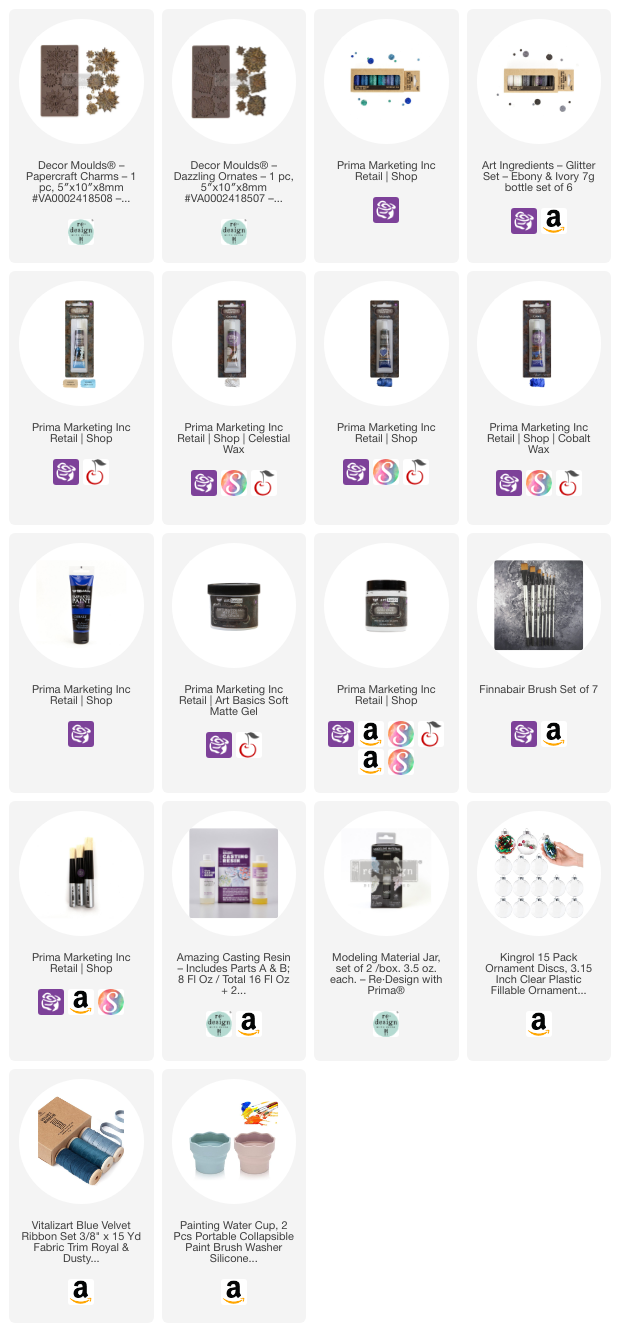
Below are products that I used for this project.


0 comments
I'd love to hear your thoughts!