Farmhouse Christmas Card with TCW
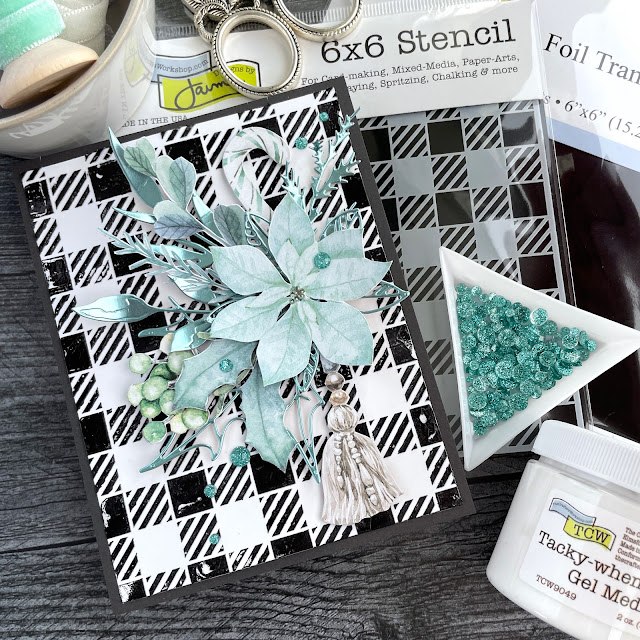
Buffalo plaid and floral elements are a match made in heaven, if you ask me!
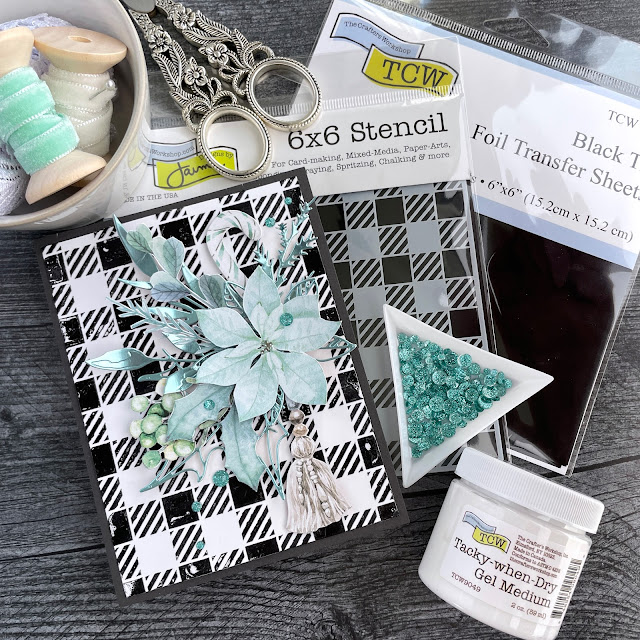
I recently received a package of goodies from The Crafters Workshop (TCW) to create with. I got a bunch of stencils, foils and stencil butters! I'm so excited about all of the items and plan on making projects with them all in the months ahead. But I got some stencils that are perfect for the holidays, so I had to start there first!
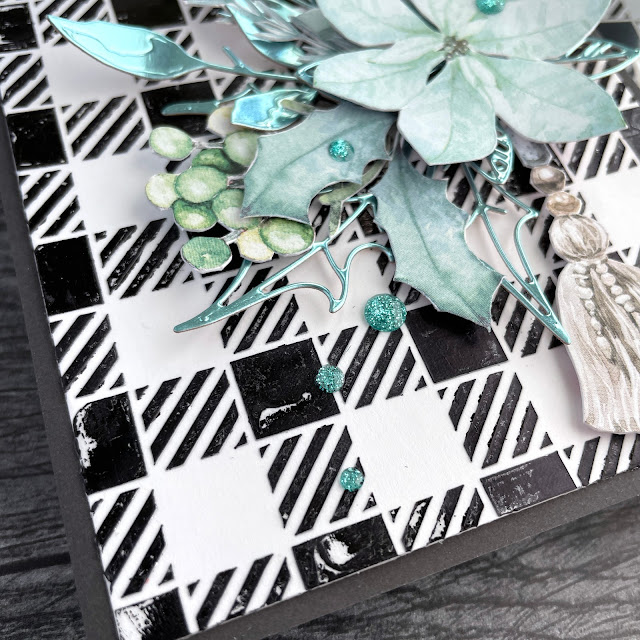
This was my first time ever working with TCW's Tacky When Dry Gel Medium and their foils and I was so excited to give these items a whirl. This gel medium is an absolute dream to use and a breeze to clean up! It spreads so evenly with a palette knife, but also holds shape so if you want to add more texture, you can. I chose to go with a slightly distressed look for this card.
I started by holding my card base in place on the stencil with some Mint Tape and then spread the Tacky When Dry Gel Medium through the Buffalo Plaid Square stencil. As soon as I was done adding the medium, I peeled the card base free and took the Mint Tape off the card base. I immediately put the stencil and palette knife into a bath of hot, soapy water and the medium just instantaneously dissolved off! No dried on goop was left on my stencil and I can't tell you how much I love that!!
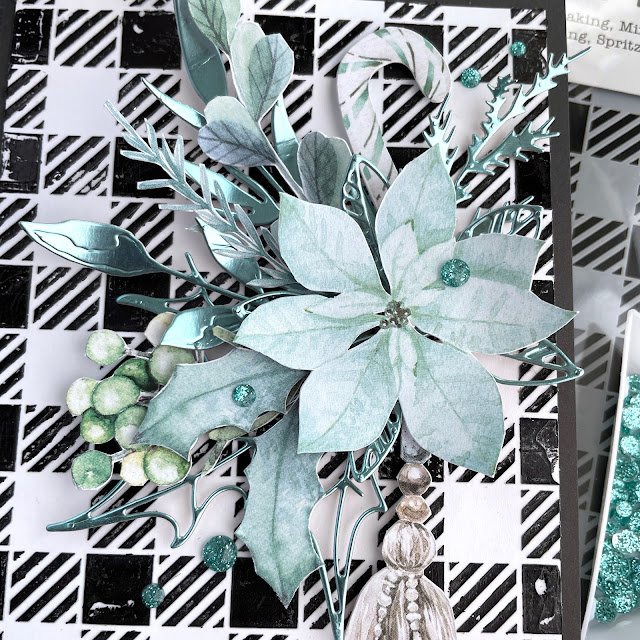
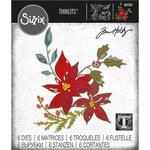
While my card base was drying, I fussy cut out a bunch of elements from P13's Cosy Winter Creative Maxi Pads--I used both the Sugar & Spice and Red & Green ones. (Check out my video with my tutorial on how to fussy cut like a pro.) I didn't buy any new Christmas items this year because I still have so many from the last 2 years and I really want to use up what is in my stash. I also die cut a bunch of foliage stems from some aqua metallic kraft cardstock from Tim Holtz. The dies I used were Festive Bouquet, Seasonal Sketch and Delicate Leaves.
Once the card base was dry, I placed a Black Tie foil sheet over it and pressed and rubbed it so it would stick to the dry but tacky gel medium. If your fingers get tired doing this, you can use a popsicle stick or folding tool to help. Once I got the initial bit of foil down, I peeled it up and then went back to cover spots I missed in that initial transfer.
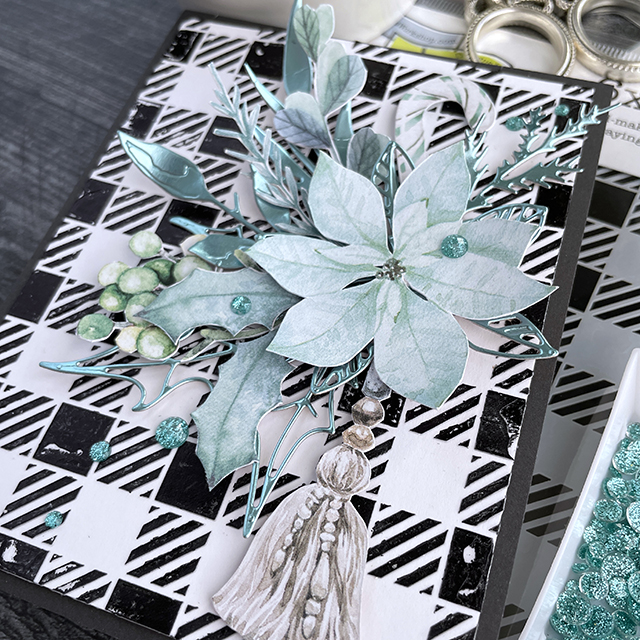
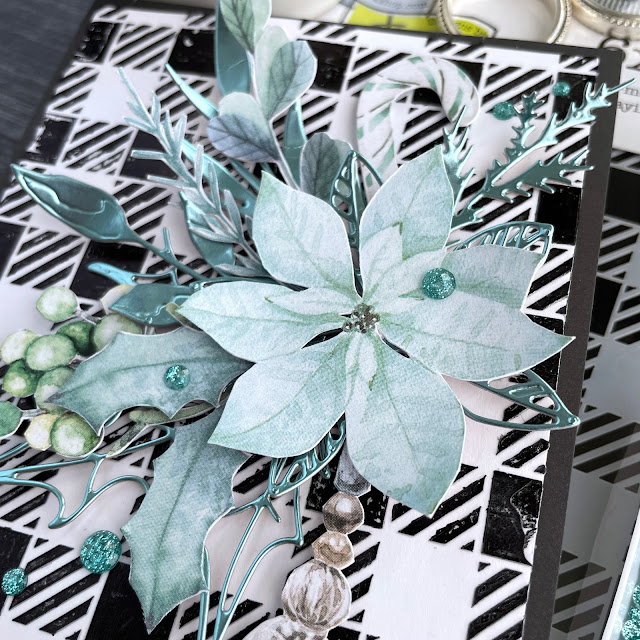
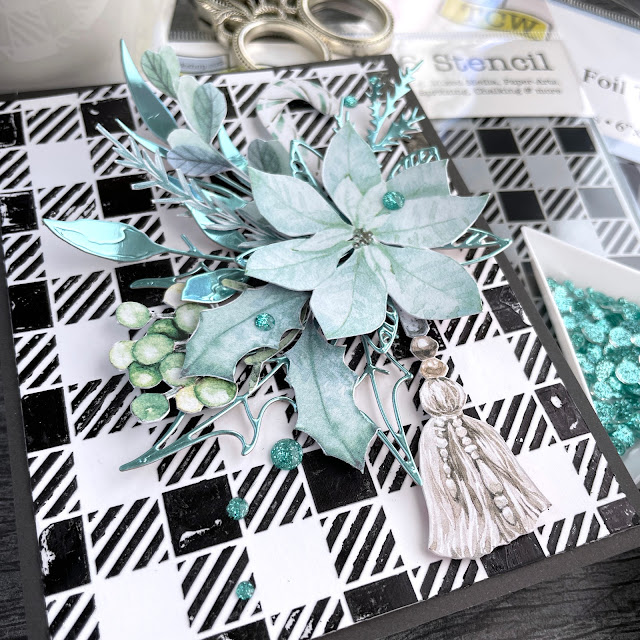
Once I was happy, I adhered the card base to a matte of black cardstock. I then began adding all of my fussy cut elements, giving the leaves a little curl for added dimension. I layered the filigree Seasonal Sketch flower die cut to the back of the fussy cut poinsettia, using foam adhesive to glue them together and onto the card base. I then used Glossy Accents to add all the leaf die cuts and fussy cut elements, mixing in a bit of foam adhesive here in there to pop up certain elements.
To finish off the card, I added some Glitter Drop gems in lagoon to the card then adhered the whole card to a card base. I really love the distressed look of the gel medium and this particular black foil. The black and the aqua just pairs so well together and I think this is literally one of my new favorite creations! Until next time, happy crafting!
Adrienne
Shop the Supplies:
Scrapbook.com
I am an affiliate with Scrapbook.com. When you shop the links below, I receive a small commission from the affiliate, at no additional cost to you. This helps me balance the costs of the time and love I put into my projects and blog so I can continue to share my ideas with you for FREE. If you shop the links, thank you! I greatly appreciate it.
Below are products that I used for this project.








0 comments
I'd love to hear your thoughts!