Mini Gingerbread House with the New Cloud Whip!

by - 4:00:00 PM

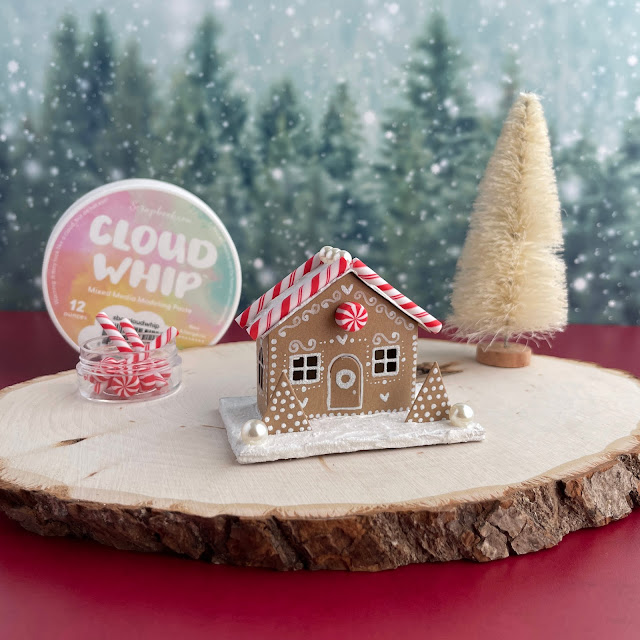
I haven't made a real gingerbread house in ages, but I think I might just be making multiples of this cute little snow covered home!

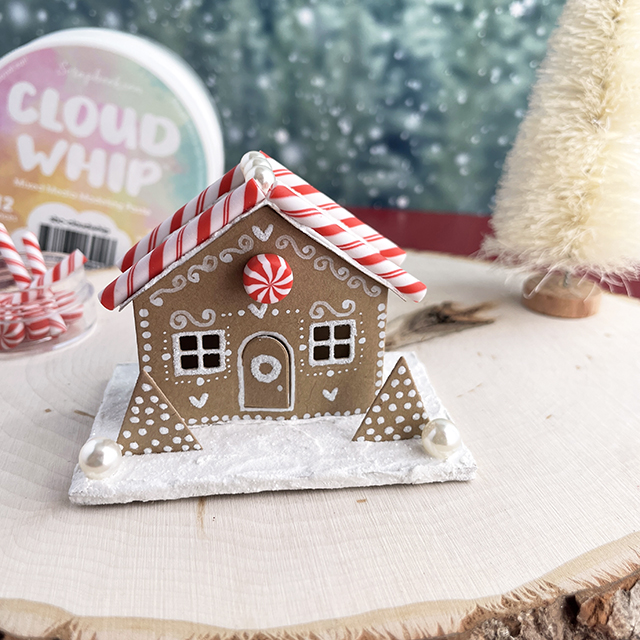
Mini Christmas gingerbread house created with: Scrapbook.com cloud whip mixed media art medium; Tim Holtz paper village, rock candy distress glitter, stacked triangles die, baubles, confections candy cane; Dylusions white linen paint pen

If you managed to snag one of the new jars of Cloud Whip from Scrapbook.com, then consider yourself lucky! They released the new product in a livestream and it sold out very fast. So if you haven't managed to grab a jar yet, make sure you head over to the product page and click the button to get a notification when it comes back in stock--I have a feeling it will sell out fast again. 

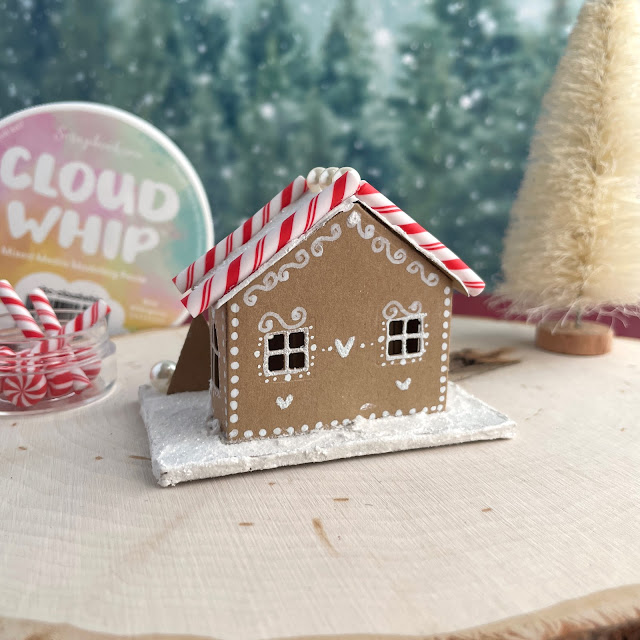
Mini Christmas gingerbread house created with: Scrapbook.com cloud whip mixed media art medium; Tim Holtz paper village, rock candy distress glitter, stacked triangles die, baubles, confections candy cane; Dylusions white linen paint pen

I've been playing around with the Cloud Whip using a few different techniques and knew it would be the perfect snowy medium. It pairs perfectly with Tim Holtz Distress Glitter and the Paper Village dies. So I just had to create a sweet little mini gingerbread house with it!

Mini Christmas gingerbread house created with: Scrapbook.com cloud whip mixed media art medium; Tim Holtz paper village, rock candy distress glitter, stacked triangles die, baubles, confections candy cane; Dylusions white linen paint pen

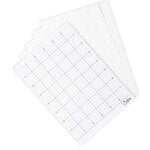
Let's jump into this tutorial! To start, I cut some kraft cardstock using the Paper Village 1 and 2 dies--the windows are interchangeable so I used both sets. Using Sticky Grid can help you keep everything in place when cutting, or some Mint Tape will work too. I also cut out two of the smallest triangles from the Stacked Triangles die set. And to create the base, I cut out several pieces of cardstock (for this house, I cut pieces sized 3" by 2") and glued them together using the Dotted Adhesive Roller. If the edges aren't perfectly lined up, don't worry--it gets covered later so you'll never know!

Mini Christmas gingerbread house created with: Scrapbook.com cloud whip mixed media art medium; Tim Holtz paper village, rock candy distress glitter, stacked triangles die, baubles, confections candy cane; Dylusions white linen paint pen

I then pulled out a white paint pen or marker to create the little designs on the house and trees. I used Dylusions white linen, but you can use whatever you have that has a fine tip, like the Faber-Castell Pit Pen or the Kuretake Ultra Fine Brush Pen. This design part is totally up to you and you can use as much creativity as you'd like! Paint pens are also wet enough that you can sprinkle a little bit of Distress Glitter on it and it will stick once dry. Once the pen was dried, I glued the pieces of the house together using the 1/8" Permanent Adhesive Roll

Mini Christmas gingerbread house created with: Scrapbook.com cloud whip mixed media art medium; Tim Holtz paper village, rock candy distress glitter, stacked triangles die, baubles, confections candy cane; Dylusions white linen paint pen

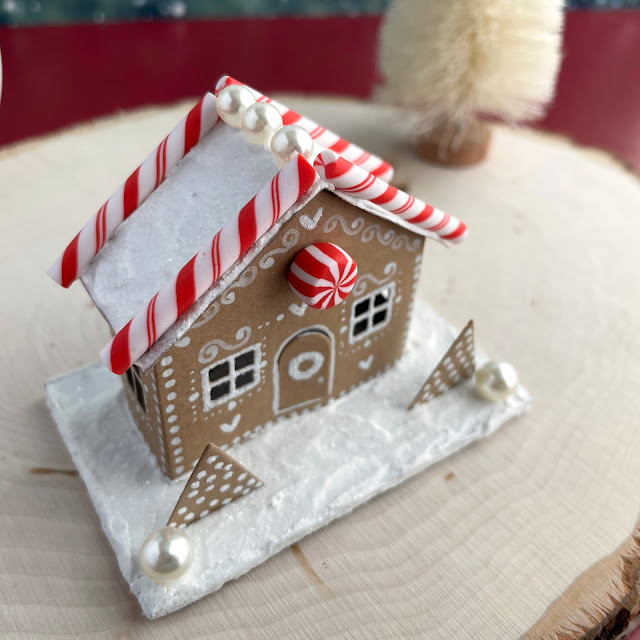
The beauty of creating a snowy base is that it helps glue your house into place--no other adhesive needed. So I covered the top of the base in Cloud Whip with a palette knife and then added the house to the top. I placed it more toward the back so there would be room for my two little trees up front. Then I pressed the trees into place. I also added two Tim Holtz Baubles to each of the front corners. I then added some Cloud Whip to the sides of the base then sprinkled on a good dose of Distress glitter. 

Mini Christmas gingerbread house created with: Scrapbook.com cloud whip mixed media art medium; Tim Holtz paper village, rock candy distress glitter, stacked triangles die, baubles, confections candy cane; Dylusions white linen paint pen


You'll want to let the base dry before moving on to the roof and candy decorations. This is so your house doesn't come off the base in the process. Once the base was dried, I added Cloud Whip to the roof and sprinkled it with Distress Glitter. I pressed in some of the candy sticks from the Confections pack (the new Candy Canes would be a good replacement if you don't have these) as well as some more Baubles. Once that was dry, I added a circular candy from the Confections pack to the front of the house using some Distress Collage Medium Matte

Now can you imagine how cute a bunch of these would be on a Christmas vignette?! By the way, the new Glitter Drops from Pinkfresh make adorable gumdrop-like decorations. Until next time, happy crafting!
Adrienne 

Shop the Supplies:


Scrapbook.com

I am an affiliate with Scrapbook.com. When you shop the links below, I receive a small commission from the affiliate, at no additional cost to you. This helps me balance the costs of the time and love I put into my projects and blog so I can continue to share my ideas with you for FREE. If you shop the links, thank you! I greatly appreciate it.


Below are products that I used for this project.


Amazon

I am an affiliate with Amazon. When you shop the links below, I receive a small commission from the affiliate, at no additional cost to you. This helps me balance the costs of the time and love I put into my projects and blog so I can continue to share my ideas with you for FREE. If you shop the links, thank you! I greatly appreciate it.


Below are products that I used for this project.


You May Also Like

0 comments

I'd love to hear your thoughts!