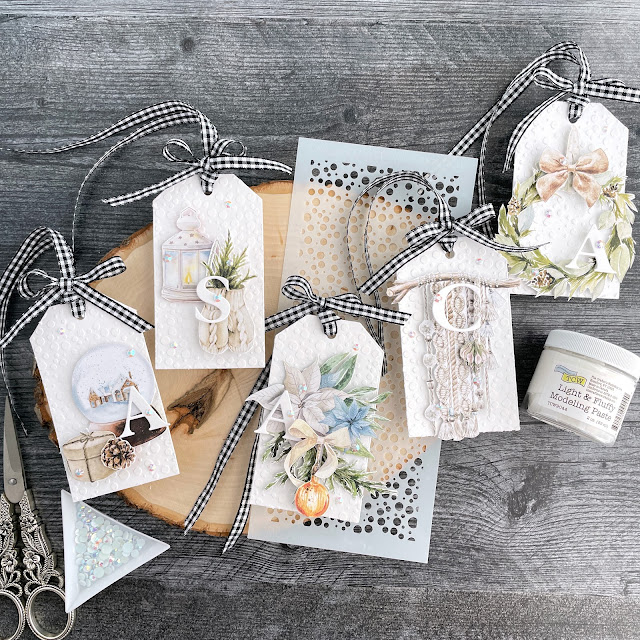
These tags are perfect for attaching to Christmas stockings or a winter birthday gift!
I recently received a bunch of goodies from The Crafters Workshop, including stencils, stencil butters and a few other mediums. As soon as I saw the Random Bubbles stencil and the Light and Fluffy Modeling Paste, I knew I needed to make some snowy backgrounds!
I’ve been wanting to make some tags to hang on our Christmas stockings for some time now. Our Christmas decor and tree are all white because it reminds of the snow here in Colorado and in my grandmother’s home country, Austria. So I decided to do a white on white background for these tags.
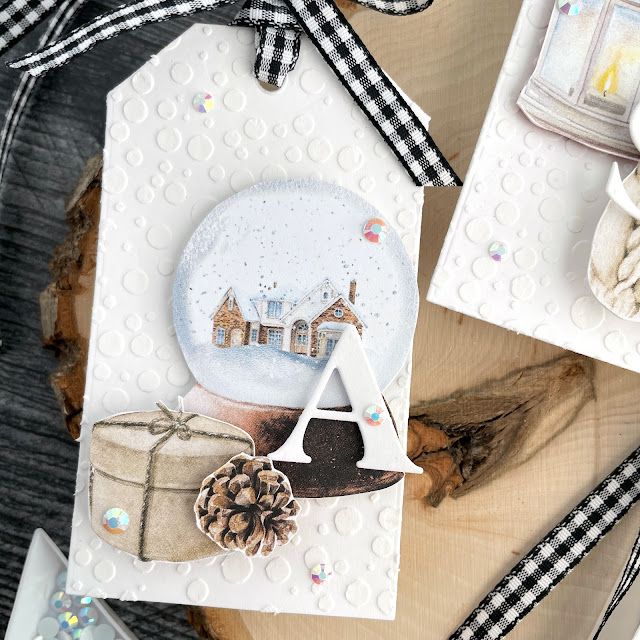
I started out by cutting 5 tags from white cardstock using the Nested Tags die set. Once the tags were cut, I used Mint Tape to hold the Random Bubbles slimline stencil in place on each tag and spread a thin amount of the Light and Fluffy Modeling Paste through the stencil with a palette knife. You don’t need much to cover a tag or a card, so this small jar will last you through a whole winter season of projects!
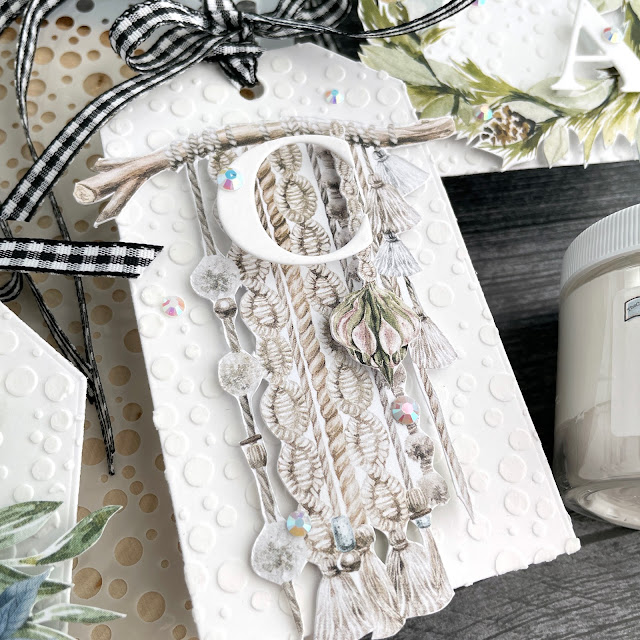
Once all of my tags were covered, I set them aside to dry and began fussy cutting out some embellishments. I reached for the P13 Cosy Winter collection because it is full of soft neutrals with a few pops of color. It is a very boho and Europeanesque motif for this collection, with matches perfectly with our decor! I use a swivel craft knife with a self healing craft mat and a pair of small scissors to cut my elements out. For my fussy cutting tutorial, be sure to check out my tips for fussy cutting like a pro!
I also cut out some capital letters for our first names using the Classic Type Uppercase alphabet dies. (We have 3 A names so I also wrote our names on the back of the card in an archival safe pen at the very end.) Once the tags were dry, I assembled my tags, layering on the fussy cut elements and die cut letters with foam adhesive and foam strip adhesive.
For a finishing touch, I added a few gems on, glueing them down with a small dot of Collage Medium. For the ribbon, I looped through some black and white gingham ribbon and then tied another piece on as a bow. Now it has a little bit of a farmhouse vibe. I hope you enjoyed these pretty, snowy tags! Until next time, happy crafting!
Adrienne
Shop the Supplies:
Scrapbook.com
I am an affiliate with Scrapbook.com. When you shop the links below, I receive a small commission from the affiliate, at no additional cost to you. This helps me balance the costs of the time and love I put into my projects and blog so I can continue to share my ideas with you for FREE. If you shop the links, thank you! I greatly appreciate it.
Below are products that I used for this project.


0 comments
I'd love to hear your thoughts!