Easy Stenciled Sunrise Card Tutorial
Sunrise colors are beautiful. But you don't need to create a whole inked scene on your projects to evoke those hopeful feelings of a sunrise.
In fact, you just need a stencil, ink blending tools and a handful of inks to create a sunrise or sunset hued ombré background.
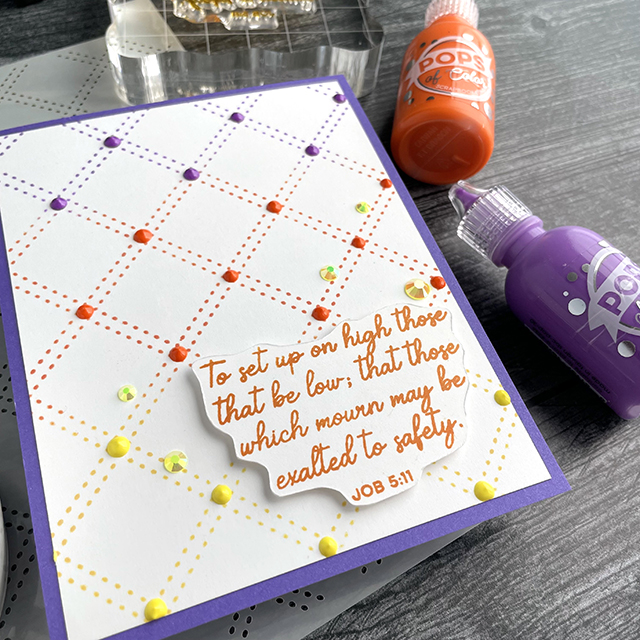
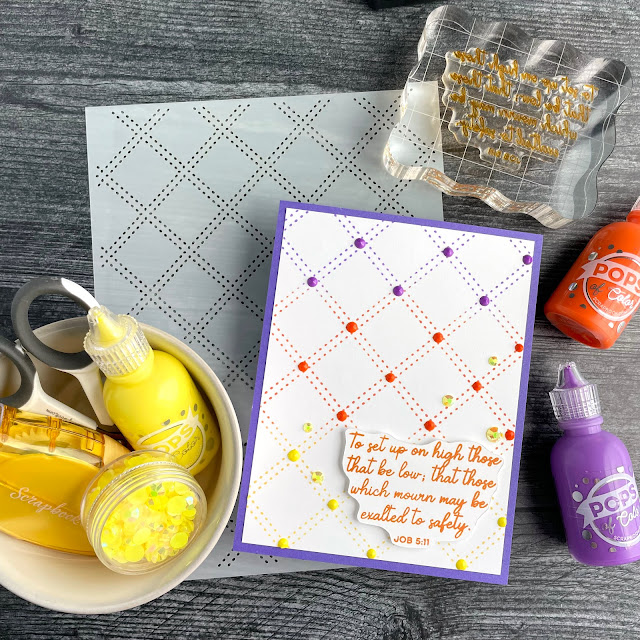
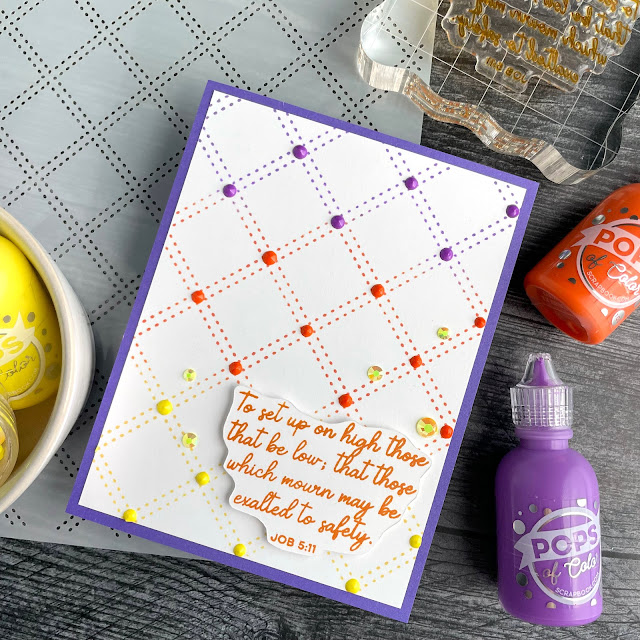
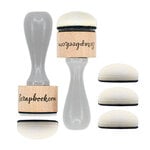
For this particular card, I used the Diamond Stitched stencil from Scrapbook.com. For my sunset hues, I used Distress Oxide Inks in wilted violet, crackling campfire and fossilized amber. I started by attaching my solar white flat card front to the stencil with 4" mint tape. This keeps the stencil in place as you work with it, which is especially handy when working with multiple colors like this. I then used a domed foam blending tool to add my three colors of ink.
Pro Crafting Tip: When working with three ink colors to make a background, start by working with the colors you want on the top and bottom first, then fill in the color in the middle. This will help you get a more even distribution of the colors, if that is what you are going for!
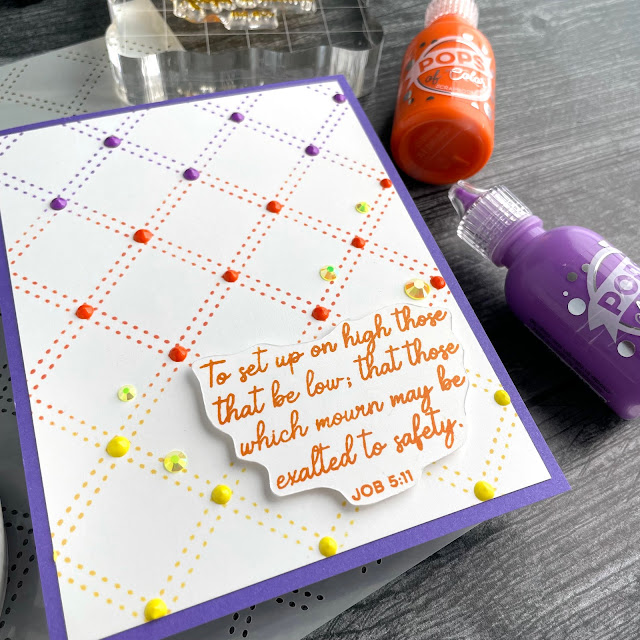
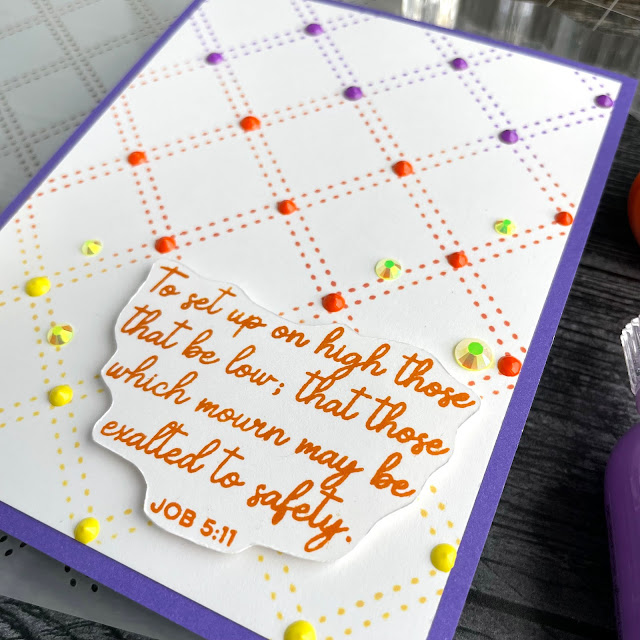
Once my stenciling was done, I peeled off the stencil and gave my background a quick shot with my heat tool to set the ink and avoid smudging. I then pulled out three coordinating shades of Pops of Color: deep orchid, orange squeeze and sunshine. I added a small dot of each where the diamonds meet. Then to flatten out any peaks in my Pops of Color, I gave my card a very gentle tap on my work surface. I like to let it drop from about an inch off my work surface.
While my Pops of Color drops were drying on my card background, I stamped out a sentiment using the new Uplifting Verses stamp from Scrapbook.com. I used Distress Archival Ink in wild honey, stamping it onto another piece of solar white flat card front. I then used my small scissors to cut the sentiment out.
Once my Pops of Color where dry, I trimmed the background down and then added it onto a piece of purple cardstock from the Rainbow Smooth Cardstock Pad using the dotted adhesive roller from Scrapbook.com. This adhesive has a little work time, so if you don't like the placement of your element, you can easily separate the cardstock and try again! Who doesn't love being able to do that?! Then I added the matted background to a scored card base.
I then added the sentiment with a bit of foam adhesive to pop it up from the background. And for a finishing sparkly touch, I added a few Pinkfresh jewels in sunshine yellow. And that's it--it really is so simple to create a sunrise or sunset inspired background--no special tools or stencils required! Until next time, happy crafting!
Adrienne
Shop the Supplies:
Scrapbook.com
I am an affiliate with Scrapbook.com. When you shop the links below, I receive a small commission from the affiliate, at no additional cost to you. This helps me balance the costs of the time and love I put into my projects and blog so I can continue to share my ideas with you for FREE. If you shop the links, thank you! I greatly appreciate it.
Below are products that I used for this project.












0 comments
I'd love to hear your thoughts!