Dia De Los Muertos Watercolor Mixed Media Panel with Tim Holtz
It's time to start getting into Spooky Season and Autumn makes!
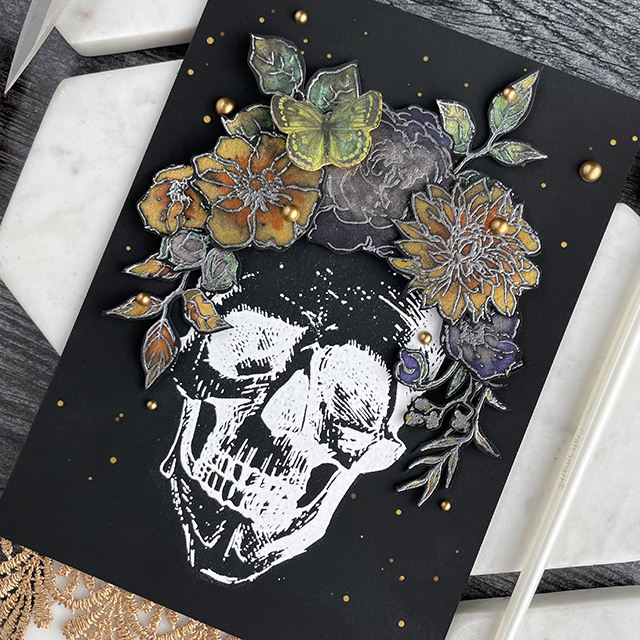
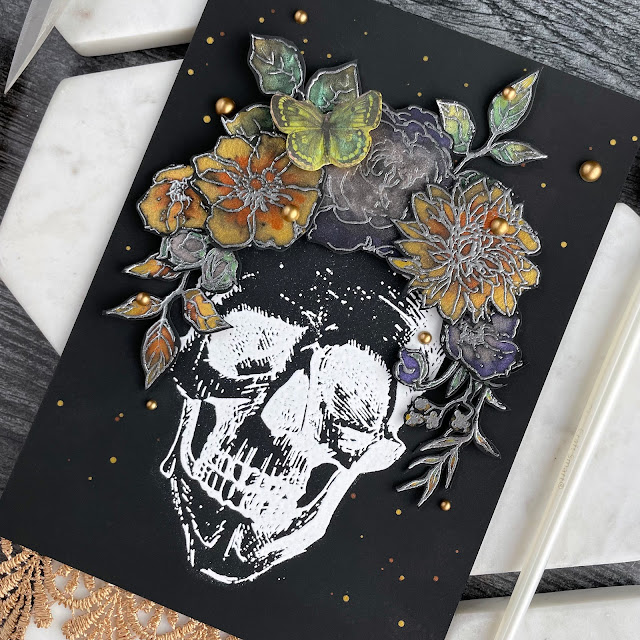
I love florals so the pretty sugar skulls with floral head dresses or crowns always have me oohing and aahing. For this project, I was also inspired by Emma Williams who made a card for last year's Halloween release of stamps for Tim Holtz and Stampers Anonymous.
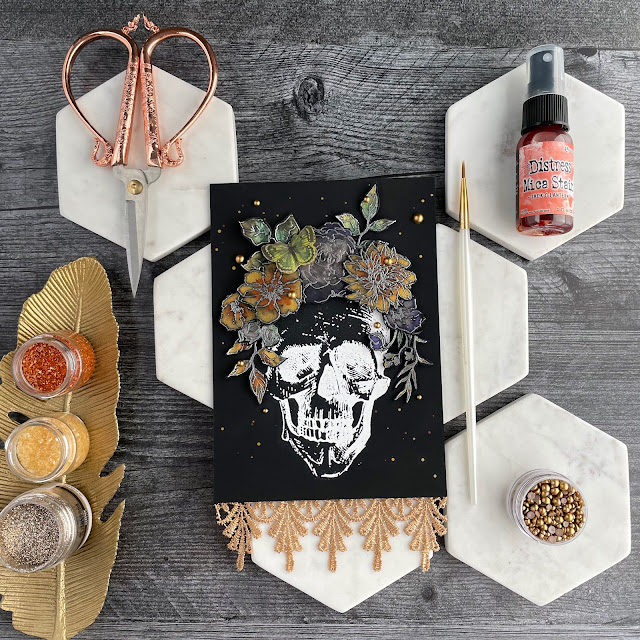
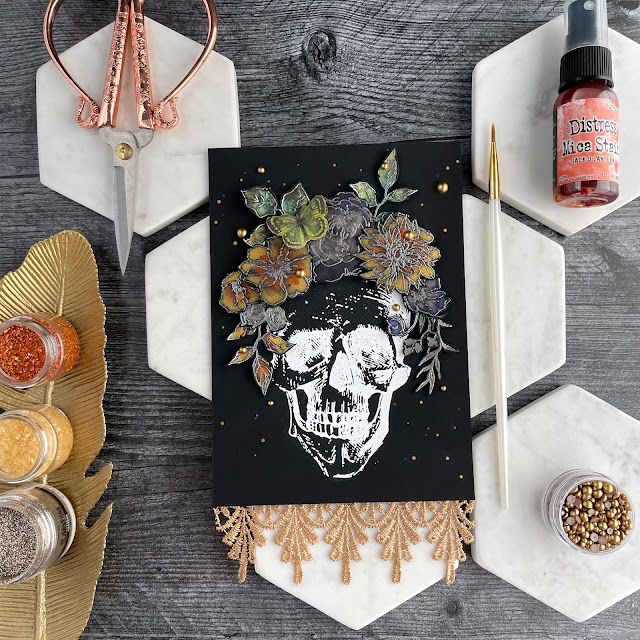
Rather than making mine a card, I made mine a panel that I could hang up or display in my home around Halloween. I also used 2021's release of Distress Mica Sprays to make this super shimmery. (If you missed out on the Distress Mica Sprays last year, the good news is Tim has 2 new sets of Halloween colors so I can only assume he will have some for Christmas as well! Or you can use Ranger's Perfect Pearls or other shimmery sprays for this technique.)
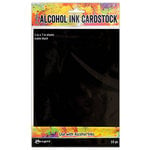
I really wanted the Mica Sprays to stand out so I chose to use the Ranger Alcohol Ink matte black cardstock. I think the texture lends itself well to grabbing onto the mica and creates a super dark background to make the shimmer really shine.
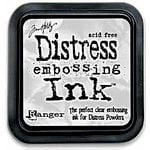
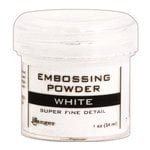
I stamped out the skull from the Rest In Peace stamp set using embossing ink onto one piece of the 5x7 Alcohol Ink black cardstock and then embossed it with Ranger’s Super Fine Embossing Powder in white.
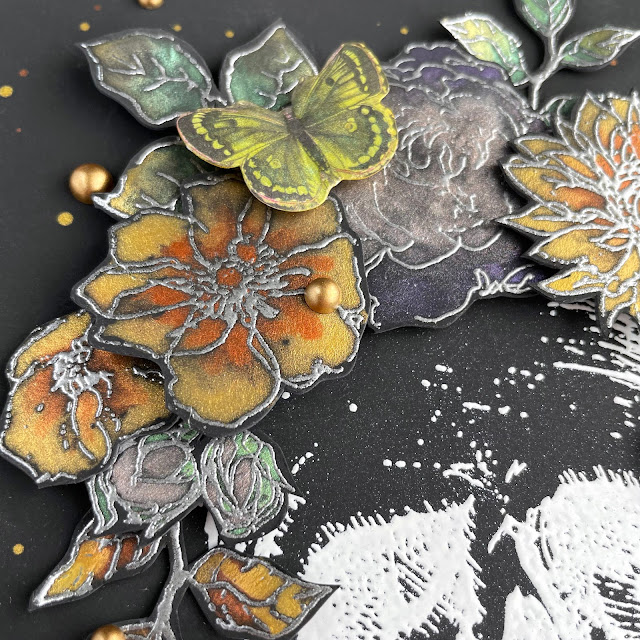
Next I stamped out several of the florals from the Floral Elements stamp set onto the same cardstock but embossed this in the Super Fine in silver. To watercolor them, I sprayed just a few drops of each Distress Mica Spray color into a palette and then added a drop or two of water to make the ink base react. I used a fine tip watercolor brush to paint each of the flowers. For my tips on watercoloring, check out my YouTube for my easy watercoloring technique tutorial.
I also splattered just a bit onto the paper with the stamped and embossed skull. To keep the splatters to being around the skull, I stamped the skull out on basic cardstock and cut it out. I placed the cut out over the embossed one on the black cardstock to mask it off during splattering.
I set these aside to dry overnight to give the mica as much time to adhere to the paper as possible. The next day, I fussy cut the florals out using my swivel craft knife and a self healing craft mat. Be sure to check out my tips on how to fussy cut like a pro to help you with this step.
I then shaped some of the leaves with shaping tools and layered my florals on, creating a crown. I used foam adhesive to pop the flowers up, creating several layers and used Collage Medium to adhere the leaves and bud stems.
I chose a green butterfly from the most recent Halloween Ephemera pack and added a wash of the yellow Flickering Candelight Distress Mica Spray to the backside. I dried this with my heat tool and then added a thinned down wash of the green Bubbling Cauldron Distress Mica Spray over the front and dried it again with my heat tool. I gently bent the winds and then used a strip of foam adhesive to attach it to one of the flowers in the crown.
I wanted to add a bit of coffee hued Venetian Lace from Reneabouquets to the bottom of the panel. But I didn’t want to have stitching show on the front of the panel. So I cut out two pieces of basic black cardstock to sew the lace onto by sandwiching it between the two pieces of cardstock. Doing it this way also allows me to be able to use glue runner to adhere the lace sand which to the back of the panel. I used my dotted glue runner so that I would have a chance to move the sandwich to get it perfectly aligned.
The finishing touches included adding another sheet of basic black cardstock to the back to hide and protect the stitching on the back side of the lace and cardstock sandwich. I also added a few Pinkfresh matte gold pearls to the panel for just a little bit more dimension. And that it it! I hope you love my interpretation of Emma’s gorgeous card! Until next time, happy crafting!
Adrienne
Shop the Supplies:
Reneabouquets
Scrapbook.com
I am an affiliate with Scrapbook.com. When you shop the links below, I receive a small commission from the affiliate, at no additional cost to you. This helps me balance the costs of the time and love I put into my projects and blog so I can continue to share my ideas with you for FREE. If you shop the links, thank you! I greatly appreciate it.
Below are products that I used or similar products.









0 comments
I'd love to hear your thoughts!