Easy Basic Paper Tassel Tutorial
Custom paper tassels to match your mini albums and other 3D paper craft projects are easy to make!
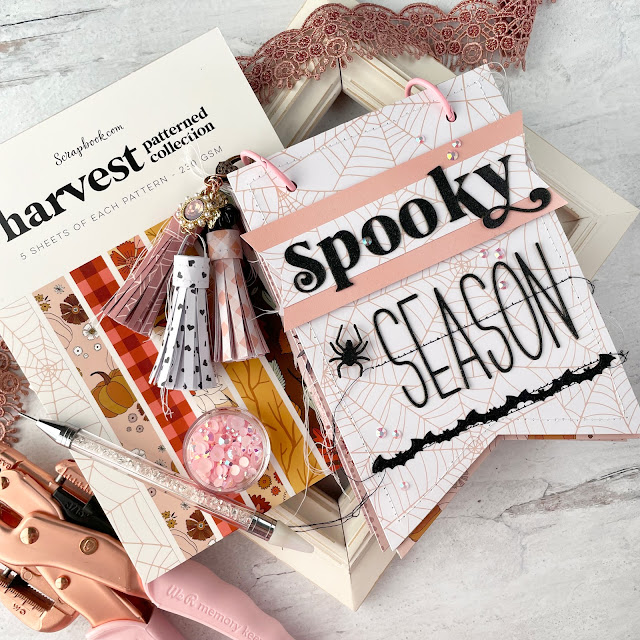
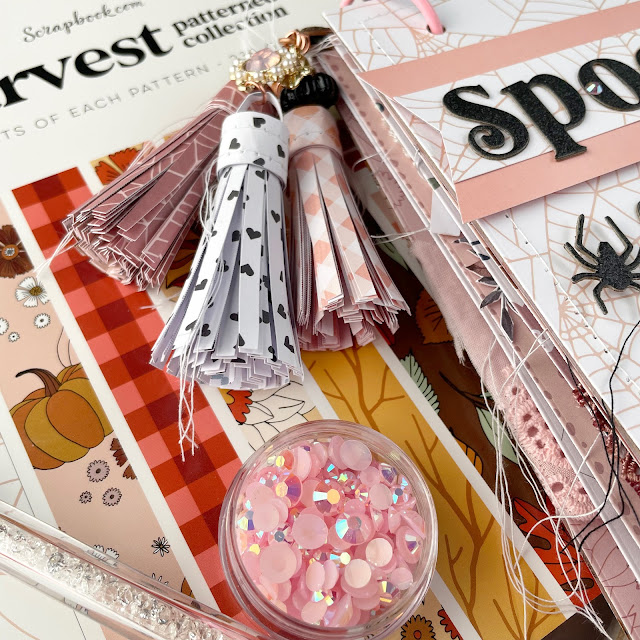
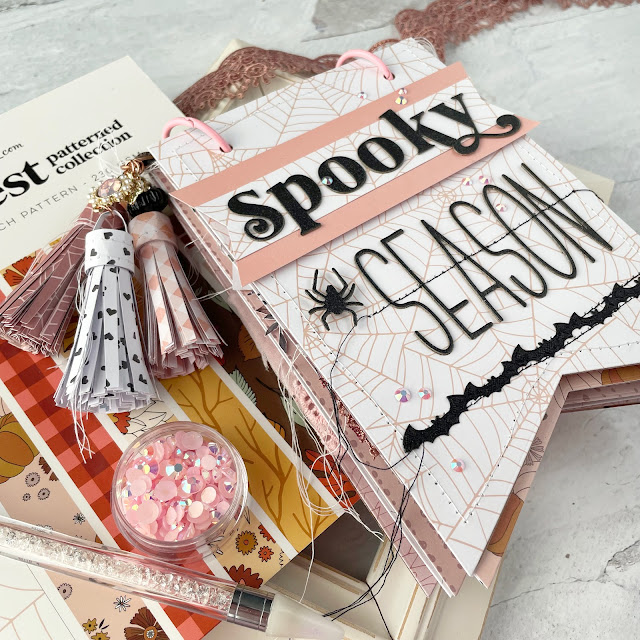
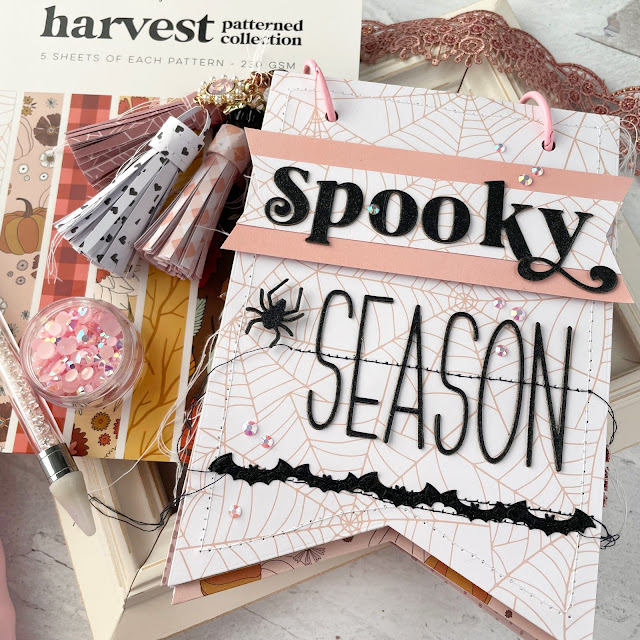
I'm working on a Spooky Season mini album and wanted to make some paper tassels that custom matched my album and I wanted to share how I make my basic mini paper tassels with you! I'll be sharing how I create tassels with lots of dangles and charms later, so keep your eyes peeled for that tutorial!
Here are the supplies you'll need for a basic paper tassel:
- Cardstock or patterned paper
- A paper trimmer
- A pair of scissors (fringe scissors will make the process go faster, but aren't necessary)
- Adhesive with work time, such as Scrapbook.com's Dotted Adhesive Roller and Smart Glue
- Thread (adding stitching is optional, but looks super cute!)
- Jump rings (I used these 6mm ones)
- Lobster clasps
- Round nose pliers
- Loose leaf binder rings or eyelets
Start by cutting a few strips of paper. I made my tassels 2 and 1/4 inches long, but you can make them shorter or longer.
- One 12 inch long strip or two 6 inch long strips (you may want shorter or longer strips depending on how full you like your tassels)
- One 1/2 inch wide strip that is about 4 to 5 inches long
- One 1/8 inch wide strip that is at least 2 inches long (if you have a larger jump ring, you might want this strip to be a bit wider)
After cutting your strips of paper, mark 1/2 inch down on the back side of the wider strips. This is the line you will cut your fringe up to. After you use your scissors or fringe scissors to create the fringe, give the strips a bit of a curl with your fingers. To make the rolling process even easier, I then used a cylindrical tool to pre-roll the paper on.
To create the tassel, add a bit of your adhesive to one end of the uncut portion of your fringed strip. I like to use the Dotted Adhesive Roller for this because it is less messy than liquid adhesive. Then begin to roll your tassel. Starting the roll with be the most tedious part of this process. Just take your time and make sure you are keeping things lined up for a neat finished tassel. As you work, keep adding adhesive and rolling your tassel.
When you get to the end of a strip, finish tacking it down with liquid adhesive. As you finish rolling, the liquid adhesive will squish out to the edge of the paper, ensuring that the end is tacked down well. If you have multiple strips, like I did for mine, Add on your next strip and continuing rolling, just as you did with your first strip.
Once you have gotten your tassel as full and wide as you would like it, add on the looped strip that allows your tassel to hang. Start by rolling a bit of the end of the 1/8 inch wide strip so that it curves, rather than bends. Using liquid adhesive, glue down one end of the strip onto the top portion of your tassel. There isn't a specific length that I cut my strip to, I just eyeballed it and then trimmed off the excess and glued down the other end of the strip to the opposite side of the top of the tassel to create the loop.
To secure the looped strip and create a finished look, add the 1/2 inch wide strip over the top of the tassel. I added a little bit of stitching to mine. My strip was around 4 to 5 inches long and I did just enough sewing on one end to to wrap around the tassel once plus have a little bit of overlap. My sewing was just over 2 inches long, but this will vary depending on how full you made your tassel.
I gave this strip a little curl with my fingers and then glued down the end without stitching first. Just like the tassel, I added adhesive and worked my way toward the end of the strip, keeping things lined up and even. I used liquid adhesive to secure the end here as well.
Add your jump ring and lobster clasp to the top of your tassel. Then attach your tassel onto your project by clipping it to your binder ring or through an eyelet and that's it! Until next time, happy crafting!
Adrienne
Shop the Supplies:
Scrapbook.com
I am an affiliate with Scrapbook.com. When you shop the links below, I receive a small commission from the affiliate, at no additional cost to you. This helps me balance the costs of the time and love I put into my projects and blog so I can continue to share my ideas with you for FREE. If you shop the links, thank you! I greatly appreciate it.
Below are some of the products that I used to create the paper tassels.








0 comments
I'd love to hear your thoughts!