Gatefold Waterfall Mini Album Tutorial

by - 7:56:00 PM

This year I wanted to try my hand at something new and want to work through my massive patterned paper stash. So I chose to try making mini albums. 

Gatefold Waterfall Mini Album Tutorial

This is my very first mini album ever and I think it turned out pretty well. I also learned a lot about the mechanics of waterfall albums and what I can and can’t do with embellishments to make it easy to close. Overall, I think my first attempt was pretty successful! 

Gatefold Waterfall Mini Album Tutorial

I gave my album the dimensions of 10.75 inches wide by 7 inches tall by 2 inches deep. I adapted the waterfall mini album technique from RosaKellyScrapbooking on YouTube (she does a really good job of breaking it all down so I won't go into it here) and used chipboard to make it nice and sturdy. 


Inside I used black pages sized to 9.75 by 6.75 inches that sandwiched the waterfall mechanism and then layered my patterned paper on top sized to 9.25 by 6.25 inches. 

Gatefold Waterfall Mini Album Tutorial

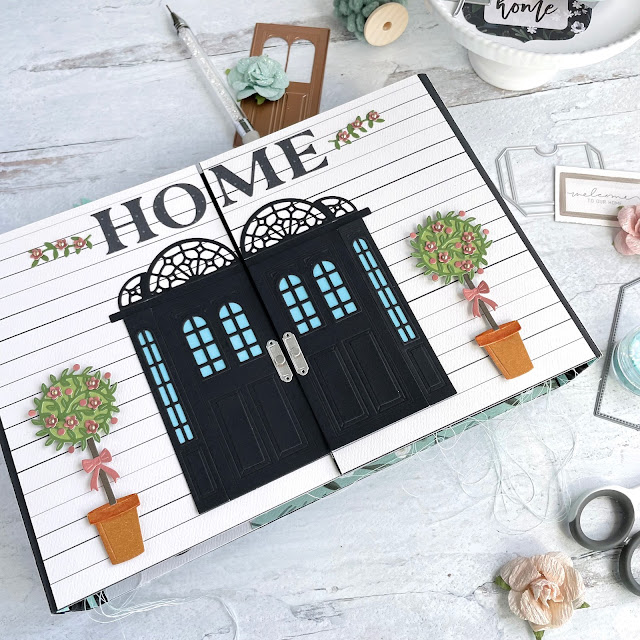
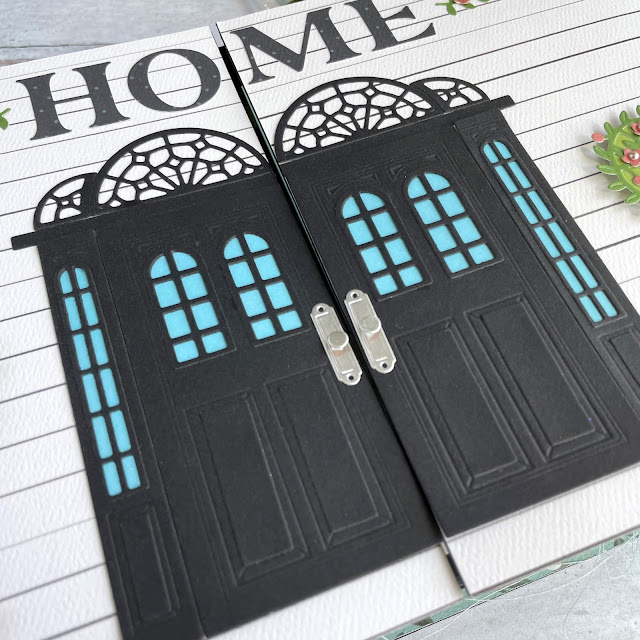
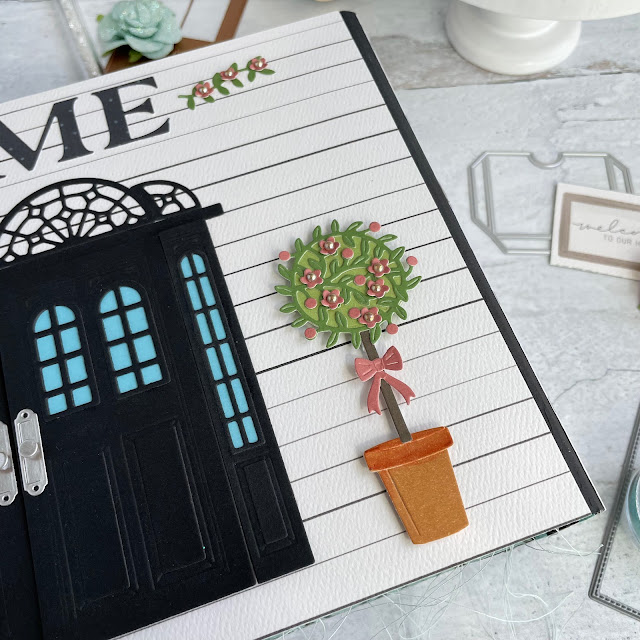
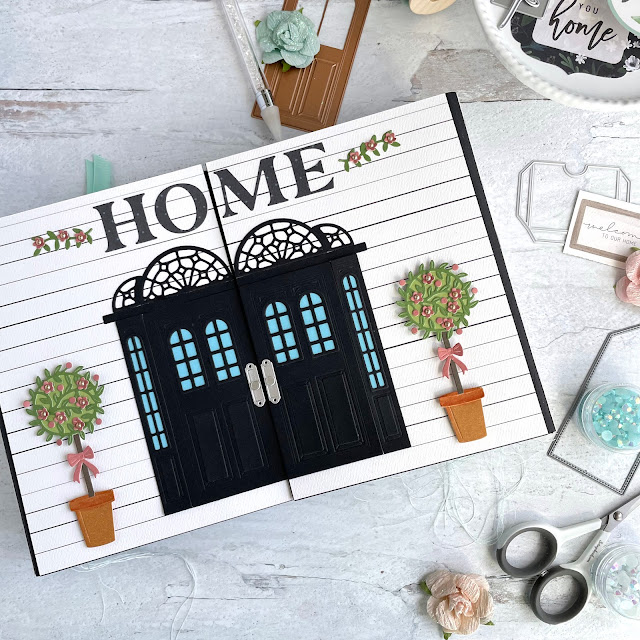
The cover of the album is decorated with the Spellbinders Open House die collection. I used the door base, side lites and the topiary. I used smooth black cardstock, blue cardstock from the Playful pad and Tim Holtz silver kraft stock to create the doors. 

Gatefold Waterfall Mini Album Tutorial

For the topiaries, I used the Boho and Floral pads. I shaped the tiny flowers and added a small pearl to the center of each. I also added a little shape to the bows using my tweezers. To add just a small differentiation of color, I used the Distress Crayon in rusty hinge to add a deeper terra cotta color to the pot layer. 

Gatefold Waterfall Mini Album Tutorial

I chose this patterned paper background because it looked like siding on a house.  I then die cut the word home from from some more patterned paper. I glued down all of my elements with collage medium or foam adhesive

Gatefold Waterfall Mini Album Tutorial

My sister takes a ton of photos of my niece so I think in the end, the hardest part after creating the base of the album, was choosing which photos to use. For this album, I used the Carta Bella Home Again collection papers, stickers and some ephemera

Gatefold Waterfall Mini Album Tutorial

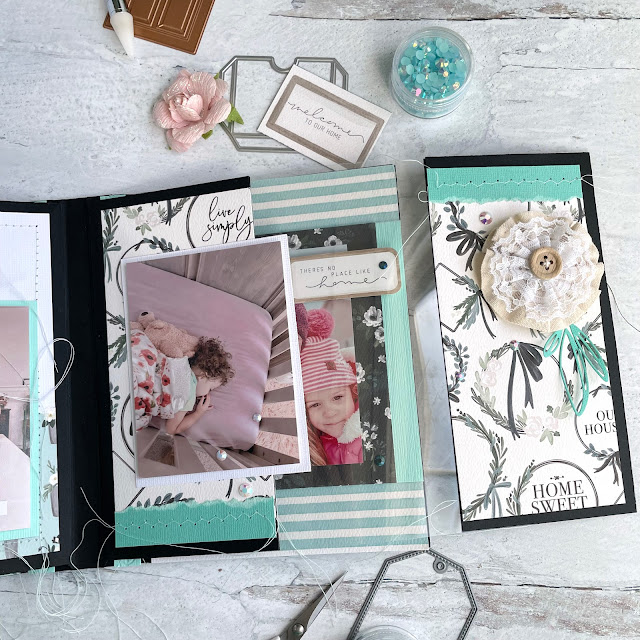
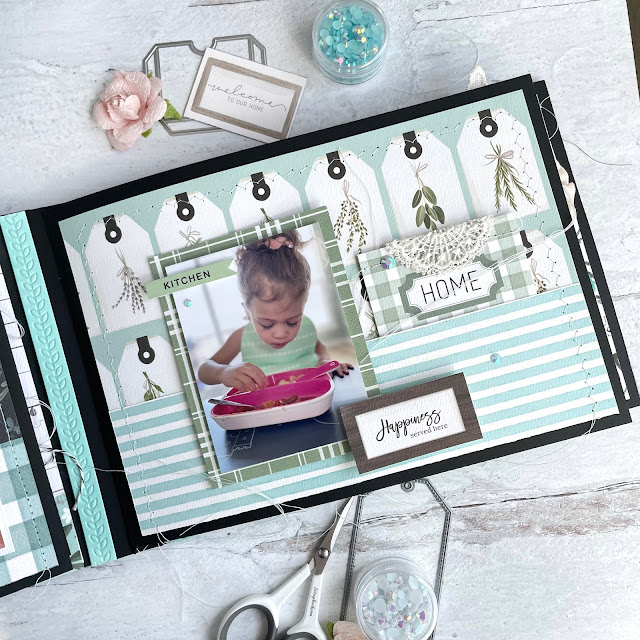
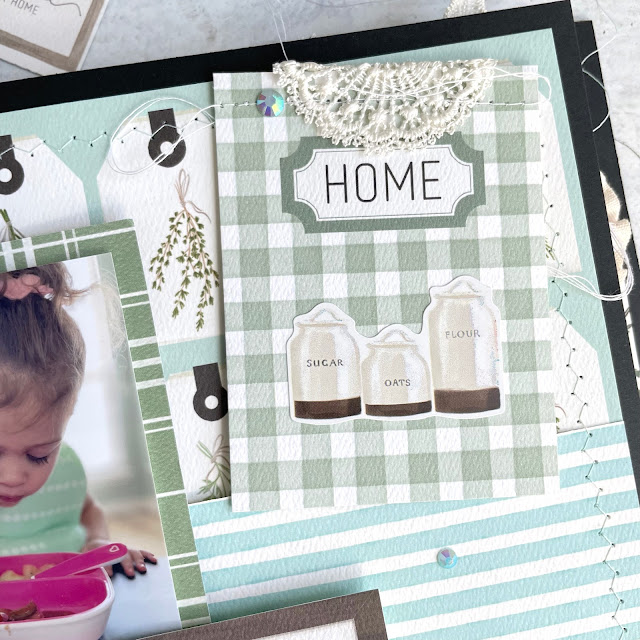
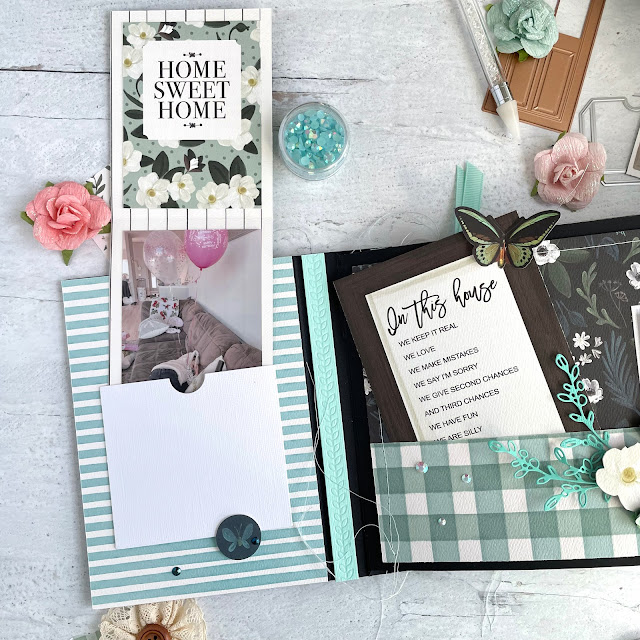
The two inside flaps of the cover feature a striped paper. One side has a pocket created from Scrapbook.com’s nested pocket dies and holds a strip of cardstock that I scored and folded to hold 2 photos and a pocket card

Gatefold Waterfall Mini Album Tutorial

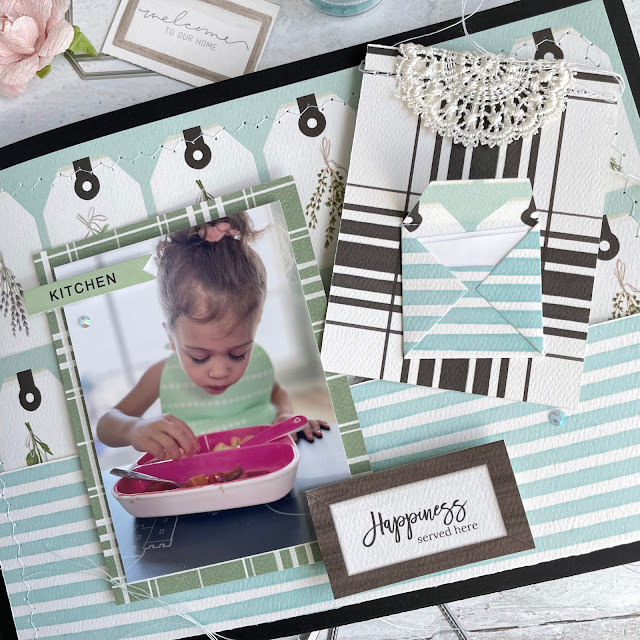
The other side has a scored and folded piece of cardstock that I glued to the flap. It swings open to reveal another pocket card and and photo. Both sides of have a mechanism that holds the scored flaps closed so they don’t swing open when you open the album. I then added a few gems

Gatefold Waterfall Mini Album Tutorial

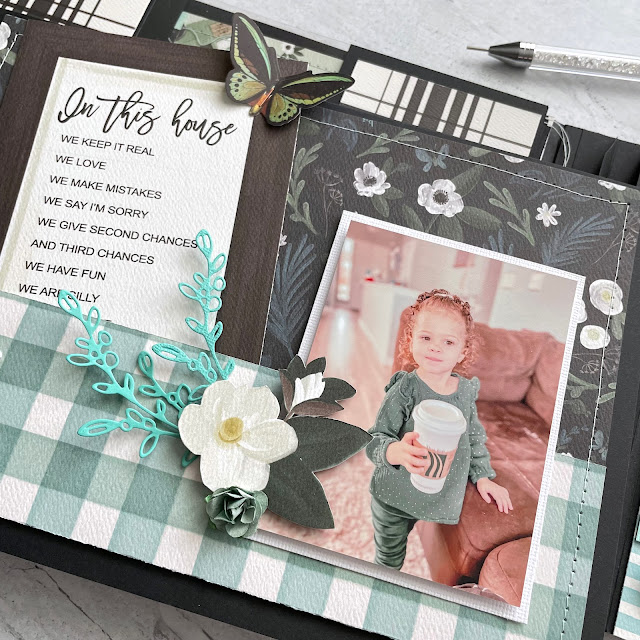
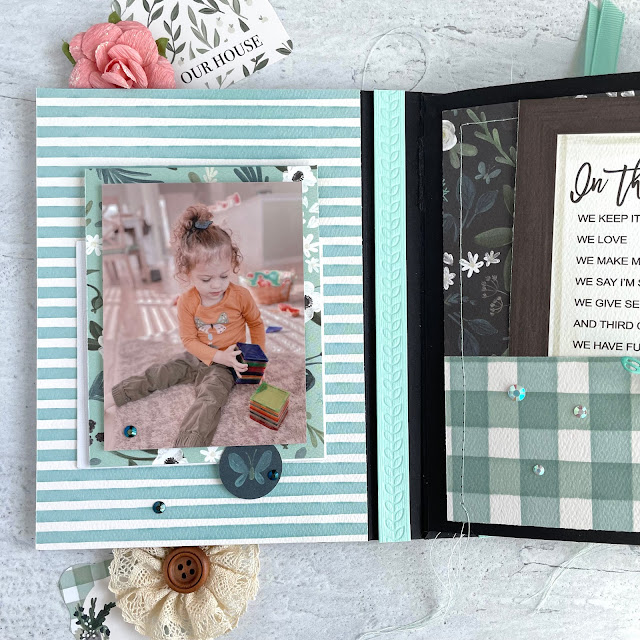
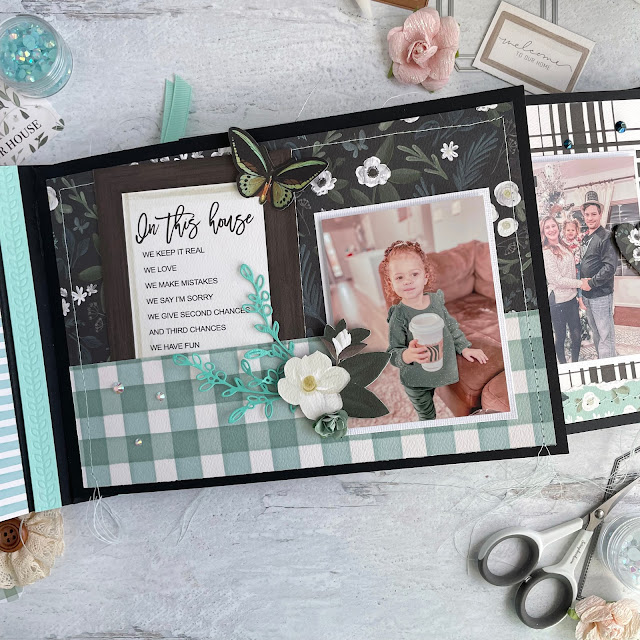
The first page is made of a piece of patterned paper that I scored to create a pocket and then sewed around the edges to close of the sides of the pocket. I matted a photo on white cardstock using foam adhesive and then attached it to the pocket with a little bit of double sided adhesive. I took care to only attach it to the pocket. 

Gatefold Waterfall Mini Album Tutorial

I added a butterfly ephemera piece using a staple to a pocket card, bending the wings for just a little dimension. I later attached another photo to the back of this pocket card. To decorate the pocket, I cut a floral sprig and also fussy cut a flower from one of the patterned papers and attached it with foam adhesive. I added a small paper flower and a couple of gems

Gatefold Waterfall Mini Album Tutorial

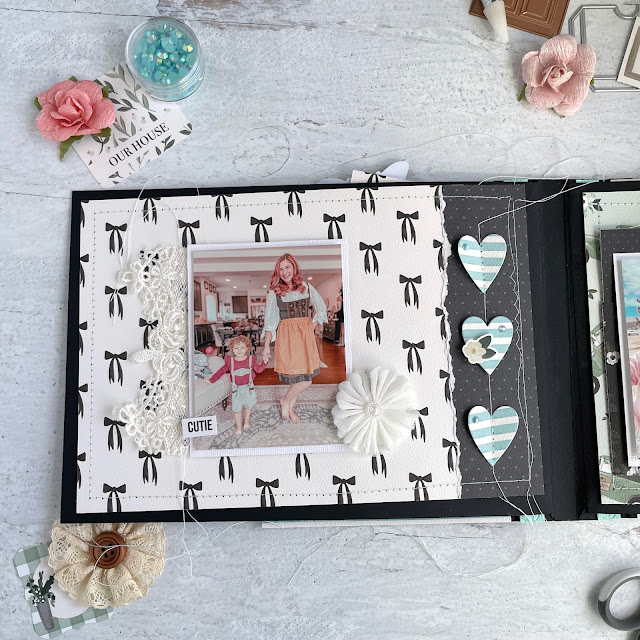
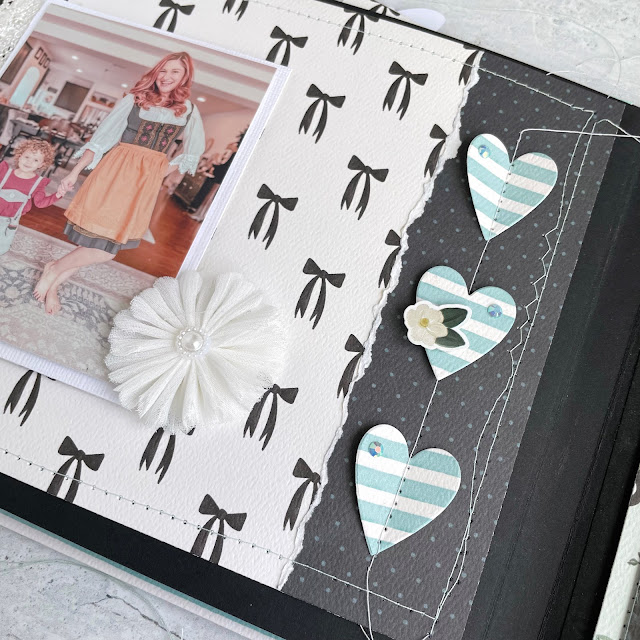
The second page doesn’t feature any fancy pockets, just layered papers and sewing. I cut a few hearts and sewed two them on to the background paper. The photo is mounted with foam adhesive onto white cardstock. I added a little bit of lace, sewing it in place before adhering the photo to the background paper. I glued down a fabric rosette flower. 

Gatefold Waterfall Mini Album Tutorial

The middle heart got added with foam adhesive. It also got a small sticker from the Home Again collection and each heart got a little gem. I added a sentiment sticker to the photo to finish it off. This photo is one of my favorites as my sister is wearing one of our Oma’s Dirndls and my niece, Alira, is wearing a pair of Lederhosen my mom found at an antique store. 

Gatefold Waterfall Mini Album Tutorial

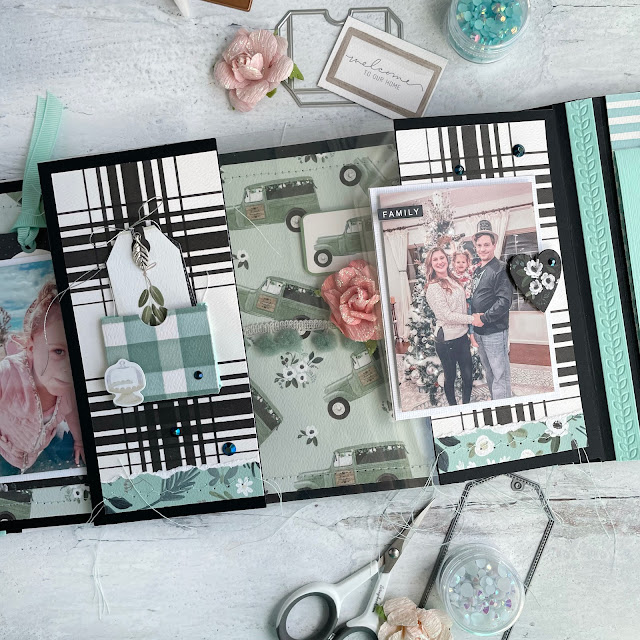
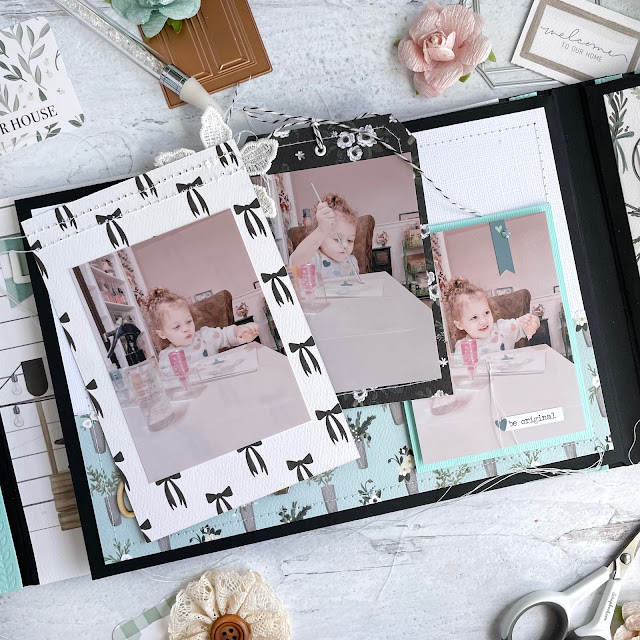
The third page was a fun one to do as the center of it is acetate. Again I added the photo to the cardstock matte with foam adhesive then glued it directly to the background paper, letting it overlap the acetate a little. I added a small sticker with foam adhesive and another heart die cut

Gatefold Waterfall Mini Album Tutorial

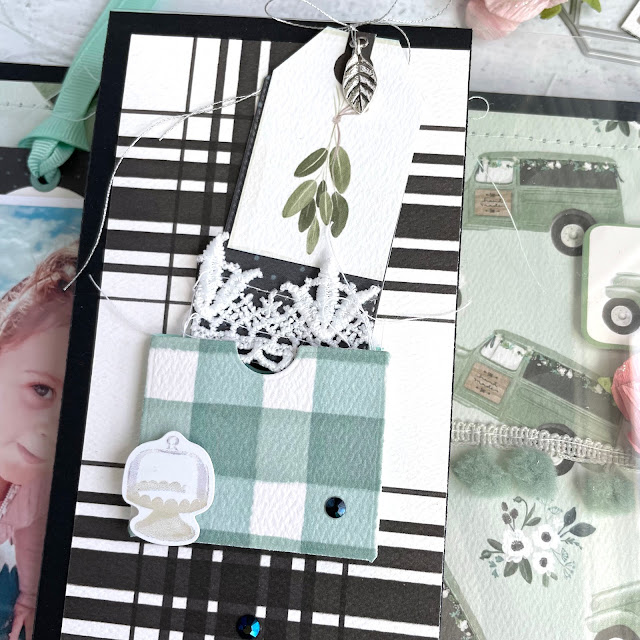
On the opposite side of this page, I created a pocket. I cut two pockets of the same size from the nested pocket set and then glued them together with foam adhesive to allow for a tag with dimension. I added a little sticker to the bottom of the pocket. The tag is a fussy cut tag from one of the papers layered over a stitched tag die cut. The bottom tag has a little lace sewn on to it (why I needed a pocket that would allow for something dimensional). I added some silver thread and a charm to the tags and then glued down some gems. 

Gatefold Waterfall Mini Album Tutorial

The fourth page has another photo added in the same manner as the other side of this acetate page, layering it so it covered the back side of the other photo. This makes it so you can’t see any adhesive.

Gatefold Waterfall Mini Album Tutorial

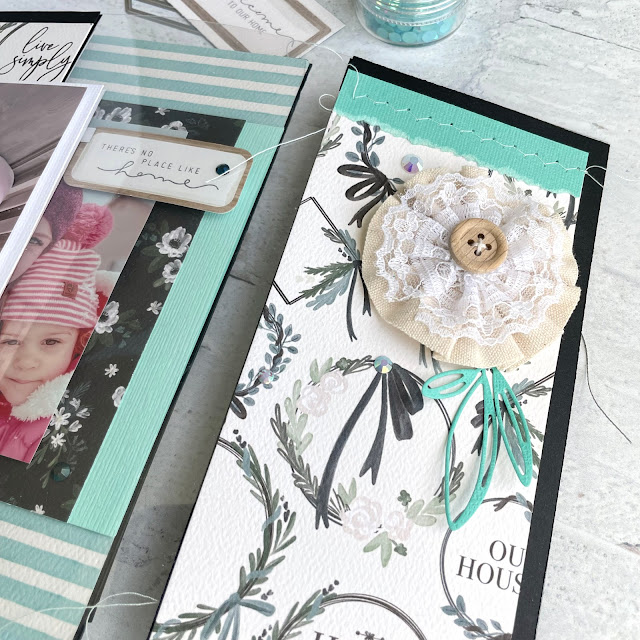
I then glued down a burlap and lace flower, tucking a sprig die cut under it. I then added a few gems to the page for a bit of sparkle.

Gatefold Waterfall Mini Album Tutorial

On the fifth page, I added a little trim, sewing it in place. I then die cut a pocket, added another photo mounted with foam adhesive over the top of the pocket. Again I took care to not add adhesive over the opening of the pocket. I added a piece of ephemera using foam adhesive and glued down a paper flower. 

Gatefold Waterfall Mini Album Tutorial

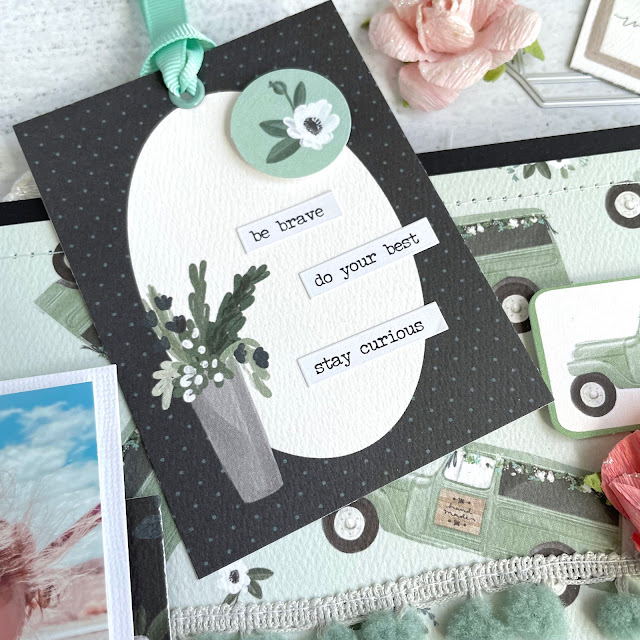
Inside the pocket I added a pocket card. I used my Crop-a-dile to add an eyelet to the top of the card and looped some ribbon through. On the card I added some sentiment stickers and a piece of ephemera. 

Gatefold Waterfall Mini Album Tutorial

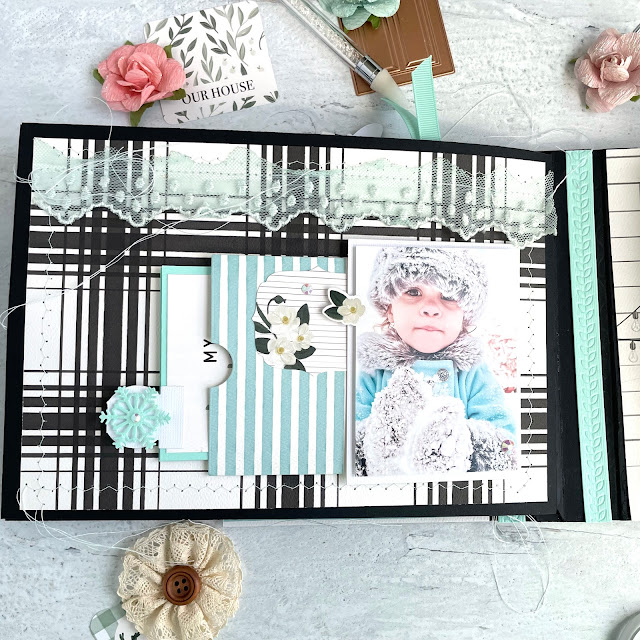
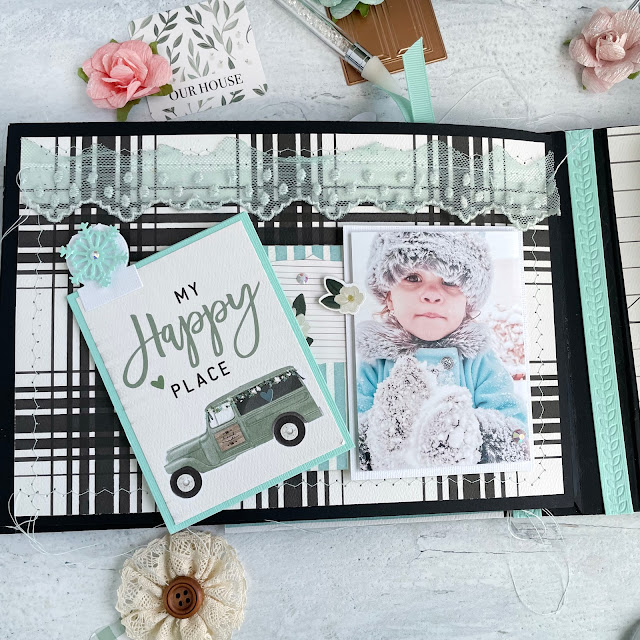
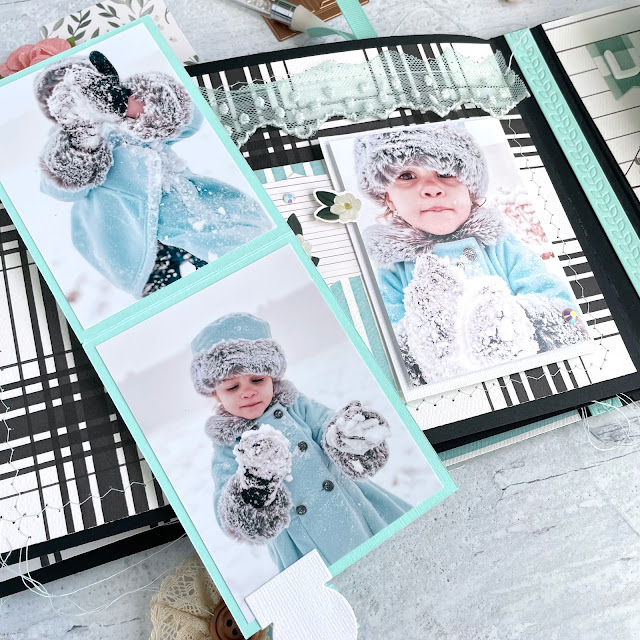
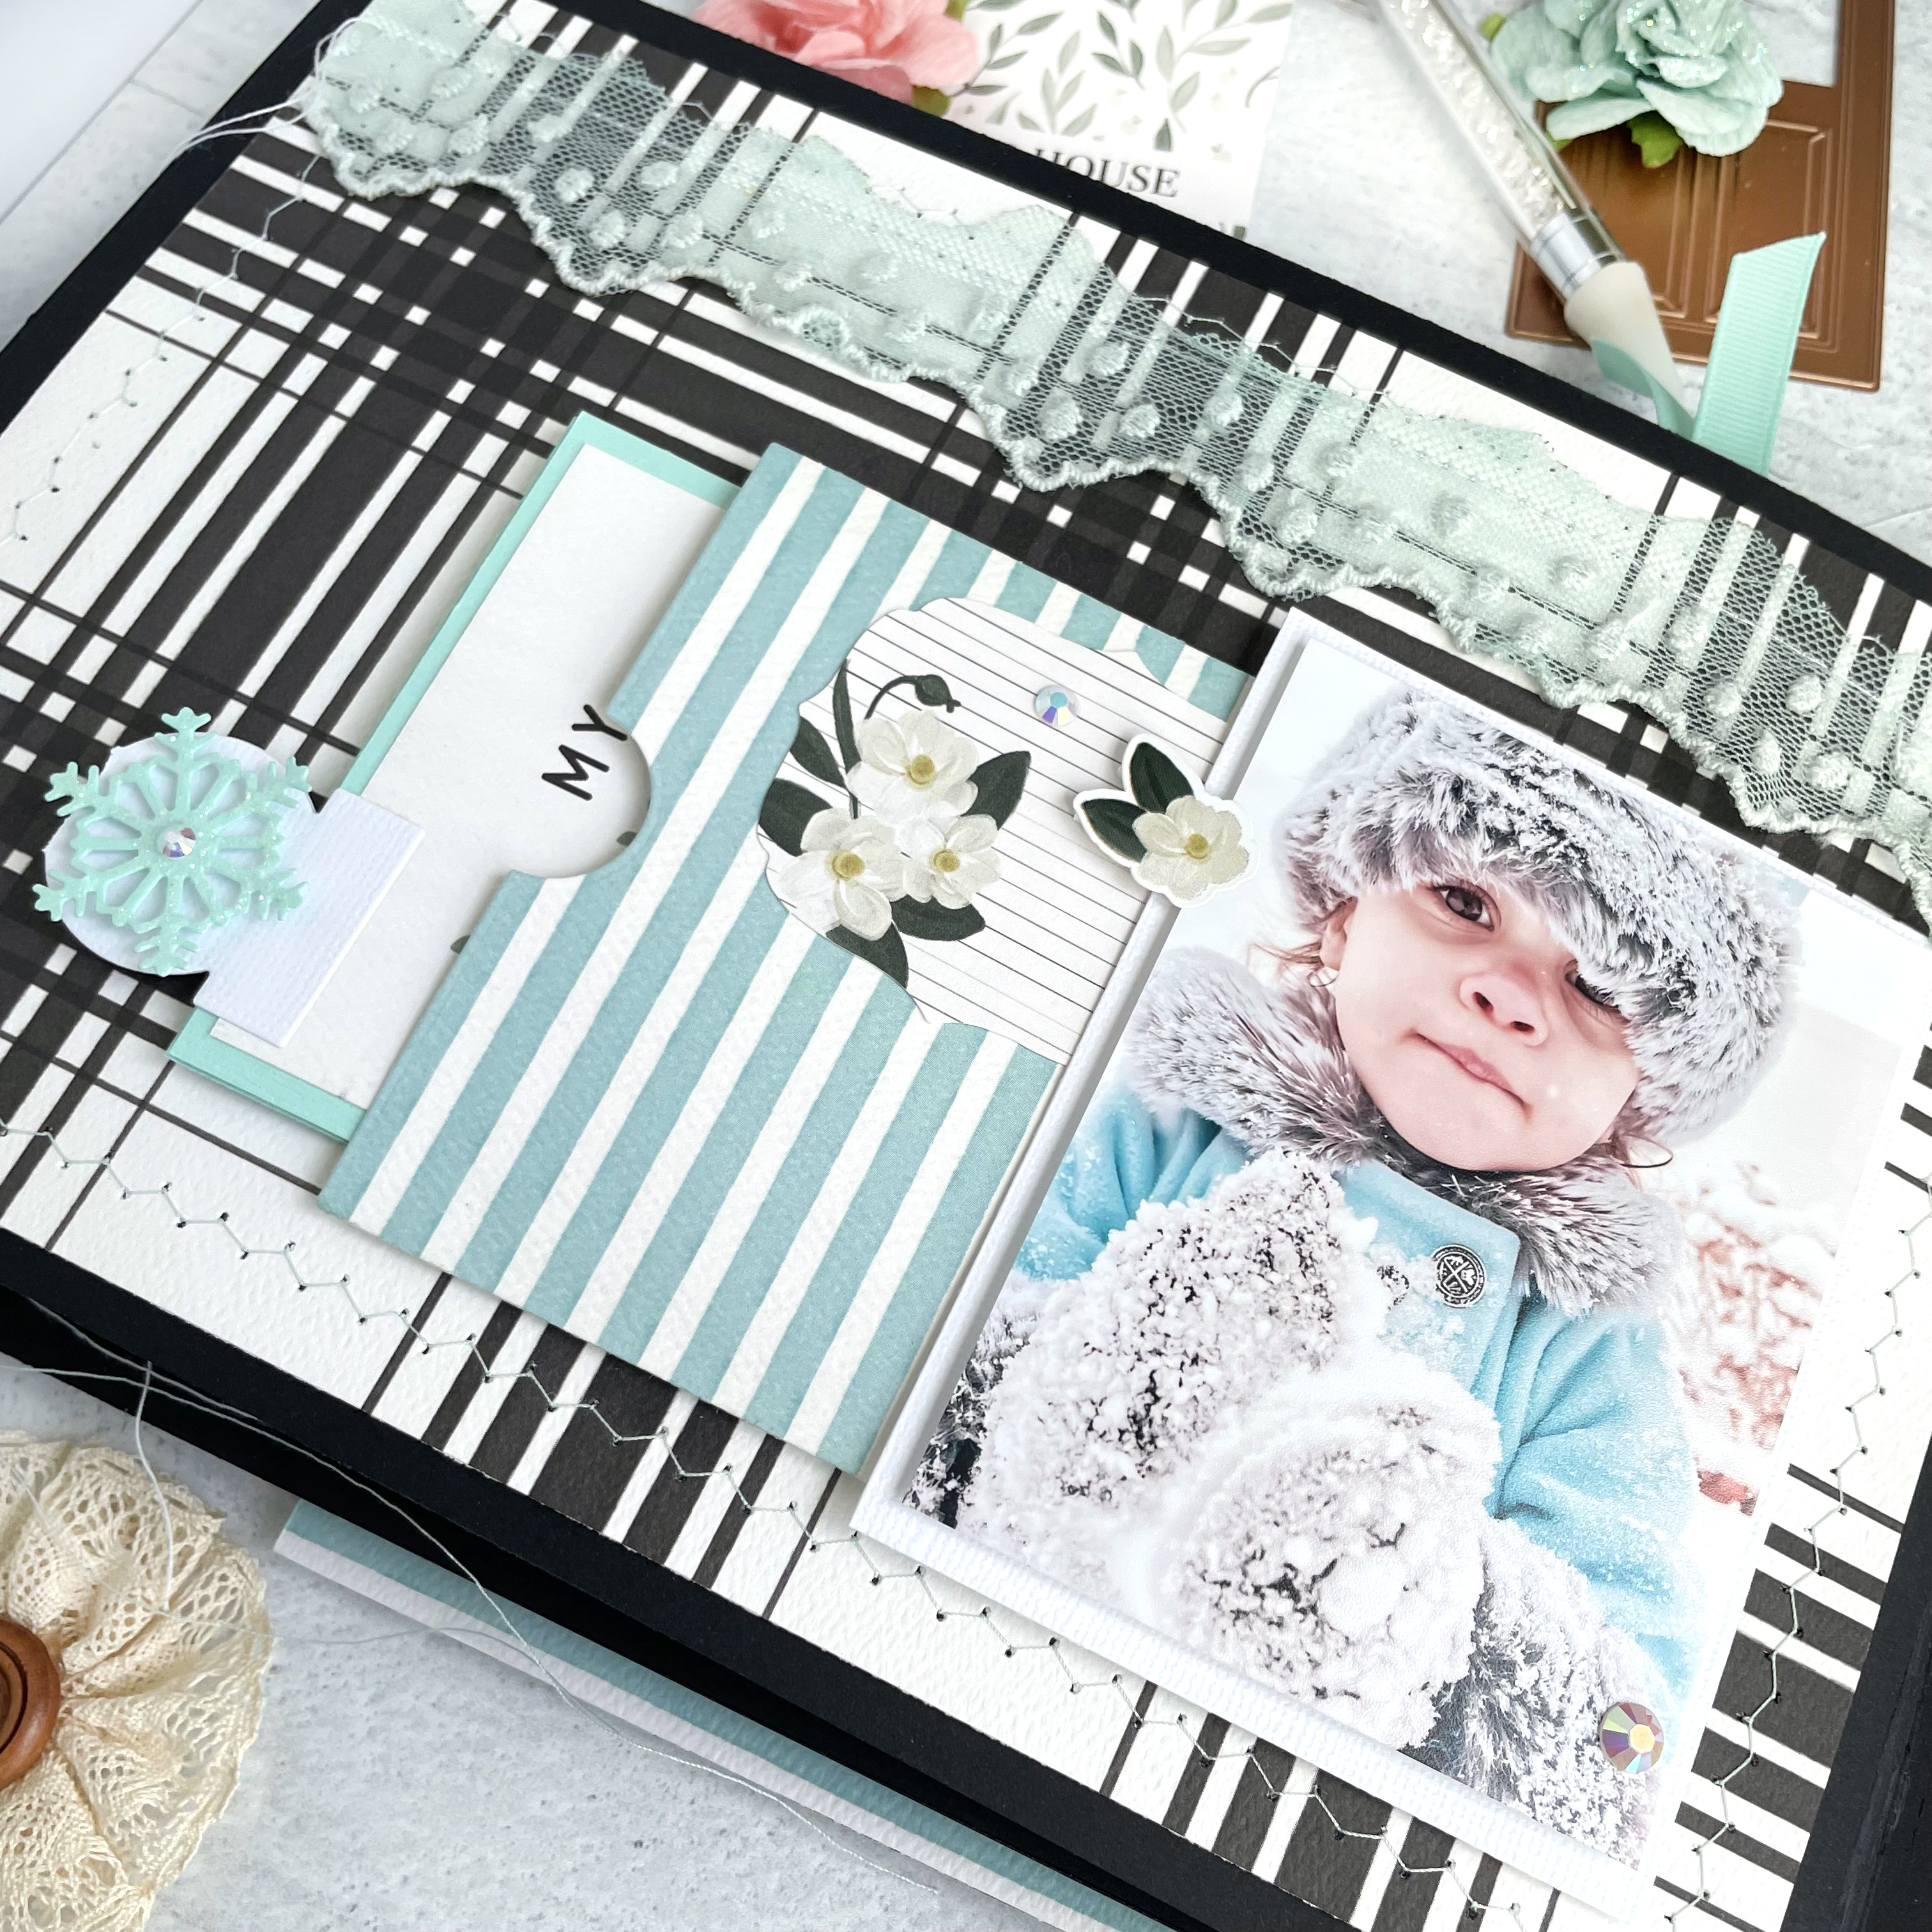
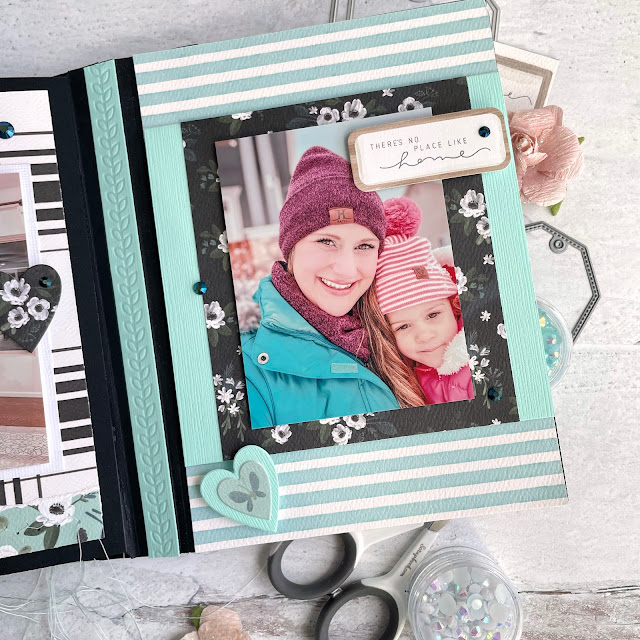
The sixth page is one of my favorites. I just adore this photo of my niece in her winter coat and hat enjoying a snowy day. I sewed some trim to the top of the page. 

Gatefold Waterfall Mini Album Tutorial

I then created a pocket using the nested pocket die again. I then layered the photo, matted in the same way as the other photos, on the pocket. I tucked a piece of ephemera under the photo and added a sticker.

Gatefold Waterfall Mini Album Tutorial

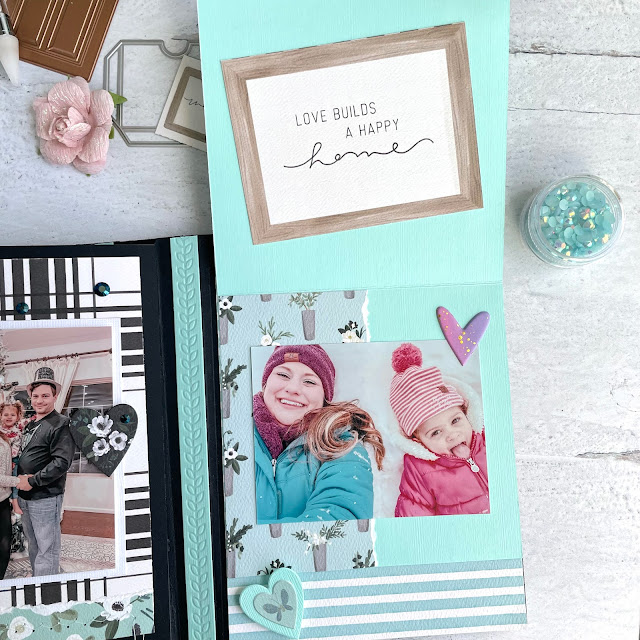
Inside the pocket is another scored piece of cardstock. The front has a pocket card. Inside are two more photos of my niece from that same day. I added a circle tab to the insert and layered on a snowflake die cut. I covered the snowflake in glossy accents and rock candy glitter. I then added a few stickers to the pocket card and a couple of gems onto the page. 

Gatefold Waterfall Mini Album Tutorial

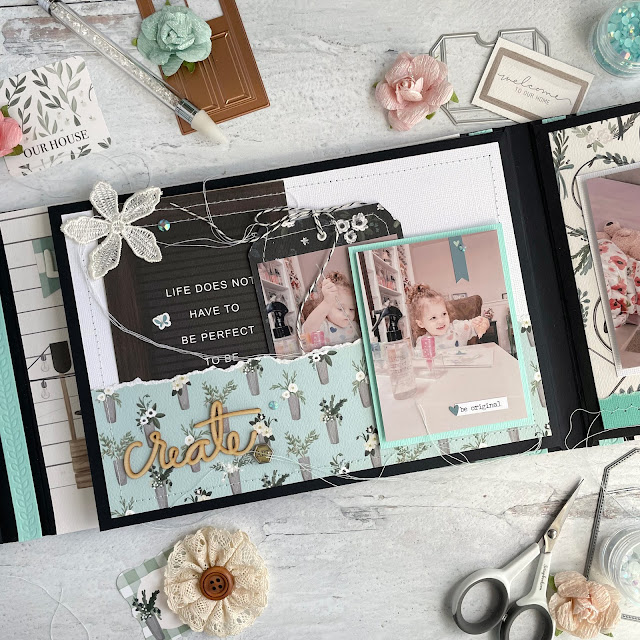
The seventh page holds three photos of my niece. I started by sewing a piece of torn paper on to the base to create a pocket. The first photo was matted and added to the pocket, only glueing down the bottom of the photo to the pocket. The second photo was added to a tag that I hand cut. The third photo is added to the back of the pocket card, which has a little sticker on it and a lace flower sewn on. 

Gatefold Waterfall Mini Album Tutorial

The pocket is decorated with a wood veneer sentiment, glued down with collage medium. I then added a brad, cutting off the arms on the back and attaching it with a foam square. I then added a sentiment sticker to the photo, a few stickers from the Home Again collection and some gems. 

Gatefold Waterfall Mini Album Tutorial

The last page has a pocket that I created like the first page. A photo was added and glued down to the pocket. 

Gatefold Waterfall Mini Album Tutorial

I layered on a sticker and a fussy cut element from the collection. Inside the pocket is a pocket card. I sewed a bit of lace to the top of it. On the front of the pocket card I added a sticker. 

Gatefold Waterfall Mini Album Tutorial

The back of the pocket card has a tiny envelope. Inside I placed a small piece of white cardstock for my sister to add a little note to Alira on. I finished off this page with a few gems.

Gatefold Waterfall Mini Album Tutorial

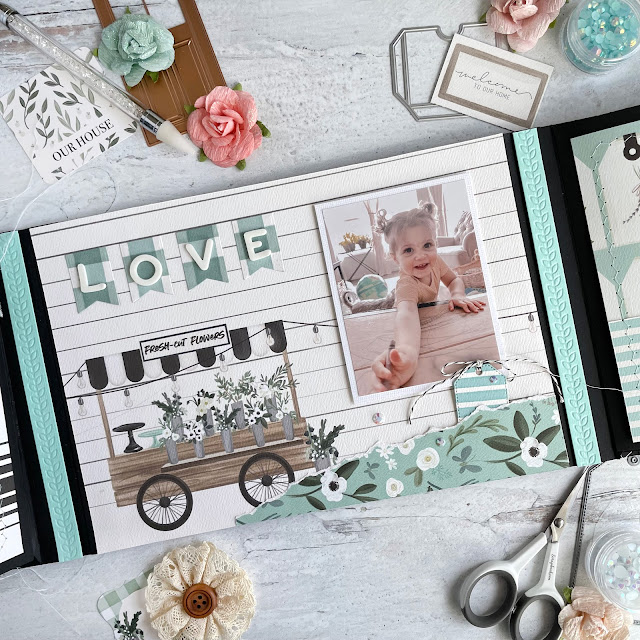
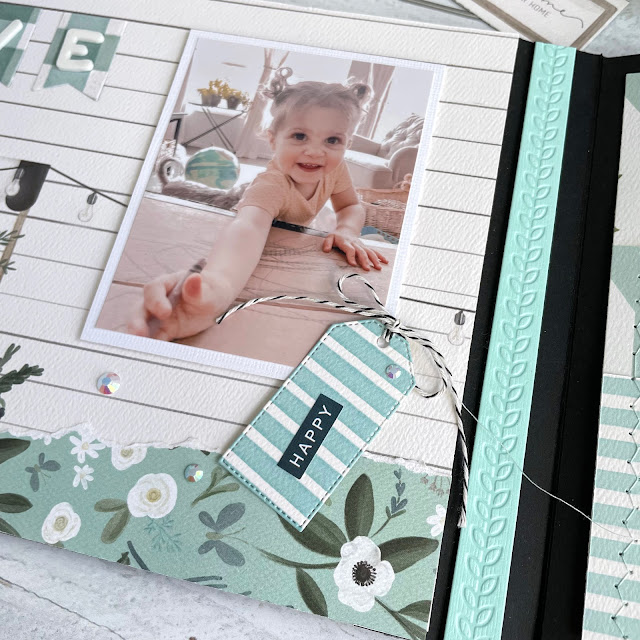
The back of the album has a small pocket created from a piece of torn paper. I added this pocket with 1/8 inch double sided adhesive as the background paper was already glued to the chipboard base of the album. I cut 4 of the smallest nested flag banner dies and then added Thickers to spell love. I added a photo to a cardstock matte and the glued down the photo the page with foam adhesive. 

Gatefold Waterfall Mini Album Tutorial

I cut a small stitched tag, adding a sentiment sticker to it and some baker’s twine. I finished off the page with a little bit of glitter pen on the lightbulbs and some gems. 

Gatefold Waterfall Mini Album Tutorial

I glued all the pages onto the waterfall mechanism once they were completed. I had some raw edges that didn’t completely line up for the edge of the waterfall mechanism in the binding. I decided to hide it by cutting some stitched boarders. I think it ended up adding a really nice touch!

And that is it! Phew! I hope you enjoyed seeing all the photos of this album. I’ll be sharing these photos over the next several days on my Instagram account, along with a video of me flipping through the album so you can see all the pockets and flips in action! Until next time, happy crafting!
Adrienne

Shop the Supplies:


ReplicaSurfaces

Love the background I shot my photos on? It's from Replica Surfaces, a company that makes rigid photo-realistic backgrounds. This surface is called Vintage Wood. You can pick up your own with a 15% discount by shopping this link. When you do, I get a small commission from the sale at no extra cost to you, which helps me continue to provide you amazing tutorials and information, just like this blog post!


Scrapbook.com

I am an affiliate with Scrapbook.com. When you shop the links below, I receive a small commission from the affiliate, at no additional cost to you. This helps me balance the costs of the time and love I put into my projects and blog so I can continue to share my ideas with you for FREE. If you shop the links, thank you! I greatly appreciate it.


Below are some of the products that I used in this project. For the full list of supplies, visit my Scrapbook.com gallery!

You May Also Like

2 comments

  1. Hi there... This is just beautiful and so inspiring. I've got thousands of photos that is like to create memory books with, you've certainly inspired me to get going 💕

    ReplyDelete
    Replies
    1. I'm so excited to hear that you were inspired to start creating!

      Delete

I'd love to hear your thoughts!