Pops of Color Palette Card Tutorial
Cards don't have to be rectangular or square. They don't even have to be round!
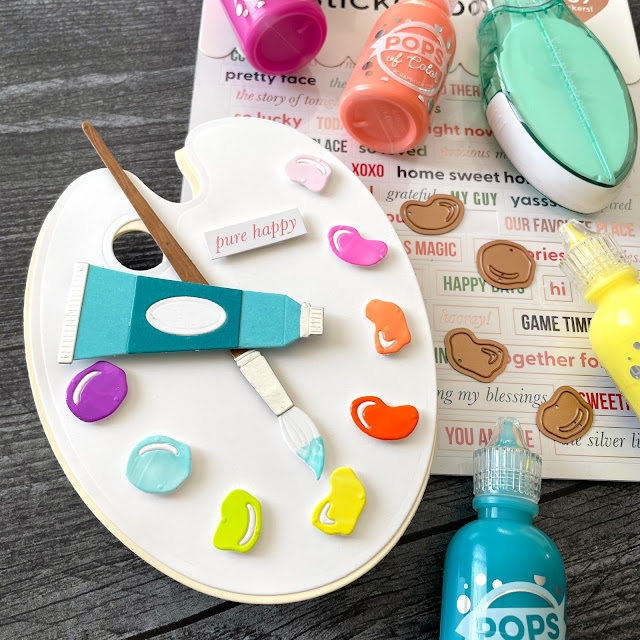
I felt compelled to turn this die cut set from Spellbinders into a shaped card. And I recently bought all the new Pops of Color from Scrapbook.com so I really wanted to make each little dollop of paint with Pops of Color.
It's really easy to create a shaped die cut from your metal dies. You are going to make two cuts--one that is the base of the card and the other which will be a layer on top. I chose a cream colored 8.5x11 inch piece of cardstock as the base and folded it in half to create an 8.5x5.5 inch piece of cardstock.
Then using mint tape, I secured the palette die to the cardstock, letting the die hang over the edge on the folded side--this will create the scored fold of your card. Run it through your die cut machine. I then ran the die through to create a single white layer that I would glue over the top of the card base. I decided to offset my layer a bit so the cream base would appear to be a drop shadow and give my card more dimension, using the new permanent adhesive runner to glue it down.
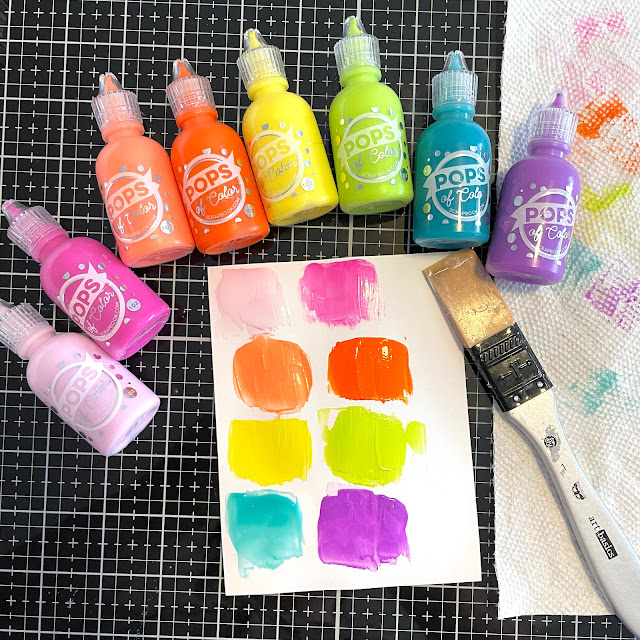
I picked out 8 of the new Pops of Color and grabbed a flat solar white card front. I worked one color at a time, squeezing a little out and then spreading it with a silicone brush (you can also use a craft scraper or palette knife). If you want a darker color, let each layer dry in between and let them fully dry before running this through your die cut machine.
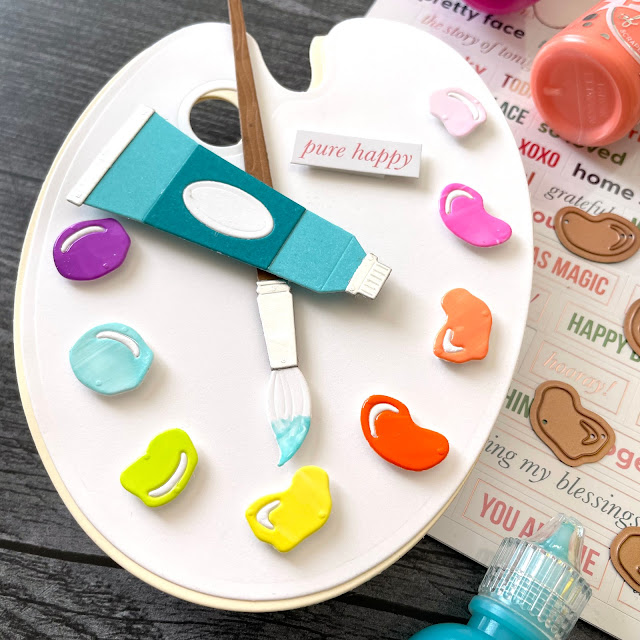
I then used mint tape to secure the paint blob dies and ran this through my machine twice for each of the 4 dies. I then ran them twice each again with white cardstock. I applied some foam squares to the paint blobs, making sure that it covered the little opening where the highlight drops out.
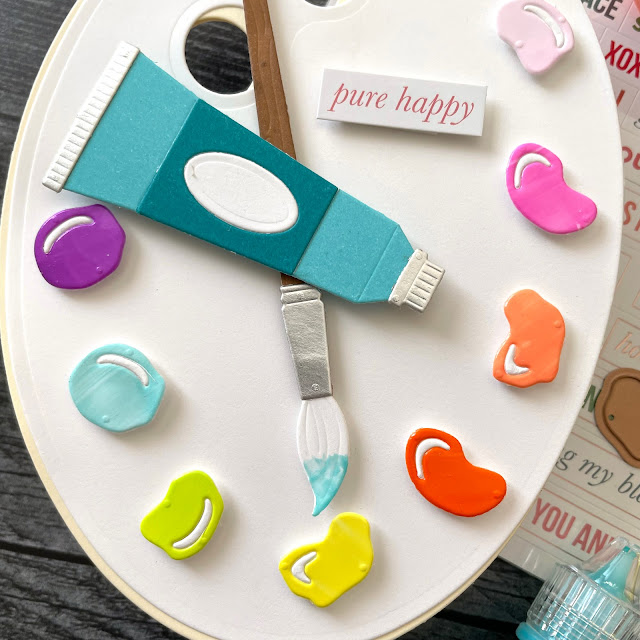
Using a gem picker, I placed the matching highlights from the white die cuts into the openings on the Pops of Color die cuts, creating a white highlight. Make sure you give those white pieces a good press into the foam adhesive! I then added all of the little paint blobs, peeling the backing off of the foam adhesive and pressing them down.
I cut the paint tube and the paintbrush out using the Cools and Harvest smooth cardstock pads, white cardstock and metallic kraftstock in silver. I added a little bit of Pops of Color to the brush die cut with my silicone brush and added a bit of Distress Oxide in walnut stain to the brush handle. Once dry, I glued all the pieces of the brush and paint tube together with Smart Glue.
The paintbrush was adhered with a 1/8 inch strip of adhesive foam and the paint tube with 2 layers of 1/4 inch adhesive foam to pop it up even more. To finish off the card, I added a sticker sentiment from the Jewels sticker book using foam adhesive. I think this is such a fun way to use Pops of Color! I hope you enjoyed this quick and easy tutorial. Until next time, happy crafting!
Adrienne
Shop the Supplies:
Scrapbook.com
I am an affiliate with Scrapbook.com. When you shop the links below, I receive a small commission from the affiliate, at no additional cost to you. This helps me balance the costs of the time and love I put into my projects and blog so I can continue to share my ideas with you for FREE. If you shop the links, thank you! I greatly appreciate it.
Below are products that I used or similar products.


0 comments
I'd love to hear your thoughts!