Tim Holtz Sizzix Halloween 2021: Rest In Peace Skeleton Tag
Who says Halloween can't be creepy and elegant?
Happy Tim Holtz Sizzix Halloween 2021 Release Day! Scrapbook.com sent me a couple of the new dies to create with and I had so much fun with them and can't wait to make more projects.
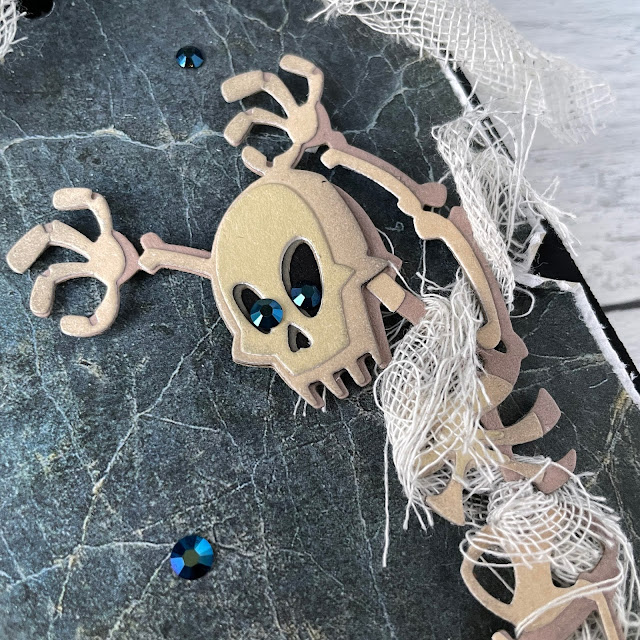
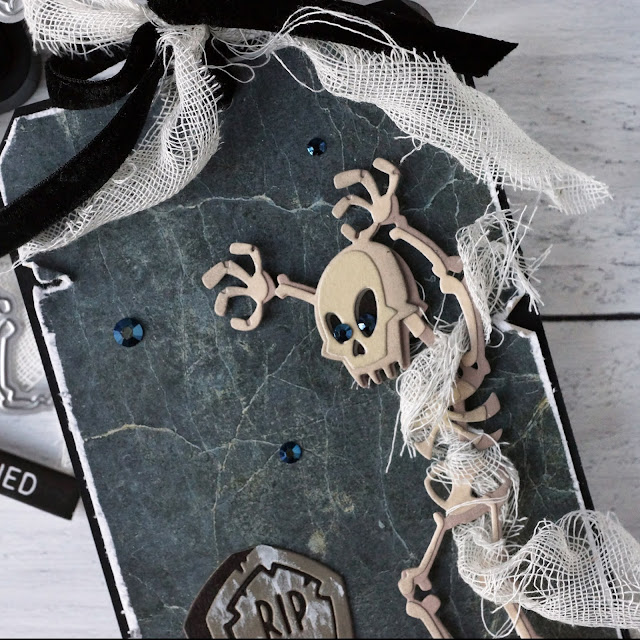
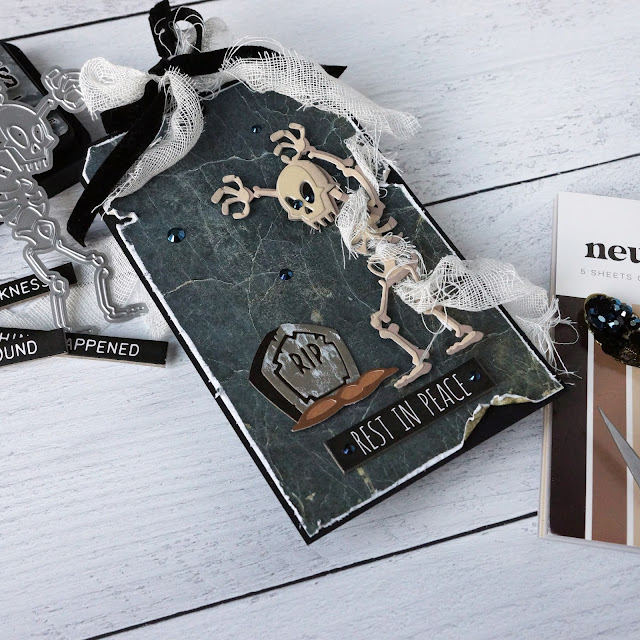
So back to this creepy + elegant thing. Nothing gets me in my Halloween feels like an elegant, gothic decor and this little tag screams (yes, the pun is implied!) elegant and scary. Mr. Bones is ready for a night out on the town with his chic burial shroud and bejeweled eyes. But let's get into the tutorial, shall we?
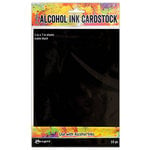
I started out by creating the tag base. I took a sheet of 5x7 inch Ranger Alcohol Ink Matte Black cardstock and trimmed it to 4.25 inches wide and cut two of the corners at an angle. I then traced this shape onto a Tim Holtz backdrop (volume #2). When I trimmed it, I took off an eighth of an inch on each side. I distressed the edges, adhered the two layers with some 1/4 inch double sided adhesive from Scrapbook.com and then punched a hole in the center top.
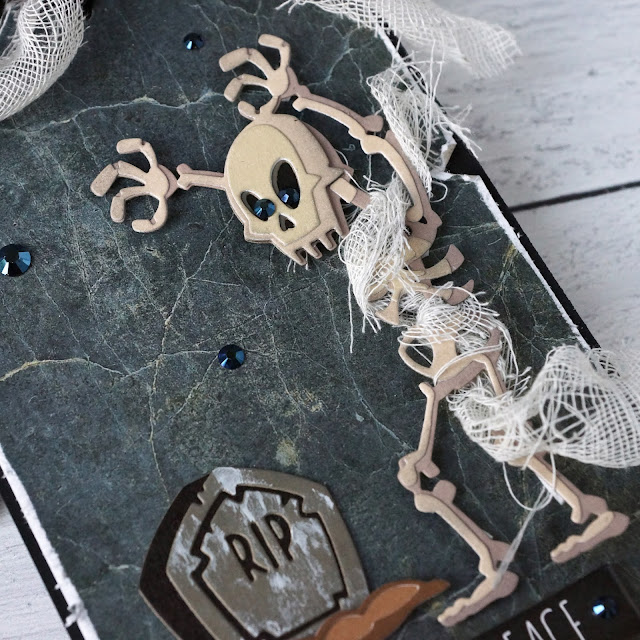
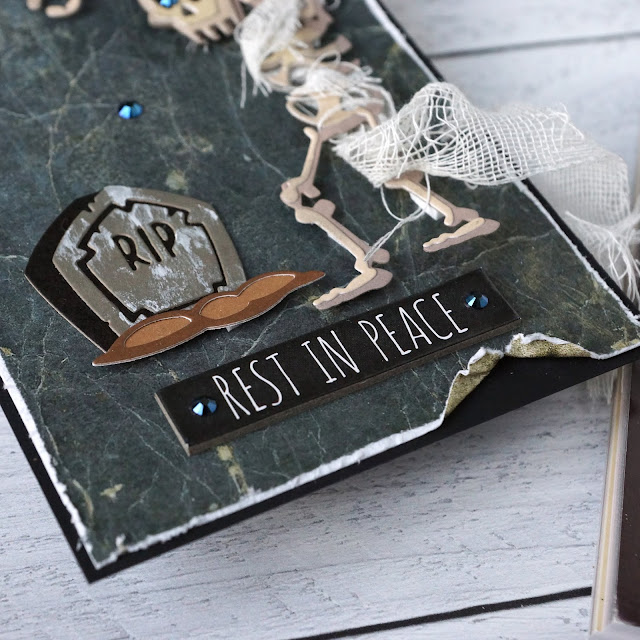
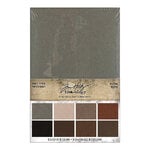
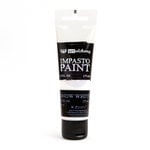
Next I cut out Mr. Bones and his tombstone using Tim Holtz kraft stock in neutral and Scrapbook.com's A2 Neutrals smooth cardstock pad. I distressed all of the layers with a little bit of Distress Ink in Hickory smoke and used Collage Medium to glue the layers together. For the tombstone, I wiped a bit of white impasto paint onto the grey parts with my finger, just to age the tombstone a little more.
Next I added some 1/4 inch foam adhesive to the back of Mr. bones and his little tombstone dirt pile. I sliced the pieces really thin to get them to fit on the skinny die cuts. I cut a length of Mummy Cloth that I had left over from last year and swiped a bit of Hickory Smoke ink across both sides. I distressed the cloth and then wrapped it around Mr. Bones, trimming off the excess. (If you don't have Mummy Cloth, just cut a strip of cheesecloth to use!)
I glued down the tombstone and then adhered Mr. Bones and the dirt pile. I added a quote chip piece from the 2020 Idea-ology Halloween collection using a little 1/4 inch double sided adhesive. I used the excess Mummy Cloth that I trimmed off Mr. Bones to make the bow, cutting some black Velvet Trim to the same length. I used a small piece of Velvet Trim to go through the hole in the top of the tag and then tied the Mummy Cloth and Velvet Trim into a bow on the looped velvet.
To finish this off, I added a few Pinkfresh jewels to the chipboard piece, the tag and to Mr. Bone's eye sockets. And now he's ready to head off to The Count's dance club with his ghoulfriend! Or at least that's what I think he's getting ready to do...
Until next time, happy crafting!
Adrienne
Shop the Supplies:
Scrapbook.com
I am an affiliate with Scrapbook.com. When you shop the links below, I receive a small commission from the affiliate, at no additional cost to you. This helps me balance the costs of the time and love I put into my projects and blog so I can continue to share my ideas with you for FREE. If you shop the links, thank you! I greatly appreciate it.
Below are some of the products that I used.










0 comments
I'd love to hear your thoughts!