Coral and Pink Mixed Media Layering Tutorial with Reneabouquets

by - 4:00:00 PM

During the winter, I still love to visit pastel themes full of flowers and butterflies. It really helps me get through the cold, long nights to be reminded of warmer weather.

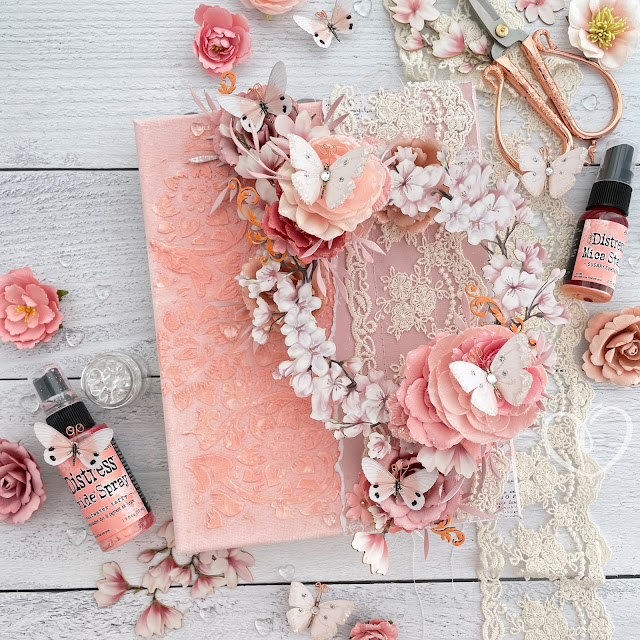
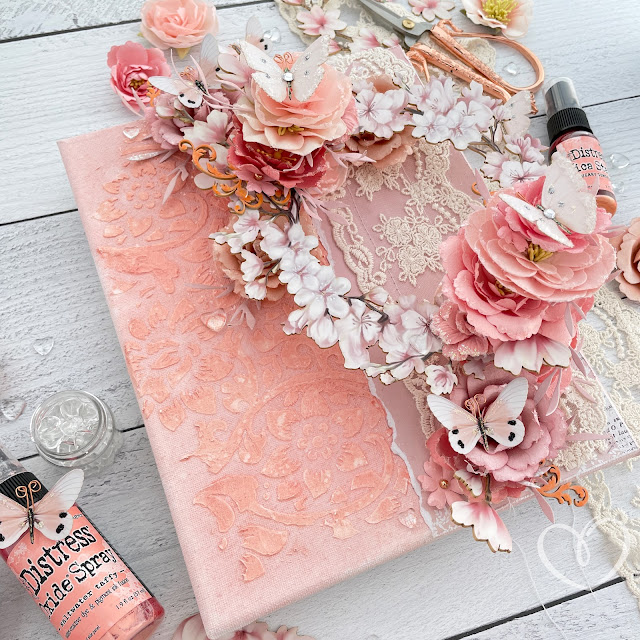
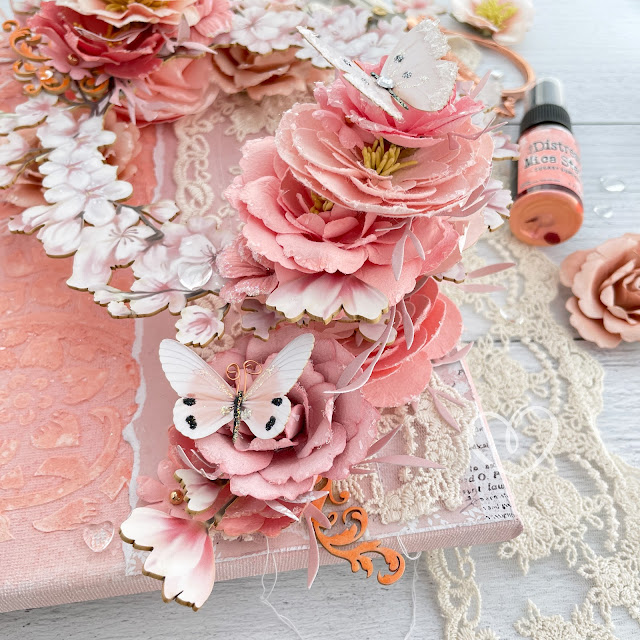
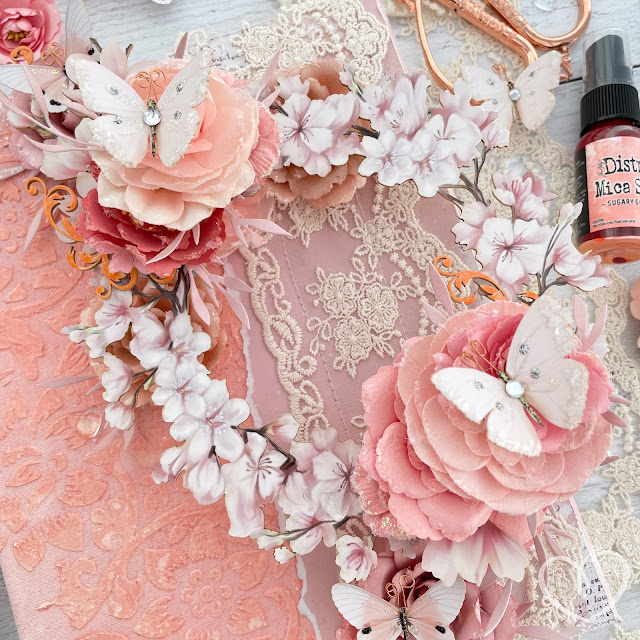
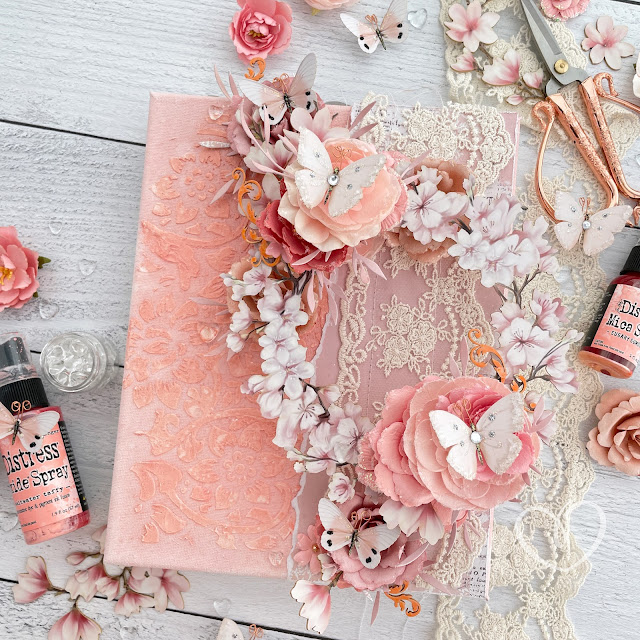
Mixed media canvas created with Reneabouquets butterflies, chipboard, beads, glitter glass, lace; Prima Marketing flowers, paper, stencil; and Tim Holtz Distress Sprays

I’m thrilled to be doing another guest design for Reneabouquets! Her gorgeous florals and butterflies are the epitome of warmer weather. And the Cherry Blossom Printed Beautiful Board definitely harkens to spring and the flourishing of gardens once again. Now, let’s get into this mixed media tutorial! (If you want the full supply list, I've got everything listed and linked at the bottom of the blog!)

Mixed media canvas created with Reneabouquets butterflies, chipboard, beads, glitter glass, lace; Prima Marketing flowers, paper, stencil; and Tim Holtz Distress Sprays

I started out by applying Cloud Whip through a stencil on an 8x10 white canvas. While this dried, I cut a piece of pink/coral paper from Prima Marketing’s The Plant Department collection to 10 inches high by about 4 and a half inches wide. Then I tore the paper down one side. I sewed the Timeless Vintage Ivory Lace onto the paper. 

Mixed media canvas created with Reneabouquets butterflies, chipboard, beads, glitter glass, lace; Prima Marketing flowers, paper, stencil; and Tim Holtz Distress Sprays

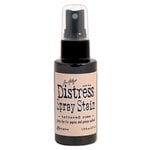
After the Cloud Whip was dry, I used several Tim Holtz Distress sprays to add color to the canvas. I spritzed on Distress Oxide Spray in Saltwater Taffy, Distress Spray Stain in Tattered Rose and Distress Mica Stain in Sugary Gumdrop. The key with any Distress background is to build up your layers, drying with a heat tool in between each layer. 

Mixed media canvas created with Reneabouquets butterflies, chipboard, beads, glitter glass, lace; Prima Marketing flowers, paper, stencil; and Tim Holtz Distress Sprays

I always like to put down a base of color first. If I need some additional color in spots, I spray on some more. Once I’m happy with the base color, I spritz and splatter the background with water to create the effect. To create lighter spots, lift the wet splatters by pressing them with a lint-free cloth. You can also splatter with the sprays, but I wanted to keep this background light and airy.

Mixed media canvas with stenciled medium, Distress sprays, and paper lace adhered with Prima Marketing Finnabair Soft Matte Gel.

Once I was happy with the background, I dried it fully with my heat tool to set it. Then I glued the paper with lace to the background with some soft matte gel. This medium has less water content, so it won’t wrinkle your paper as it dries. I always like to turn my canvas over and use a craft scraper or brayer along the back of the canvas to really work the gel to the edges of the paper and get out any air bubbles.

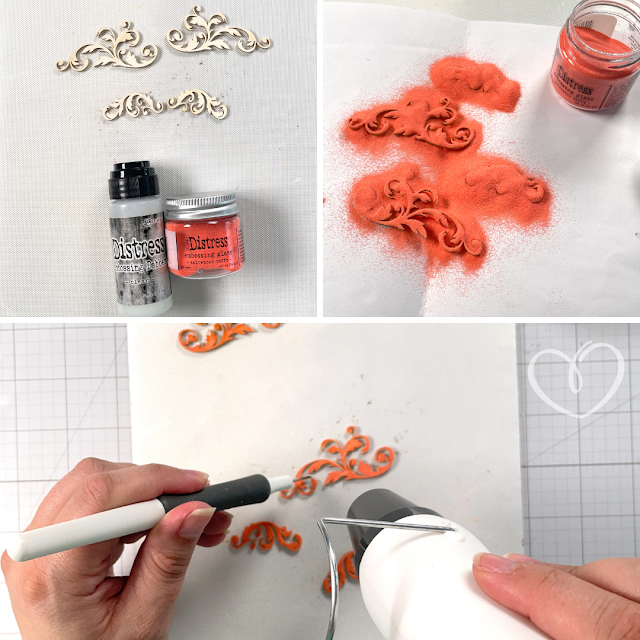
Altering Reneabouquets chipboard with Tim Holtz Distress Glaze.

I also prepped the Small Butterfly Flourish Beautiful Board so they would be ready to add into my project as I embellished it. I dabbed embossing ink onto the chipboard pieces then covered them in Distress Glaze in Saltwater Taffy. I also die cut a bunch of leafy sprigs from the same coral/pink paper that I could use to tuck in amongst my flowers. This is because I often rip the green leaves off the backs of my paper flowers as their colors don’t always match my project. 

Mixed media canvas created with Reneabouquets butterflies, chipboard, beads, glitter glass, lace; Prima Marketing flowers, paper, stencil; and Tim Holtz Distress Sprays

Now for the really fun part–adding all of the beautiful flowers, chipboard, butterflies and sparkle! 


I like to make my chipboard frames appear as if they are floating over the canvas. The trick is to place paper flowers under the frame directly across from each other so they hold up both sides of the frame.  

Mixed media canvas created with Reneabouquets butterflies, chipboard, beads, glitter glass, lace; Prima Marketing flowers, paper, stencil; and Tim Holtz Distress Sprays

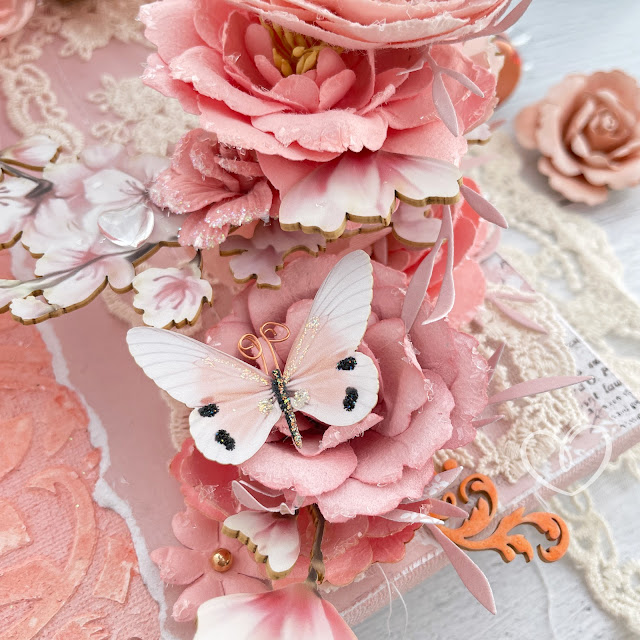
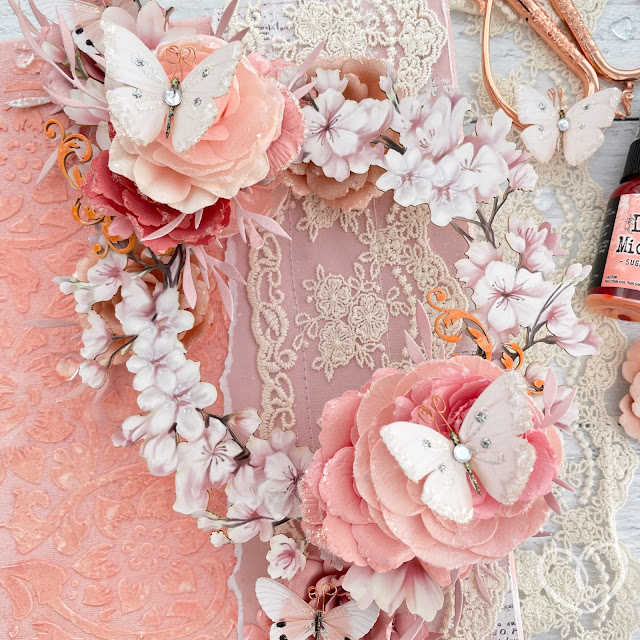
For this composition, this was the upper left and the bottom right of the Large Cherry Blossom Frame. I extended the floral clusters out beyond the outer portion of the frame to complete the embellishment line to the edge of the canvas. The paper flowers I used included peach and pink flowers from Prima Marketing’s The Plant Department, Lost in Wonderland and French Blue collections. 

Mixed media canvas created with Reneabouquets butterflies, chipboard, beads, glitter glass, lace; Prima Marketing flowers, paper, stencil; and Tim Holtz Distress Sprays

It’s also important to use the right adhesive for this process. I recommend Finnabair's Heavy Body Gel. This adhesive is thick and grips your elements well, holding them in place while you work. But it has a longer dry time, giving you the opportunity to move your embellishments if needed. And if you need to make your frame more level, don’t be afraid to tuck bits of cardboard box or foam adhesive under your flowers to help make everything more level. 

Mixed media canvas created with Reneabouquets butterflies, chipboard, beads, glitter glass, lace; Prima Marketing flowers, paper, stencil; and Tim Holtz Distress Sprays

As I worked on adding flowers under the frame, I tucked in the die cut leaves and the two smaller chipboard flourishes as well as some of the Large Tuck It In Cherry Blossoms. These perfectly match the Cherry Blossom Frame and look lovely tucked in amongst the paper flowers. 

Mixed media canvas created with Reneabouquets butterflies, chipboard, beads, glitter glass, lace; Prima Marketing flowers, paper, stencil; and Tim Holtz Distress Sprays

Once I was happy with the bottom layer of embellishments and the frame was level and secure, I began adding flowers over the top of the frame, continuing to place them on the upper left and bottom right of the frame. I tucked in additional die cut leaves, the larger of the two Butterfly Flourishes and more Cherry Blossom Tuck Ins. 

Mixed media canvas created with Reneabouquets butterflies, chipboard, beads, glitter glass, lace; Prima Marketing flowers, paper, stencil; and Tim Holtz Distress Sprays

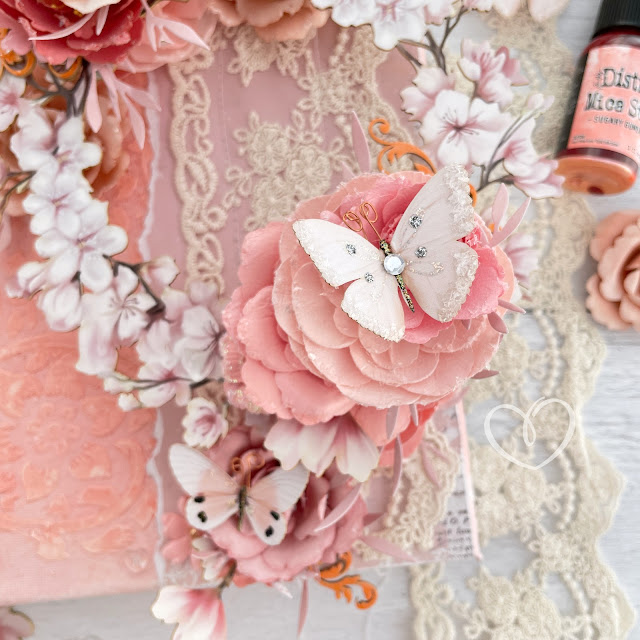
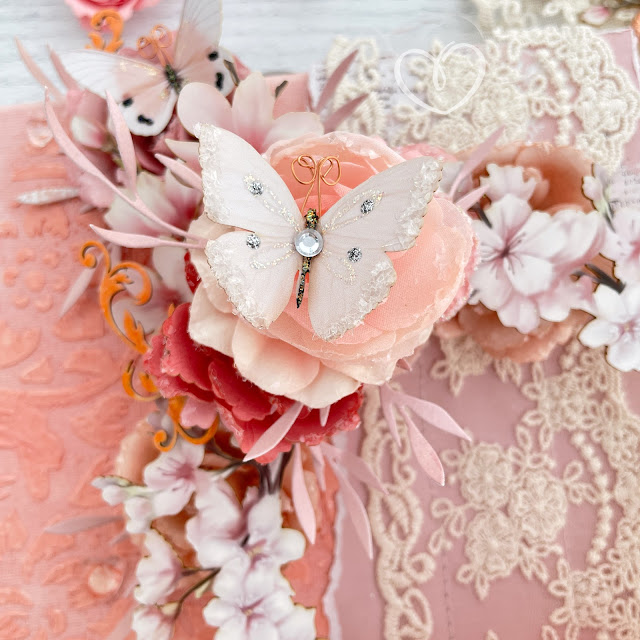
Next, I worked on adding some bling. I glued some Hearts of Glass to the project using clear craft glue. I applied that same glue to the edges of all the paper flowers and sprinkled them with Gawdie Girl Diamond Shard Glitter Glass. I always work in sections when doing glitter glass, to make sure that my adhesive doesn’t dry too much before sprinkling on all the sparkles. 

Mixed media canvas created with Reneabouquets butterflies, chipboard, beads, glitter glass, lace; Prima Marketing flowers, paper, stencil; and Tim Holtz Distress Sprays

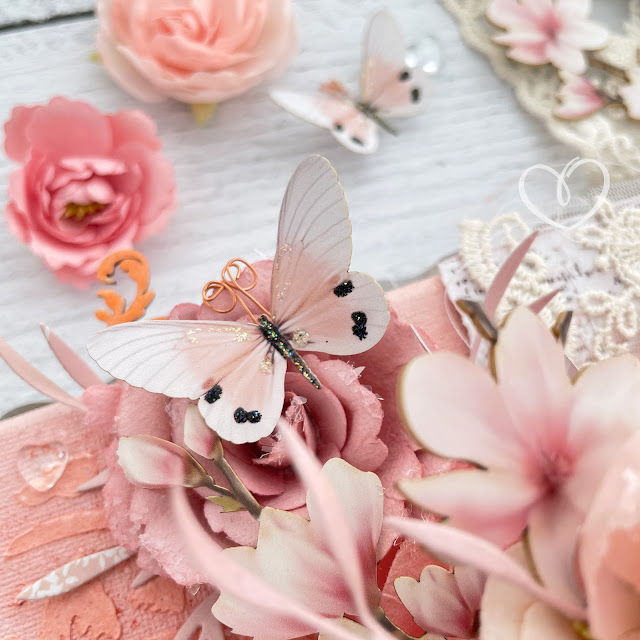
The finishing touch was adding the Sweet Dreams Dusty Peach Butterflies and Sweet Nothings Butterflies on top of several of the flower clusters. I hope that you loved this tutorial and that this project brightens your day during the dark winter. Until next time, happy crafting!
Adrienne

Shop the Supplies:


Reneabouquets


Scrapbook.com & Sizzix

I am an affiliate with Scrapbook.com and Sizzix. When you shop the links below, I receive a small commission from the affiliate, at no additional cost to you. This helps me balance the costs of the time and love I put into my projects and blog so I can continue to share my ideas with you for FREE. If you shop the links, thank you! I greatly appreciate it.


Below are products that I used or similar products.


Amazon

I am an affiliate with Amazon. When you shop the links below, I receive a small commission from the affiliate, at no additional cost to you. This helps me balance the costs of the time and love I put into my projects and blog so I can continue to share my ideas with you for FREE. If you shop the links, thank you! I greatly appreciate it.


Below are products that I used or similar products.


You May Also Like

0 comments

I'd love to hear your thoughts!