Sizzix Card Caddy Treat Box Tutorial
The holidays are just around the corner and Sizzix makes it so easy to give handmade gifts!
Before I get into the tutorial, I want to thank Scrapbook.com for sending me some of these dies for free to create some inspiration for you all! Sizzix designs their 3D dies in a way that makes it super simple to glue everything together and create something amazing in no time. You can watch me put it all together over on the Scrapbook.com YouTube channel!
Let's take a look at what you'll need for this project.
Supplies
*Affiliate Links: Thanks for supporting my art and blog!*
- Sizzix Card Caddy Die
- Sizzix Starlit Village and Card Panel Die
- Sizzix Every Day Tags and Label Die
- Sizzix Scoring Board and Trimmer Tool
- Sizzix Surfaces Muted Cardstock
- Sizzix Surfaces Muted Opulent Cardstock
- Sizzix Surfaces Silver Opulent Cardstock
- Sizzix Surfaces Festive Patterned Paper
- Sizzix Express Glue
- Sizzix Big Shot Switch or other die cut machine
- Scrapbook.com Standard Natural Chipboard
- Scrapbook.com Solar White Ultra Thick Cardstock
- Scrapbook.com 1/4" Double Sided Adhesive Roll
- Scrapbook.com 1/4" Foam Adhesive Roll Variety Pack
- Scrapbook.com Dotted Adhesive Roller
- Scrapbook.com Clear Craft Glue
- Scrapbook.com Magic Mat
- Scrapbook.com Mint Tape
- Scrapbook.com Craft Scraper
- Scrapbook.com Large Stamp Block
- Scrapbook.com Ergonomic Scissors
- Scrapbook.com Tweezers
- Tim Holtz Distress Rock Candy Glitter
- Tim Holtz Idea-ology Velvet Trim Cools
Now let's get into the tutorial!
Die Cutting
Using the Card Caddy Die, cut the larger section of the caddy from natural chipboard once, solid navy cardstock twice, and a glitter navy cardstock once. Cut the side panels of the caddy from the white cardstock once, and some snowflake patterned paper once.
Cut the side piece of the card caddy from white cardstock twice and the same snowflake paper twice.
The Starlit Village and Card Panel Die has a nested shape for the front and back of the caddy. Cut that from the same snowflake paper twice. Then cut the 2 larger village layers and the three single homes from various cardstocks. I used the Muted and Muted opulent.
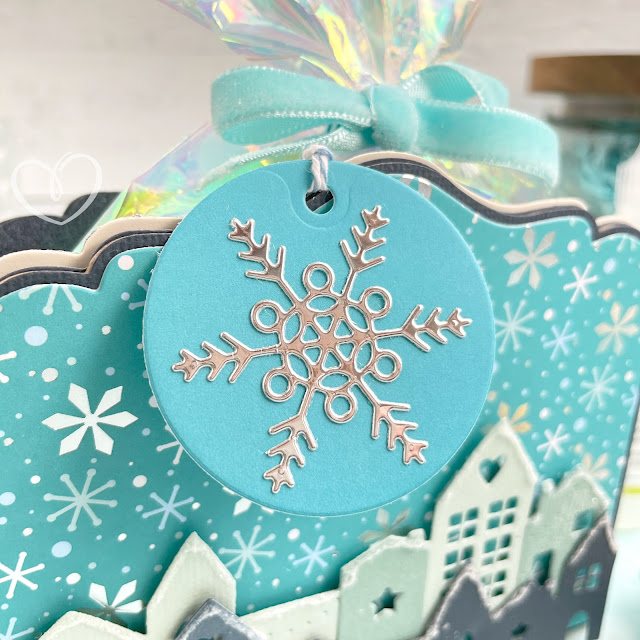
From the Everyday Tags and labels Die, cut the round tag from the teal side of the snowflake paper and the snowflake from some silver mirror cardstock.
Trimming
Using your paper trimmer, cut two pieces of white cardstock to fit the bottom of the card caddy (1.5 inches by 5.25 inches).
Using some scissors, trim the tabs off of the cardstock cuts and patterned paper cuts. (Leave the tabs on the chipboard pieces.) Trim the bottom scored section of the main caddy from the 2 navy cardstock cuts and the one glitter navy cardstock cuts. (Again, leave the chipboard cut intact.)
Assembling
To assemble, start by placing double sided adhesive along the scored bottom of the larger caddy cut. Place your adhesive perpendicular to the score lines to add stability to your caddy. (These score lines are if you want to create a mini album instead of a caddy!) Then carefully line up the white strip you cut with your paper trimmer and press it down into the adhesive. Flip your die cut over and repeat.
Using liquid adhesive, glue the white cardstock to the inside of the two chipboard side pieces of the caddy. Then glue the snowflake paper to the outside of the side pieces. To help get the liquid adhesive to the edge of each cardstock or paper, I use a craft scraper to help spread the glue after placing the cardstock or paper onto the chipboard. You can also place the freshly glued pieces under a large stamp block for a minute to help further press the two pieces together for better adhesion.
Next, glue the navy cardstock pieces to the four sides of the main part of the chipboard caddy piece. Don't worry! We aren't missing a step here. Double sided tape adhesive adheres better when sandwiched between chipboard and cardstock, rather than two pieces of chipboard. Because chipboard is pressed layers of paper, the top layer of chipboard has a tendency to peel away from one side when glued chipboard to chipboard, so adding a layer of cardstock can minimize that.
Next, add the 1/4" double sided adhesive to the tabs of the side pieces. Carefully line up one side piece and press it to the larger portion of the caddy. Repeat for the other side piece, gluing it to the same main section of the caddy; but don't fully assemble your caddy yet. We just want one tab on each side piece glued in place for right now.
Using a bit of liquid adhesive around the edges, place the navy glitter cardstock on the inside of the card caddy to help cover the chipboard tabs you just glued in place. Bend the card caddy into place and check the fit. You may need to trim the bottom and sides just a tiny bit on your navy glitter piece.
Remove the backing on the adhesive you placed on all the other tabs and finish assembling the card caddy. Then if needed, trim your second navy glitter cut. Place some liquid adhesive onto the back of the glitter cardstock and slide it into place to cover the other tabs. If you want, you can cut a third piece of cardstock for the bottom of your caddy and glue it in place.
Using some dotted adhesive, glue the nested panels that you cut from the snowflake paper to the front and back of the card caddy.
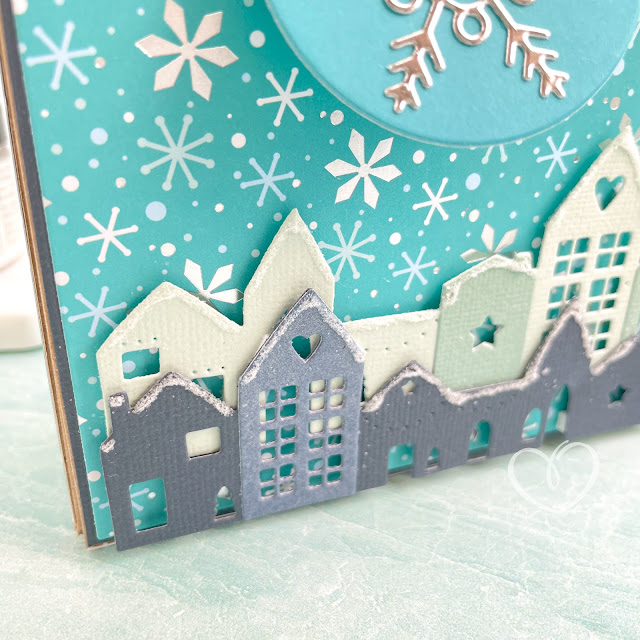
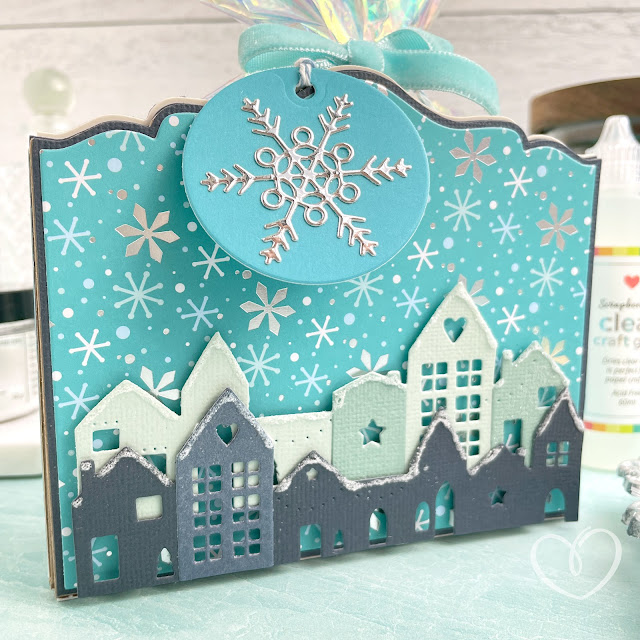
Then add the 3 single houses onto the two longer village cuts using liquid adhesive. Tweezers will help you place these layers easier. Also glue the snowflake onto the tag.
To adhere the village onto the card caddy, we'll be using the 1/4" foam adhesive in the 1mm, 2mm and 3mm thicknesses. For the back village layer, add the 2mm foam adhesive to the backside of the die cut. The new Scrapbook.com Ergonomic Scissors cut through this foam adhesive really well.
To help you line up the back village layer on the the card caddy exactly where you want it, hold the front village layer on top of the back layer while you place the back layer.
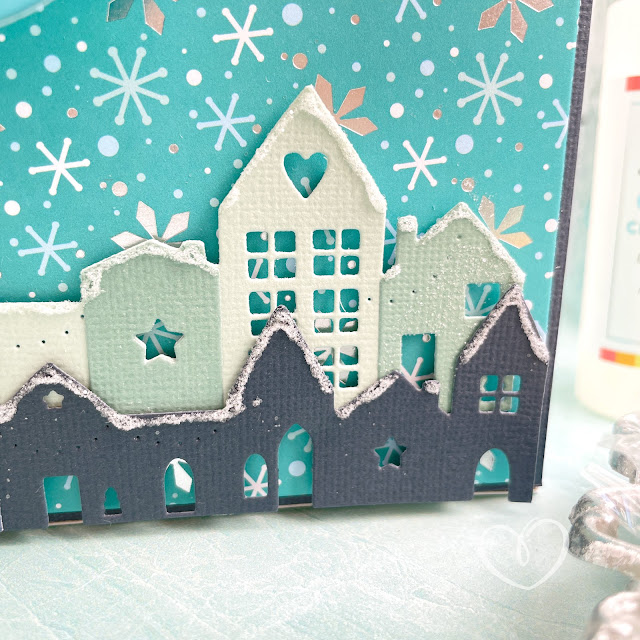
To create a "step effect" between the two village layers, you'll use the 1mm and 3mm thick foam adhesive on the top village layer. Add the 3mm thick foam to the bottom of the die, where it will come in contact with the card caddy. Then add the 1mm thick foam to the top of the die, where it will come into contact with the back village layer. Then place your top layer on the caddy.
To add some snow to the rooftops, squeeze lines of Scrapbook.com's new Clear Craft Glue along the edge of each house's roof. Sprinkle Tim Holtz Distress Rock Candy Glitter on. Tap off the excess onto a sheet of paper and pour it back into the jar for another project. Set this aside to dry for a bit before moving on to the final steps.
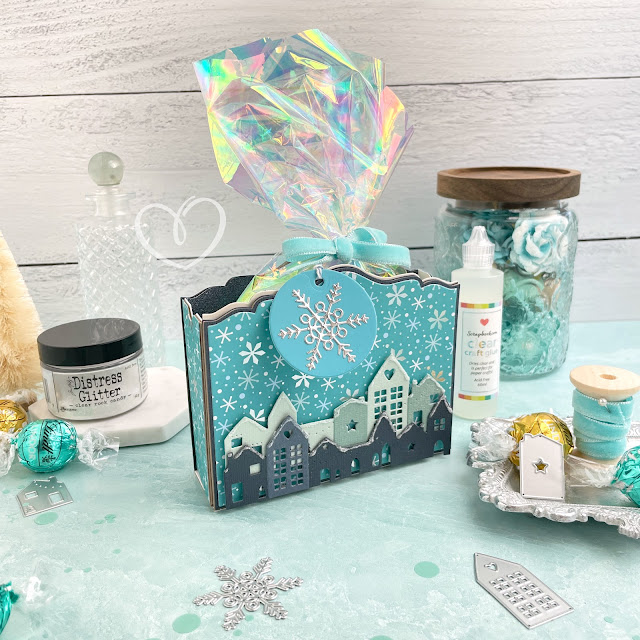
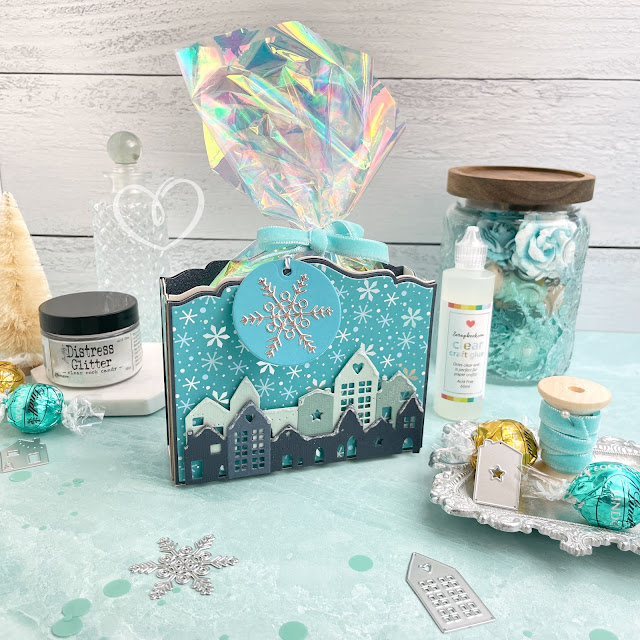
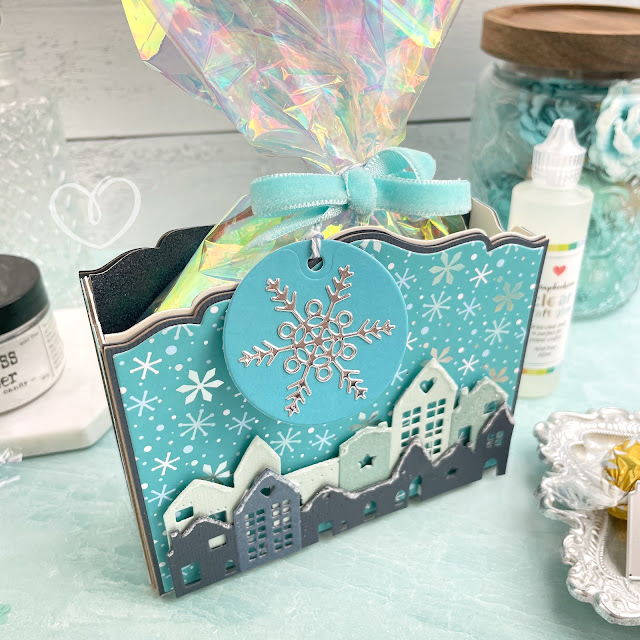
Once your snow is "cured," you can add whatever you like to the inside of your card caddy. You can place A2 sized cards inside and give it as a gift for a friend or family to send out handmade holiday greeting cards, or you can use it to collect the cards you receive during the season! But I decided to turn this into a little treat box. It's the perfect size for some truffles.
I added a little bit of iridescent cellophane to the caddy, popped a handful of truffles in, then tied the cellophane closed with some Tim Holtz Velvet Trim. You can string the tag onto the velvet trim, but I used a little bit of twine to add it to the treat box.
And that's it! Don't forget you can also watch my tutorial for this project on YouTube too. Until next time, happy crafting!
Adrienne
Shop the Supplies:
Scrapbook.com
I am an affiliate with Scrapbook.com. When you shop the links below, I receive a small commission from the affiliate, at no additional cost to you. This helps me balance the costs of the time and love I put into my projects and blog so I can continue to share my ideas with you for FREE. If you shop the links, thank you! I greatly appreciate it.
Below are products that I used or similar products.














0 comments
I'd love to hear your thoughts!