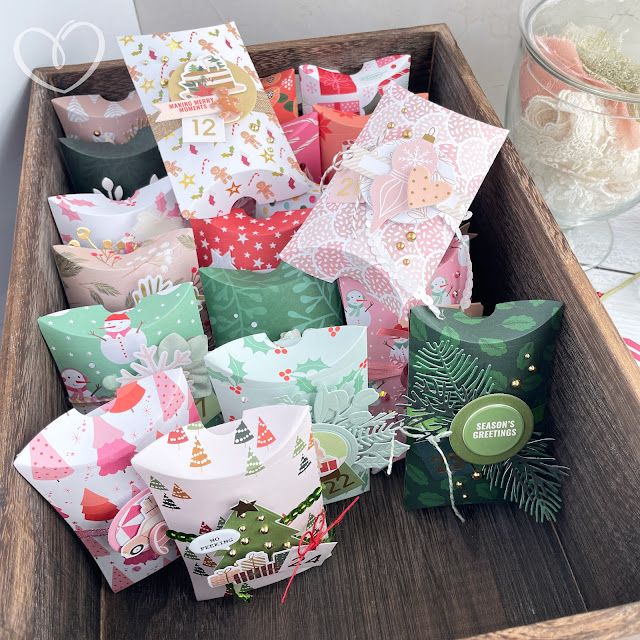
It’s that time of year again! Let’s make a Christmas Advent Calendar using a Sizzix pillow box die.
I think it is now a tradition for me to make a Christmas Advent Calendar every year. One year I made a tree with doors, another year I made a mini album and this year I used pillow boxes.
But the Sizzix Pillow Box and Poinsettias die isn’t just for making an advent calendar. It is also perfect for holding stocking stuffers like gift cards or small chocolates.
The pillow box die is very easy to put together. Simply cut the die twice from your choice of patterned paper.
I used the Sizzix Festive Patterned Paper Pad as well as the Joyful, Noel and Merry 6x8 patterned paper pads from Scrapbook.com to cut all my pillow boxes from.
Then fold the tab on the one side, using your fingers and then your Fold and Form Tool that is in your Scoring Board and Trimmer Tool to make the fold nice and crisp.
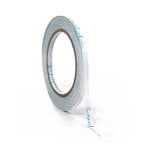
Place some 1/4” double sided tape adhesive on the tab. Peel the backing off and adhere the tab to the matching pillow box die cut. Repeat on the other side.
On thicker papers, like the Sizzix paper, I like to bend back on the top and bottom flaps to help with folding them over. Hold the pillow box in your hand with the edges in your fingers and press to pop the box open. Then fold the flaps in.
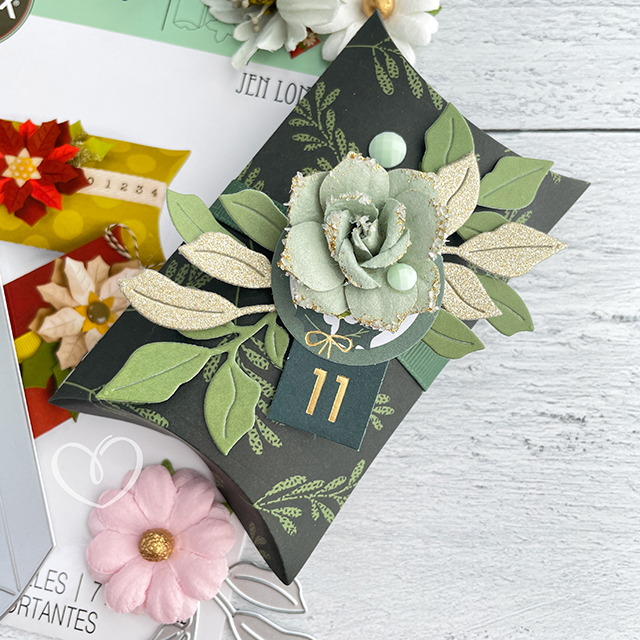
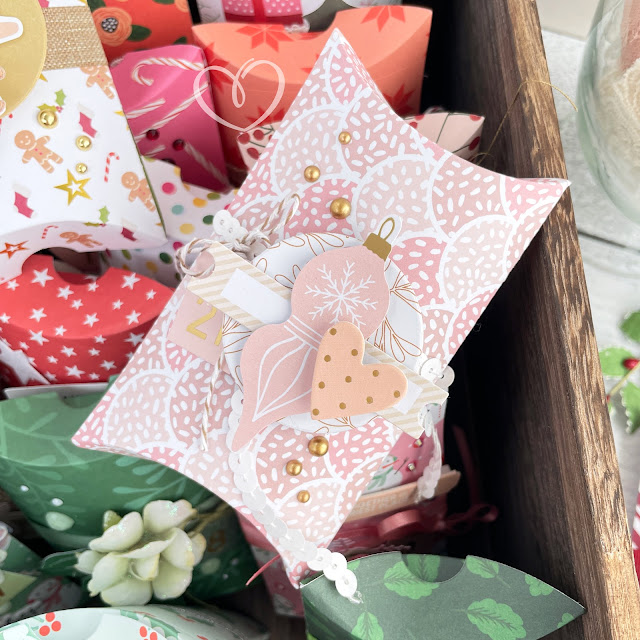
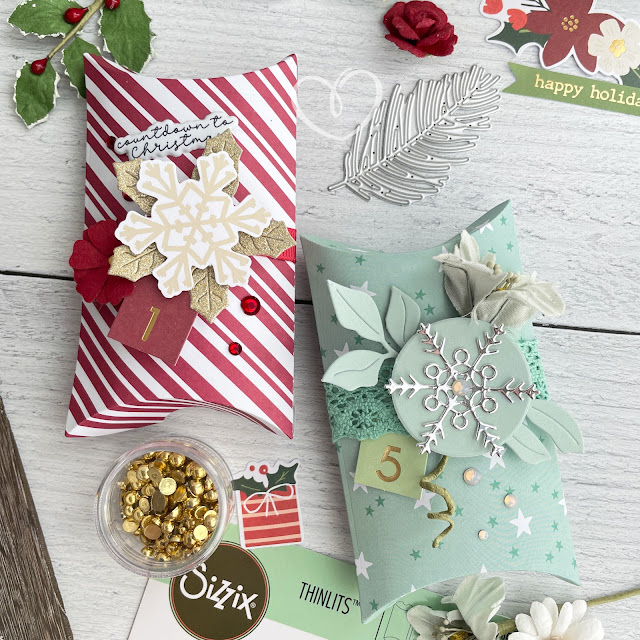
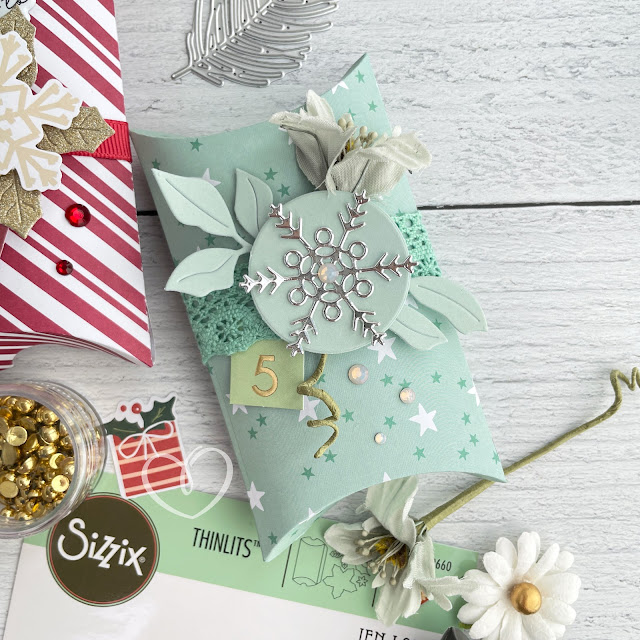
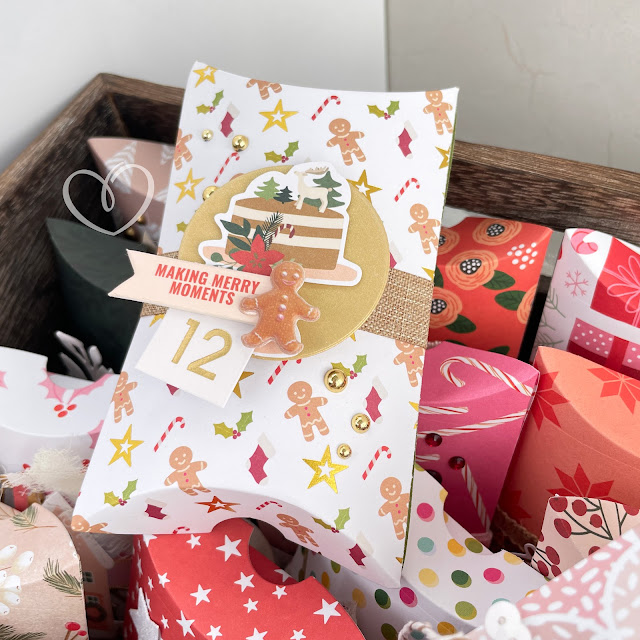
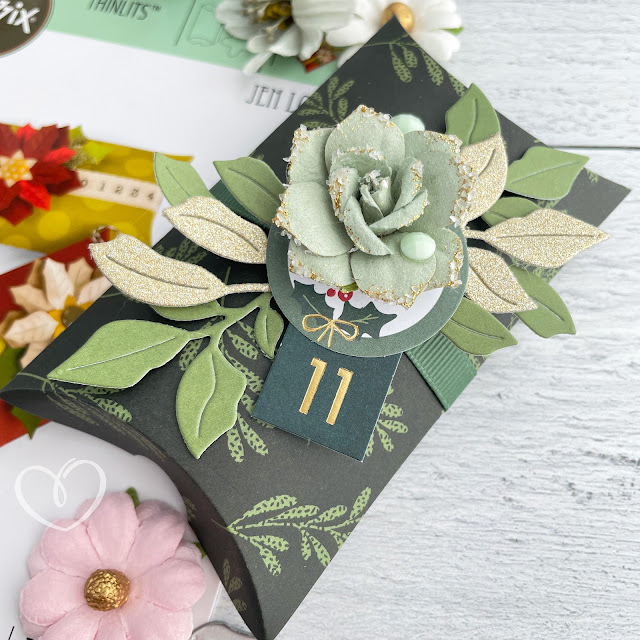
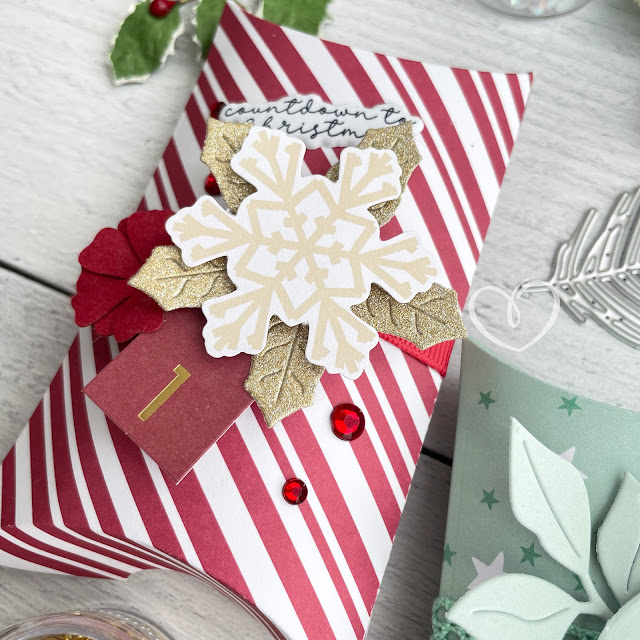
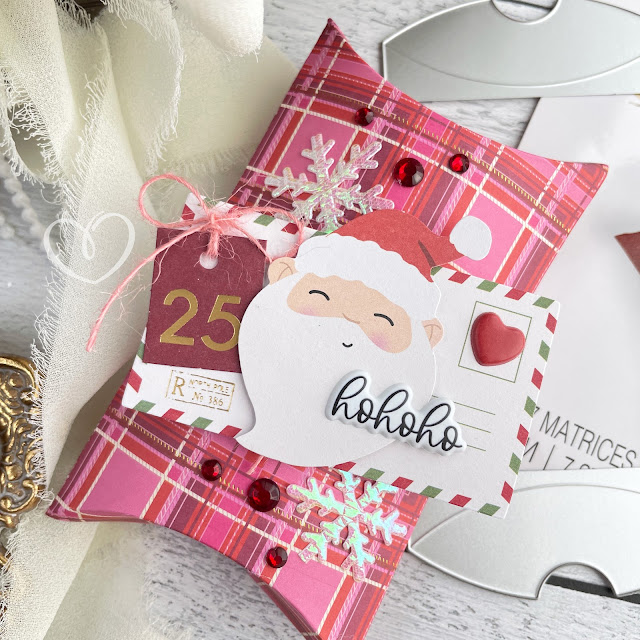
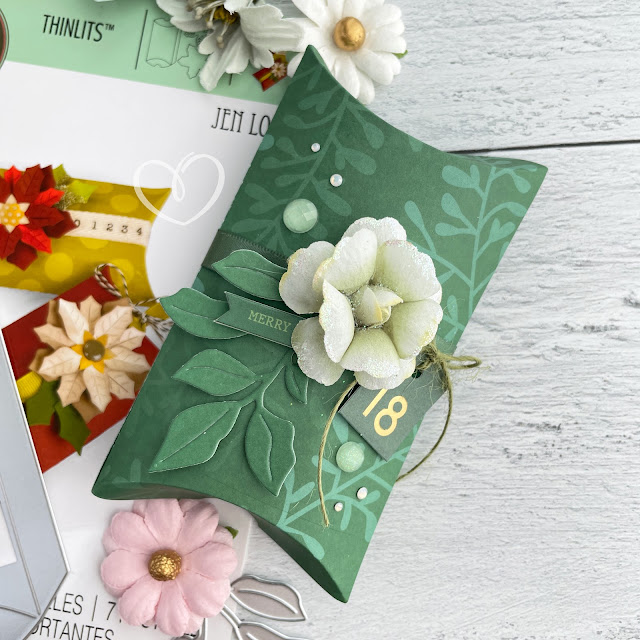
All that is left to do is decorate your pillow boxes! I used a variety of elements to decorate. I used ephemera, stickers, sequins and gems from my 2023 Make it Merry Kit from Spellbinders.
One of the ephemera packs has little number tags 1 through 25, perfect for an advent calendar! I also used ribbon, twine, lace, pearls, flowers, specialty cardstock and other dies to decorate.
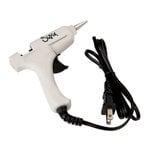
Foam adhesive and the Sizzix hot glue gun are perfect for adhering embellishments to the outside of your pillow box.
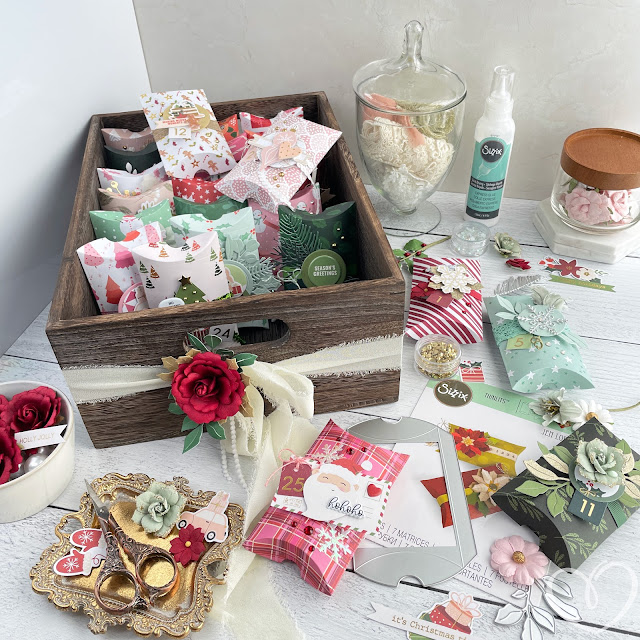
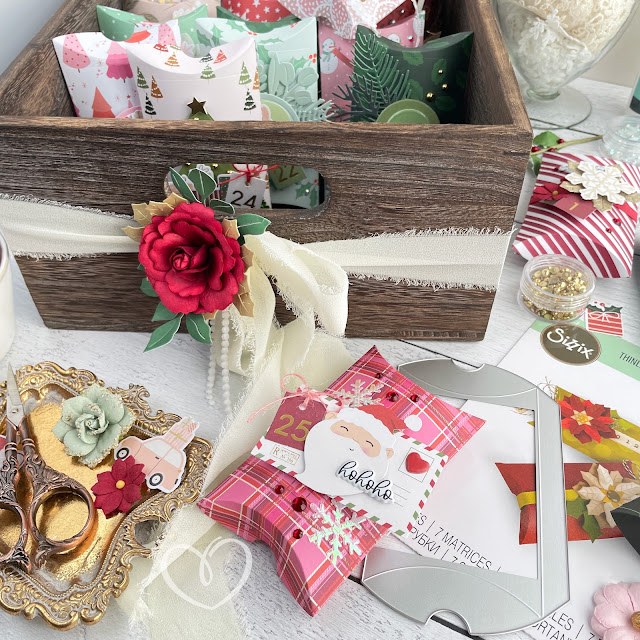
I placed all of my pillow boxes into a small Brentwood storage bin from the Container Store. It’s the perfect size to hold 25 pillow boxes! I tied an ivory chiffon ribbon around the storage bin.
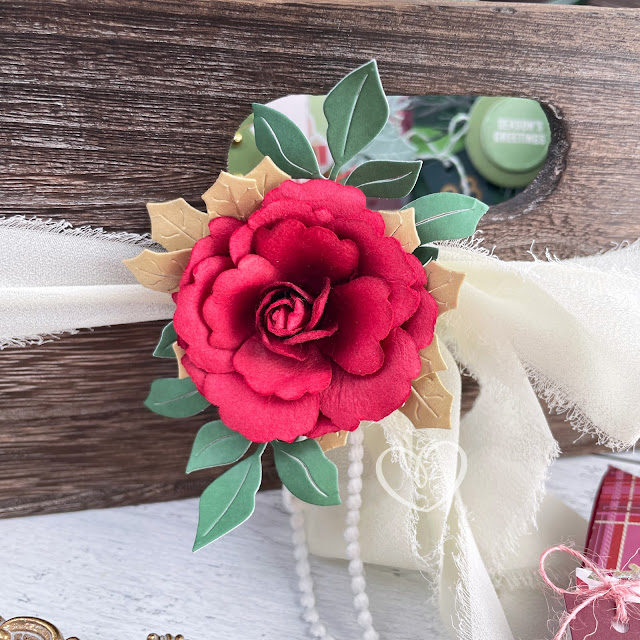
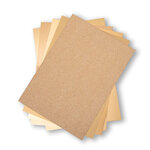
Then I made a little decoration for the outside of the box. I cut 2 of the poinsettias from the pillow box die from the pearl cardstock from the Gold Opulent pack as well as 2 small circles.
I also cut two leaf sprigs from the Festive Foliage die from some green paper from the Festive Patterned Paper Pad.
I cut the 2 poinsettias in half (separating each into two leaves and three leaves). I gave the poinsettias a little shape. Then using my hot glue gun, I glued the poinsettia leaves onto a red flower from Prima’s Queen of Hearts flower pack.
I then added the green leaves. Next I glued one of the circles onto the back of the flower. I then glued a twist tie onto the circle, adhering the second circle over the twist tie.
Finally, I added the flower embellishment to the ribbon on the storage bin. I hope that you enjoyed this new advent calendar tutorial! What would you put into your pillow boxes? Drop a comment below!
Until next time, happy crafting!
Adrienne
Shop the Main Supplies:
Scrapbook.com, Spellbinders & Sizzix
I am an affiliate with Scrapbook.com, Spellbinders and Sizzix. When you shop the links below, I receive a small commission from the affiliate, at no additional cost to you. This helps me balance the costs of the time and love I put into my projects and blog so I can continue to share my ideas with you for FREE. If you shop the links, thank you! I greatly appreciate it.
Below are some of the main products that I used for this project. For the full list visit my Scrapbook.com gallery post for this project.










0 comments
I'd love to hear your thoughts!