Easy Festive Christmas Greenery Tags with Tim Holtz Sizzix Dies
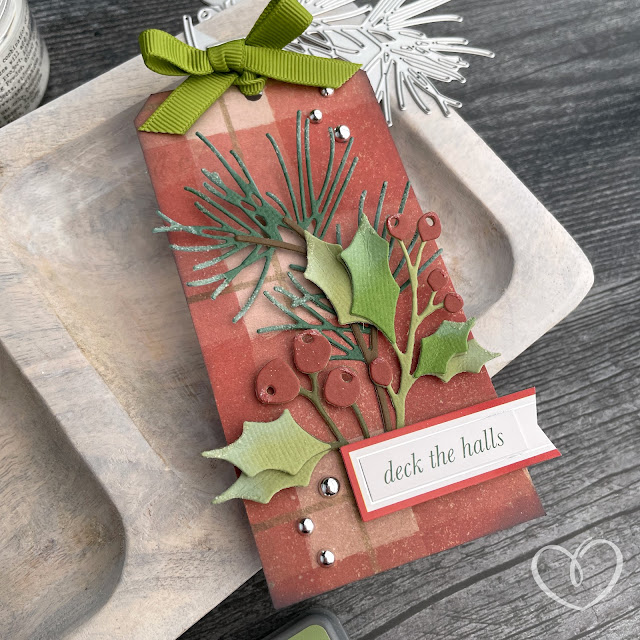
Deck the halls with these festive tags!
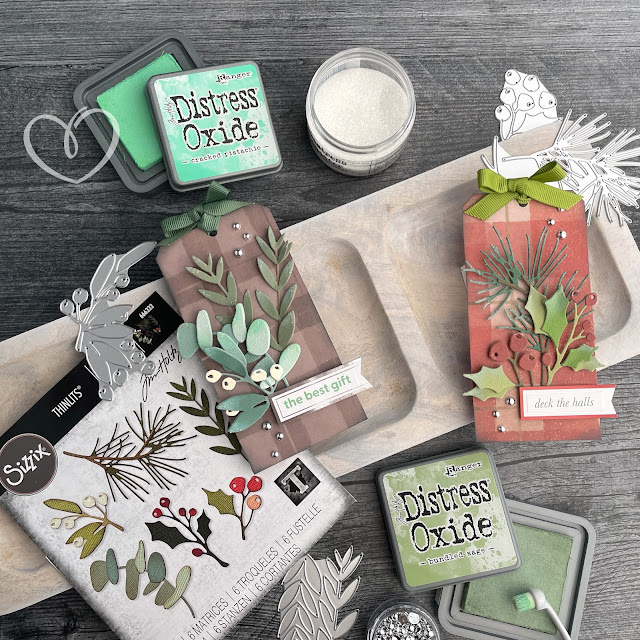
Tim Holtz released his Sizzix Christmas die and embossing folder collection for 2023! I want to thank Scrapbook.com for sending me some of the dies and an embossing folder to play with. You know I’m a sucker for greenery and flowers, so the Festive Gatherings die set is one of my favorites!
I’m also a sucker for tags so I had to make a set of festive little tags. These could be added to gifts or you could string a bunch of these on some twine for a pretty garland. And these tags come together so quick and easy too!
Let’s start with the base. I used the Scrapbook.com 6x8 Christmas Patterned Paper pad for the based of the tags, selecting two plaid patterns from the pad. I used the new Sizzix Scoring Board and Trimmer tool to create these custom sized tags. I started by trimming each patterned paper into a 5 inch by 2.5 inch strip.
Because these are smaller tags, you can use the chamfer punch to create the angled edges of the tag. (I like to use the ruler attached to the hub at an angle for large tags.) Simply ensure that you have the chamfer side of the punch facing out and not the corner rounder side of the punch. Then punch each corner on the top of the tag to create the angled edge. Then use the hole punch to add in the hole in the center top of the tag.
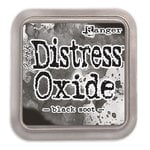
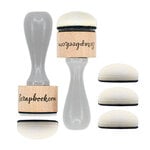
I added a little bit of Distress Oxide in Black Soot to the edges of the tag with a domed foam blending tool. This crates a nice vintage look to the tags.
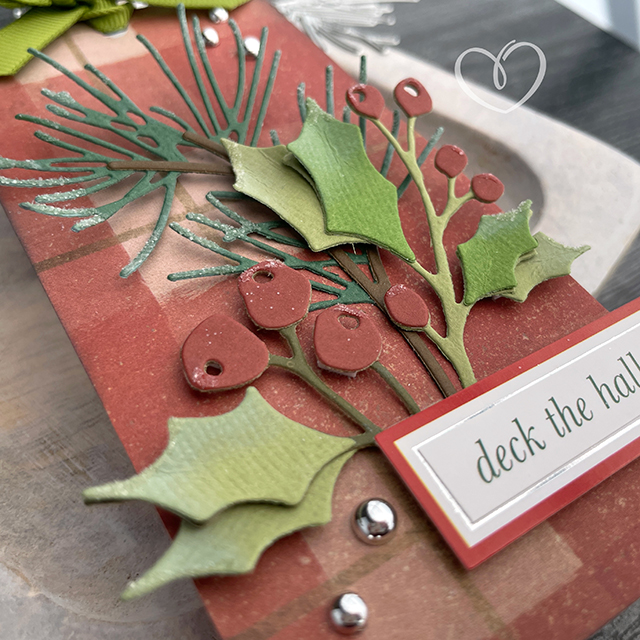
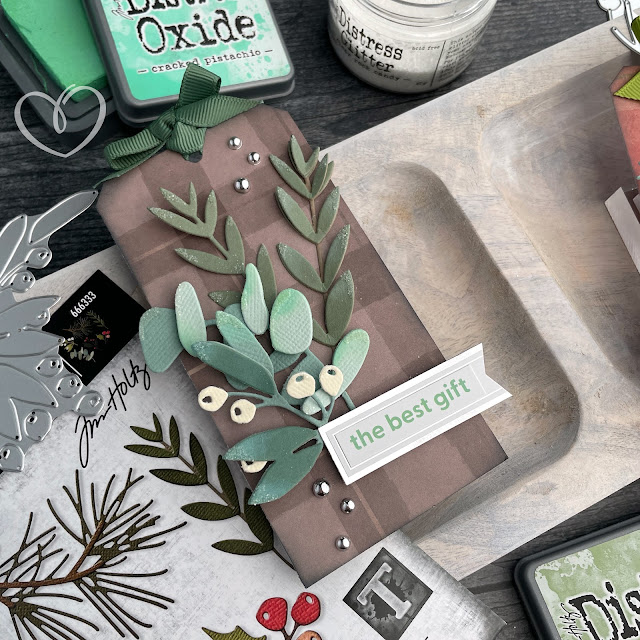
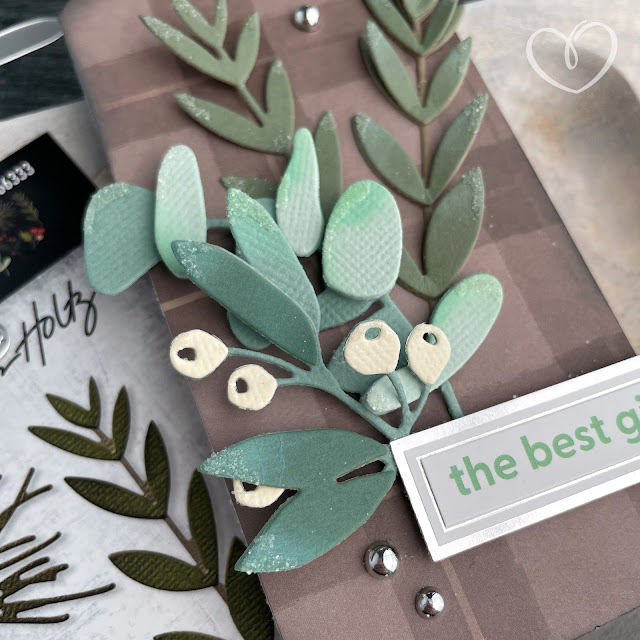
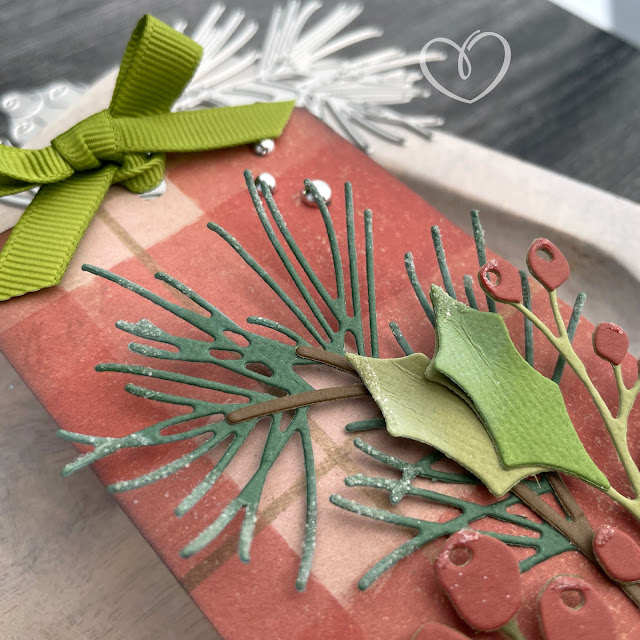
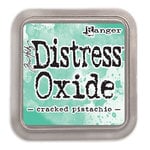
Once I was done with the tag base, I then cut out the sprigs of greenery from the Festive Gatherings die set. I used a mix of Tim’s kraft cardstock and Sizzix’s Muted Cardstock. On all the green pieces of the layers, I used a Tiny Details Flawless Blending Brush to add a bit of Distress Oxide in Cracked Pistachio or Bundled Sage to the edges of the die cuts. This adds just a hint of shading and dimension to your die cuts.
Next I glued the layers together using Distress Collage Medium. For some of the layered leaves, I bent the leaves in half and glued the centers or the bottom half of the leaf down. On others leafy layers I used foam adhesive. This adds a ton of dimension and life to your die cuts!
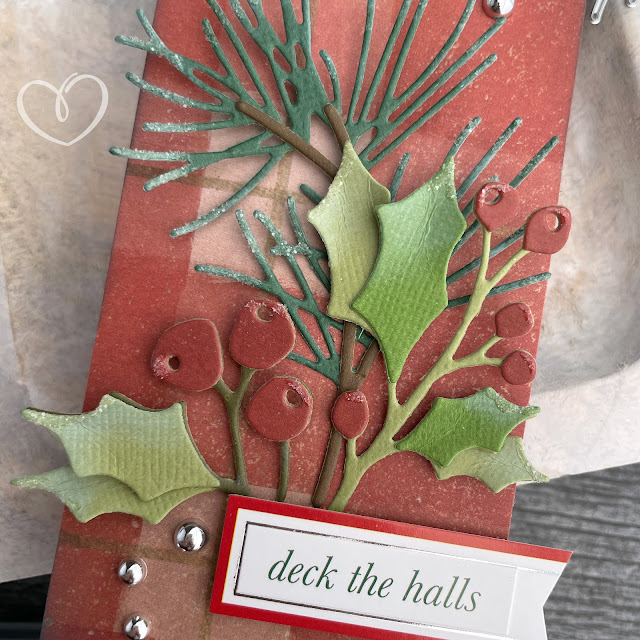
Once I was happy with how the die cuts were assembled, I added 3 sprigs to each tag. I glued some directly down to the tag with Distress Collage Medium and used foam adhesive for others, layering them into a nice little arrangement.
I then added a little bit of Glossy Accents and Distress Rock Candy Glitter to the greenery sprigs for a bit of snowy sparkle. For a sentiment, I used the Scrapbook.com Peppermint Christmas Sticker Book. I layered a sentiment onto one of the label stickers. I then cut off the excess end of the label sticker and notched a flag into each with a small pair of scissors.
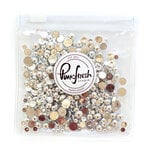
The sentiments were added to the tags with foam adhesive. Then I glued down a few Pinkfresh Silver Pearls to the tags. The finishing touch was some grosgrain ribbon on top of each tag. I looped the ribbon through the hole, then tie off the ribbon into a small bow.
Can you image how pretty these would look on all of your presents? Or hanging on your tree or even a garland over your mantle!? Excuse me while I go make a bunch of these now…until next time, happy crafting!
Adrienne
Shop the Supplies:
Scrapbook.com
I am an affiliate with Scrapbook.com. When you shop the links below, I receive a small commission from the affiliate, at no additional cost to you. This helps me balance the costs of the time and love I put into my projects and blog so I can continue to share my ideas with you for FREE. If you shop the links, thank you! I greatly appreciate it.
Below are products that I used for this project.
















0 comments
I'd love to hear your thoughts!