How to Add a Shaker Element to Your Mixed Media Canvas
Shake it! Here is how you can easily add shaker elements to your mixed media projects.
Shakers are fun, interactive elements that you often find on cards or in pocket page albums. But they can be added to other kinds of projects, including mixed media canvases.
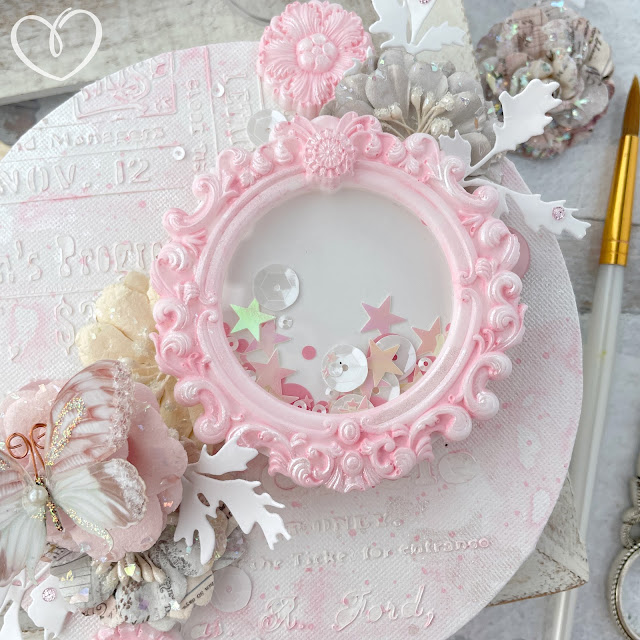
Adding shakers to your canvas isn't difficult at all. In fact, with the Sizzix Shaker Panes, it's an absolute breeze! And these aren't flimsy plastic pieces that could be smooshed with light pressure. No, these are sturdy, thick plastic pieces with adhesive already on them plus an acrylic window piece for adding on top.
Grab a Shaker Pane and the corresponding Framelits die and you can even easily add a cardstock or patterned paper background to your Shaker. Then all you have to do is add in your die cut background, sprinkle in your favorite Sizzix shaker mix, peel the adhesive backing off the Shaker Pane and stick on your acrylic window cover!
The coordinating Framelits die also cuts a frame to hide the adhesive on the edges, creating a clean look. To add it to your project, peel off the adhesive backing on the back side of the shaker and stick it to your project.
So how did I add this to a mixed media canvas? You can add it on just like you would a card. But if you want to pop it up so you can layer other elements under it, add some double-sided adhesive foam to the center back of the Shaker Pane. Then adhere it to some cardboard. I glued three layers of cardboard together to stick my shaker element on.
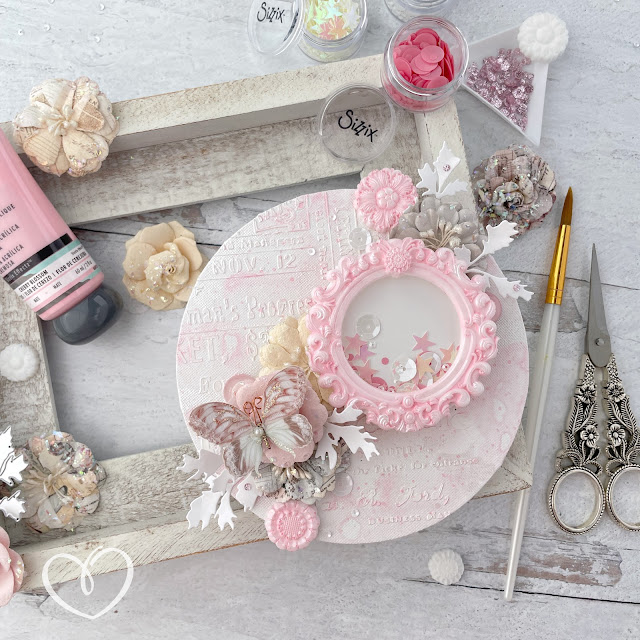
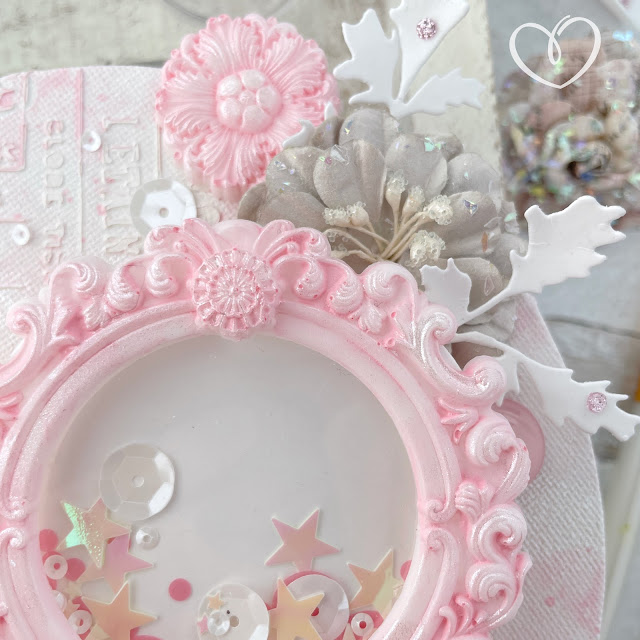
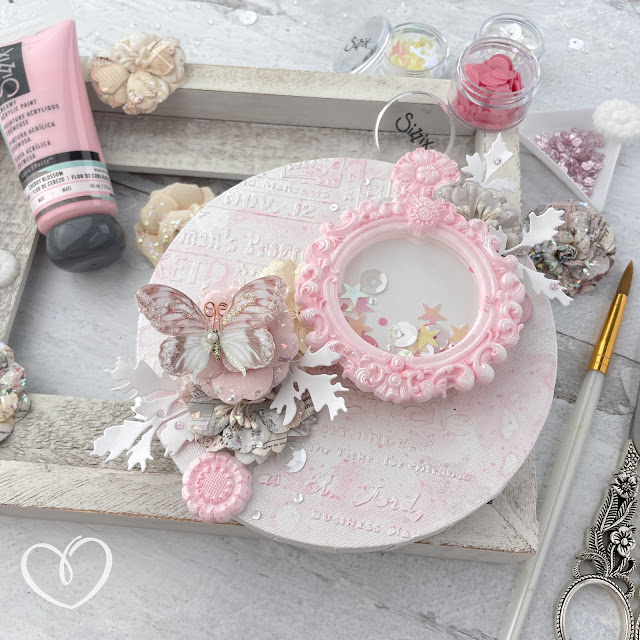
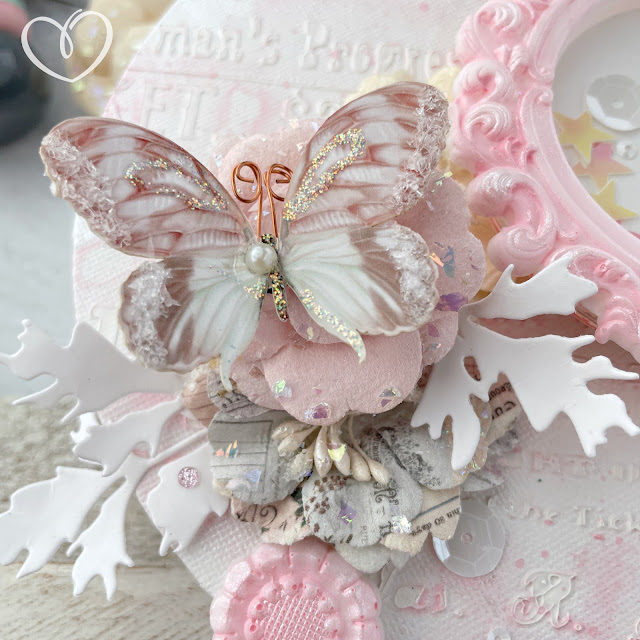
And I absolutely love it when things that aren't made to work together at all, actually work with one another--it's kismet when it happens! I added a white cardstock background to my Circle Shaker Pane using the coordinated Circle Frames die. And while I added the white cardstock frame on top, I also was able to add a mould from the new Mirror Frames Moulds from Finnabair over the top. This particular one was the perfect size for the mid-sized Sizzix Circle Shaker Pane!
My canvas has some texture applied through a stencil. I then mixed up some of the Cherry Blossom Creamy Matte Acrylic paint and Pearlescent Medium on my Sizzix Multimedia Mat. This creates and ever so slightly shimmery custom paint that I added my canvas and the resin moulds. I watered it down quite a lot so I could use it like a watercolor. I also splattered the canvas and wiped the excess paints off the raised highlights on the mould.
I layered on some Prima flowers from my stash and tucked in a few Woodland Stems die cuts. I painted the backs of some clear gems with the same pink paint from the canvas and moulds. Once dry, I glued them to the canvas along with some smaller moulds. Then I topped it off with a pretty Reneabouquets butterfly, some sequins on the canvas, and a few small gems on the leaves.
Shop the Supplies:
Scrapbook.com & Sizzix
I am an affiliate with Scrapbook.com and Sizzix. When you shop the links below, I receive a small commission from the affiliate, at no additional cost to you. This helps me balance the costs of the time and love I put into my projects and blog so I can continue to share my ideas with you for FREE. If you shop the links, thank you! I greatly appreciate it.
Below are the main products that I used for this project.






0 comments
I'd love to hear your thoughts!