Mini Album Tutorial with the Sizzix Card Case Bigz Die
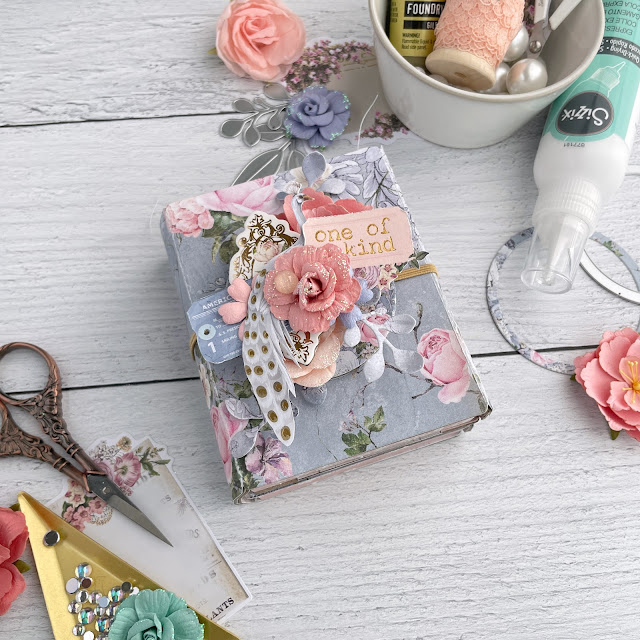
This adorable mini album is so easy to make!
One of the things I love about Sizzix Bigz dies is that they cut through so many different types of materials, including chipboard. And that means it's a pinch to create mini albums using some of their Bigz dies, like the Card Case Bigz die that I used for this mini album.
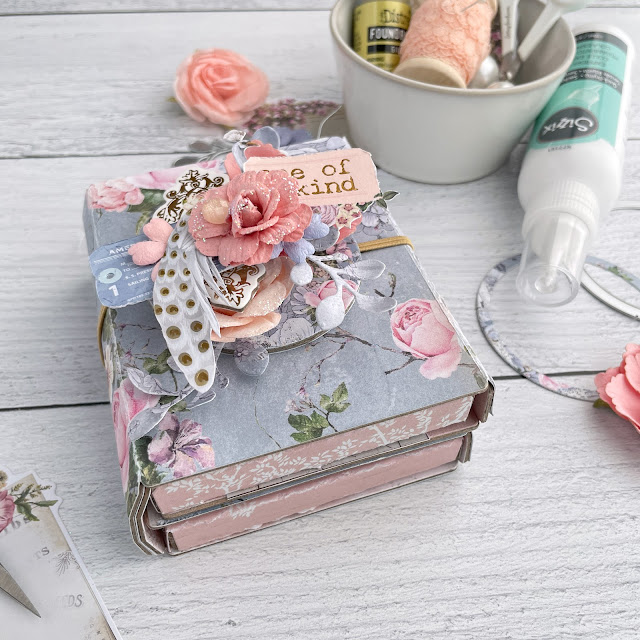
This fun little album opens up to two deep pockets that hold a 3x4 journaling card size. For my mini album, I created 4 different flip books, two for each pocket.
This was my first attempt at creating one of these little journals or mini albums, so I learned one big thing along the way that I'll pass on to you. I'll get to that little tidbit of knowledge in a moment, but first, let's get into the start of this tutorial.
Cutting the Base and Pockets
The first thing I did was to cut this die set out twice from chipboard. Standard to 1x thick chipboard works well for this as well as Sizzix Mat Board. I then cut the die out from some 12x12 papers I selected from Prima's The Plant Department collection. You'll need to cut the die twice for the inside, making sure you get the base of the album and the pockets. Then for the front, you'll need to cut the base of the album twice.
Assembling the Album
I used 1/4 inch double sided adhesive tapeto adhere the paper down to the chipboard bases. I also used it to adhere to the spines together. To glue these two separate parts together to make one album or book, add double sided adhesive to one of the spines. Peel up the backing and layer the other spine over the top of the first one. Then bend at all of the crease lines. The pockets also get bent at the crease lines. Then use the 1/8 inch double sided adhesive tape to adhere the tabs to the base of the album. These pockets get glued to the panels on either side of the spine.
An Important Tip
Now to that piece of knowledge I learned along the way. I glued the entire die cut piece of patterned paper onto the chipboard. I should have cut them all into pieces along each crease line, especially on the pockets and on the base of the outside of the album. When I went to fold at the crease lines, the paper kept the chipboard from really folding like it should. And it pulled the paper away from the edges of the chipboard.
Fixing My Mistake
To rectify this issue after the fact, I used a craft knife and metal ruler to score the paper at the crease lines to release that tension. It wasn't as clean as I would have liked, and I couldn't fix the paper coming away from the edges of the chipboard, but it was closing up nicer. I also suggest for the pockets that you skip glueing cardstock on to the tabs that you adhere to the base of the album.
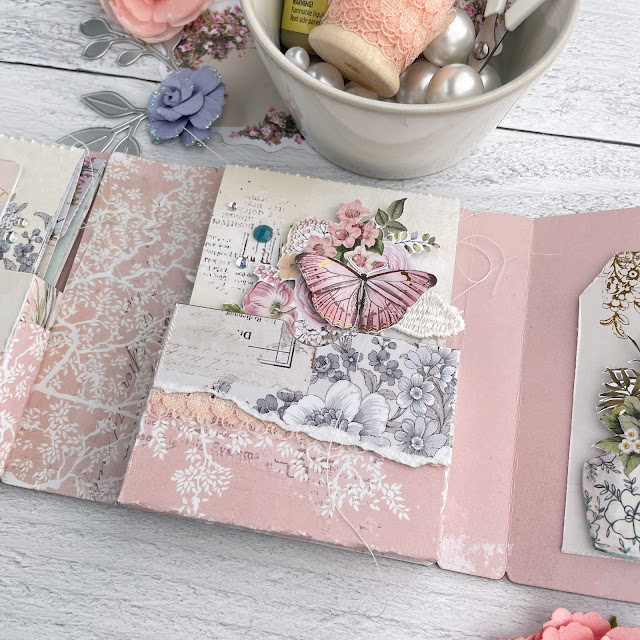
Despite the rocky start to this album, I still really loved how it was shaping up. To make it look like it was all on purpose, I went with a decidedly shabby chic vibe for the album--which I probably would have done anyway, if I'm being honest--it is my favorite style, after all! I added torn pieces of paper to the pockets with a little bit of peekaboo lace trim to amp up that shabby chic factor.
Creating the Closure
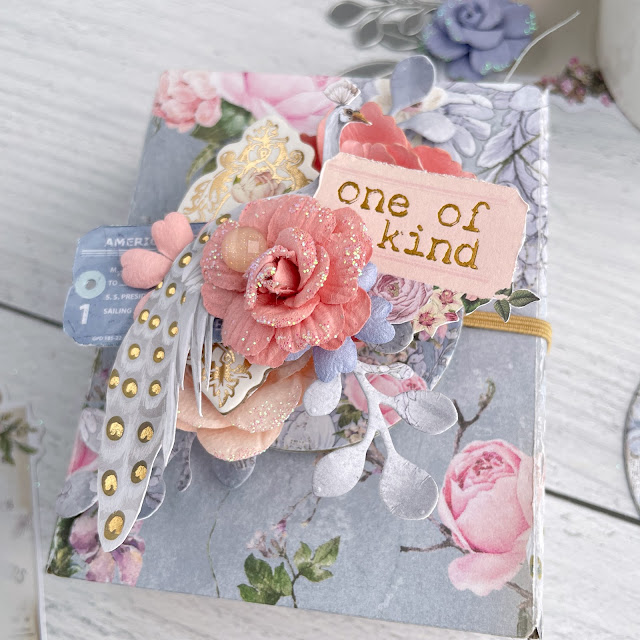
I then returned my focus to the outside of the album. This die cuts out a cute little button and you can sandwich some thin elastic cord in between the layers of chipboard in the spine, creating a loop that goes around the button attached on the front. But I went for the option that lets me build a 3D embellishment for the front that won't hinder the album laying flat while open. I know, it sounds impossible, but let me tell you, it isn't!
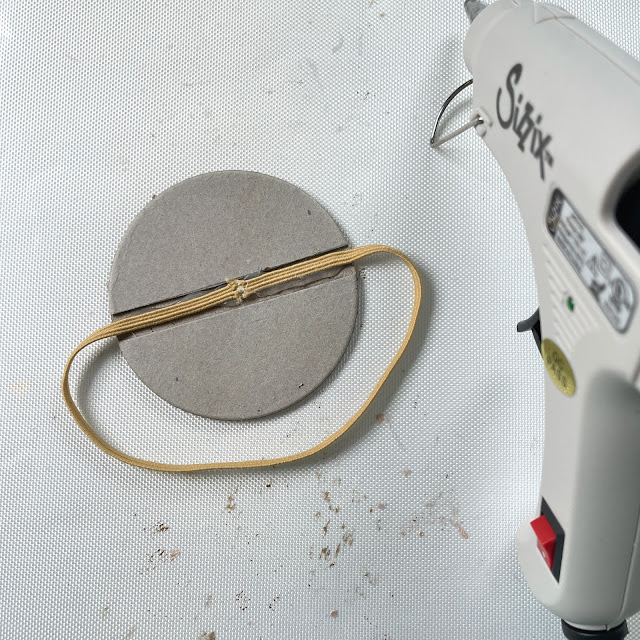
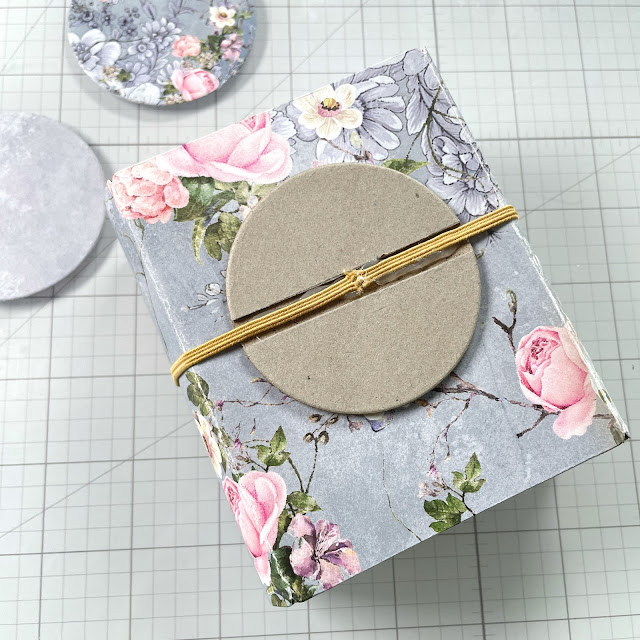
Start by cutting some flat elastic cord to fit snug around the closed album. I chose a 1/8 inch width elastic cord. You want it to fit snugly around the closed album so that it helps keep it closed, but you don't want it to be too snug that it's hard to take the elastic off and put back on. So stretch it a bit to find the right fit and cut it (I believe mine was around 9 inches, but it will depend on how stretchy your elastic is).
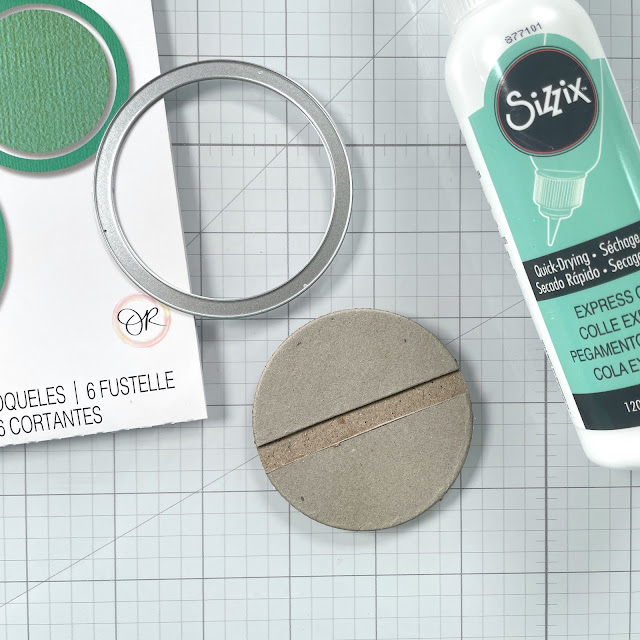
Now cut out two chipboard circles using the Circle Frames die. I used one of the frame dies that cuts a circle and circle frame, taking the center off cuts that are 2 and 1/4 inches to use. Mark a line down the center of one of these circles then another line on each side of that center line at 1/8 inch away. Cut along those outside two lines with a pair of good scissors. Now you have a full circle and two half circles missing 1/4 inch down the center.
Use Sizzix Express Glue to adhere the half circles to the full circle. The missing 1/4 inch in the center is where the elastic gets glued to. Using a hot glue gun, adhere the elastic to the channel in the center, creating a loop by glueing the two ends of the elastic down. Now you have a medallion attached to a loop of elastic. Be sure to check it to make sure it truly does fit your album nicely before moving on to the next step. If you need to adjust, you can simply pull the hot glue up and re-glue the elastic where you need it to make the loop smaller or larger.
To cover the mess, cut that same Circle Frame twice from some matching cardstock. (I used the 6x6 paper from The Plant Department collection). Using Express Glue, adhere the cardstock circles to the front and back of the medallion.
Decorating the Medallion
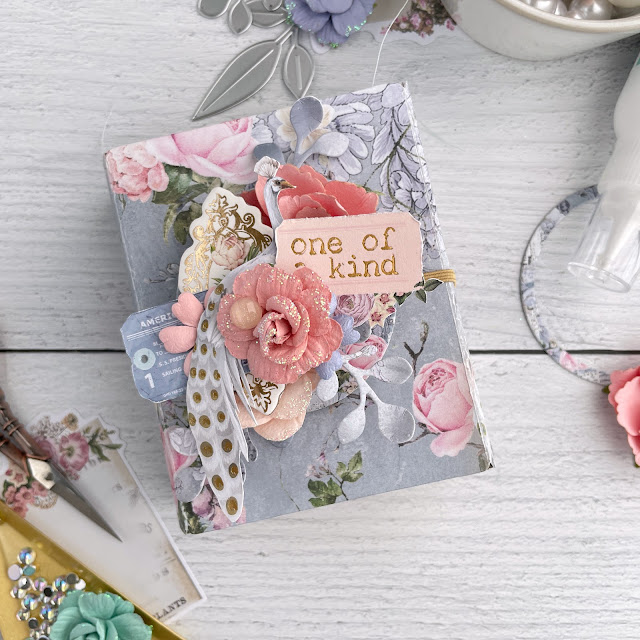
Like many of my mixed media canvases, I layered some flowers, chipboard sticker, gems, ephemera and leaf die cuts onto this medallion (I used the leaves that come in the Switch starter kit). You can use hot glue or Heavy Body Gel for this. I also used some foam adhesive to pop different pieces of ephemera up from on another. On mine, there is foam adhesive between the rose frame chipboard sticker and blue tag ephemera and another piece between the tag and the fussy cut peacock ephemera.
Decorating the Inside Folds
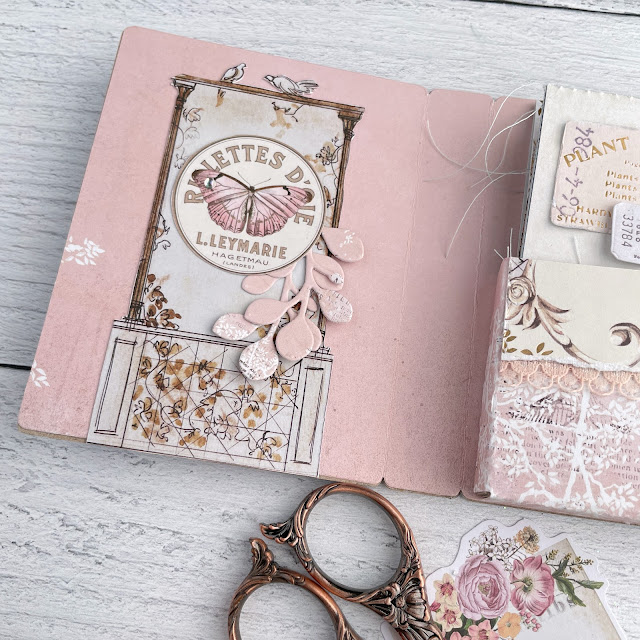
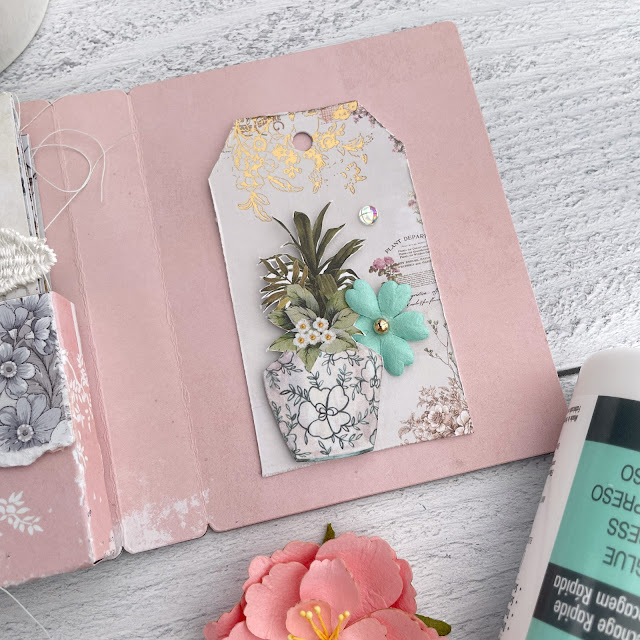
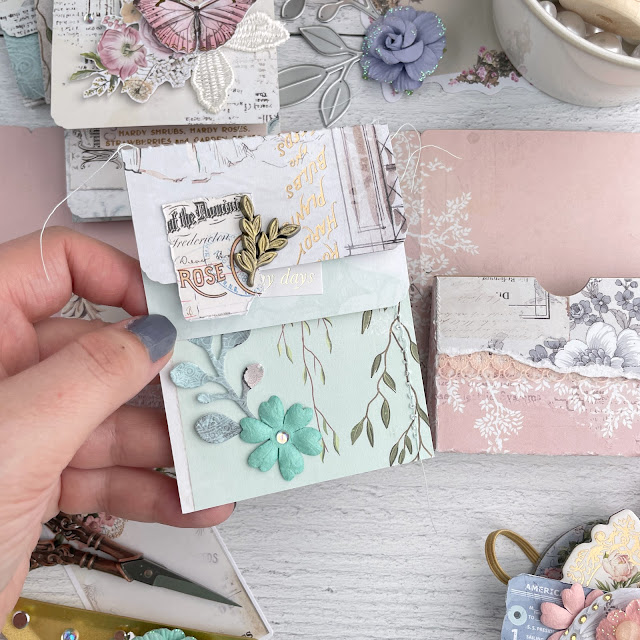
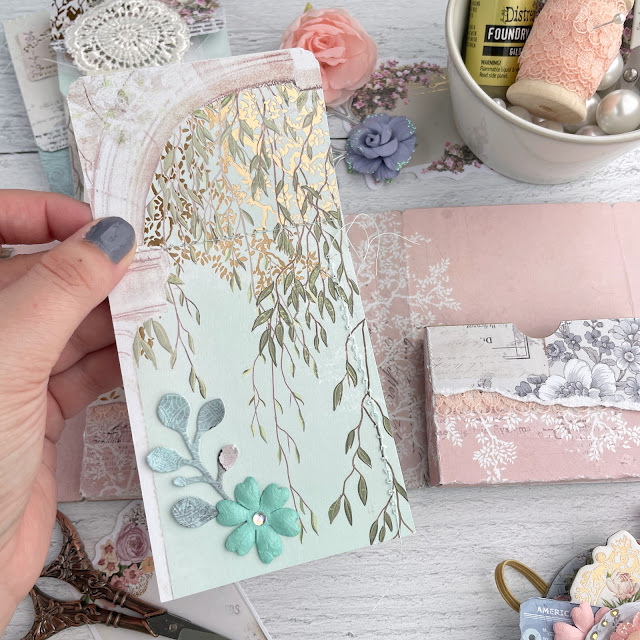
There's room on the inside right and left panels for some embellishments. These can't be too 3D thought. I kept both sides simple. The left side got some ephemera, fussy cut ephemera from the 12x12 pad, and leaf die cuts and a single gem. The right side got a tag with a small flat flower and a piece of ephemera that got popped up with foam adhesive. I added a gem here as well. You don't want either of these sides much thicker than a single piece of foam adhesive or your album won't close well.
Creating the Flips for the Pockets
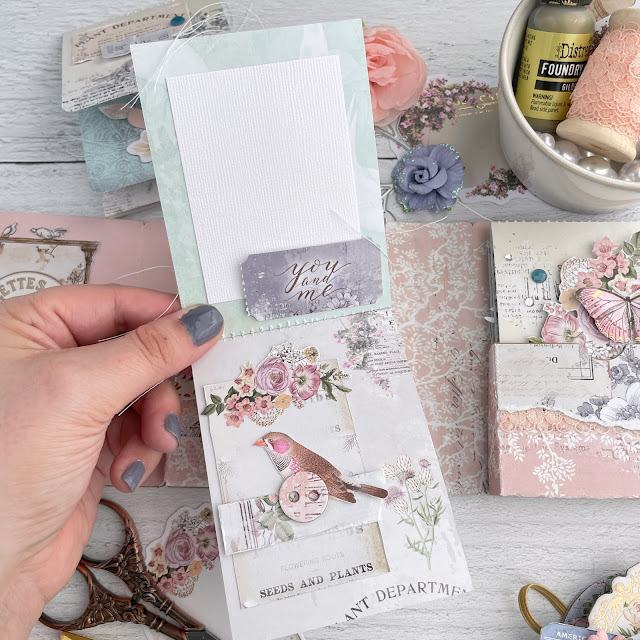
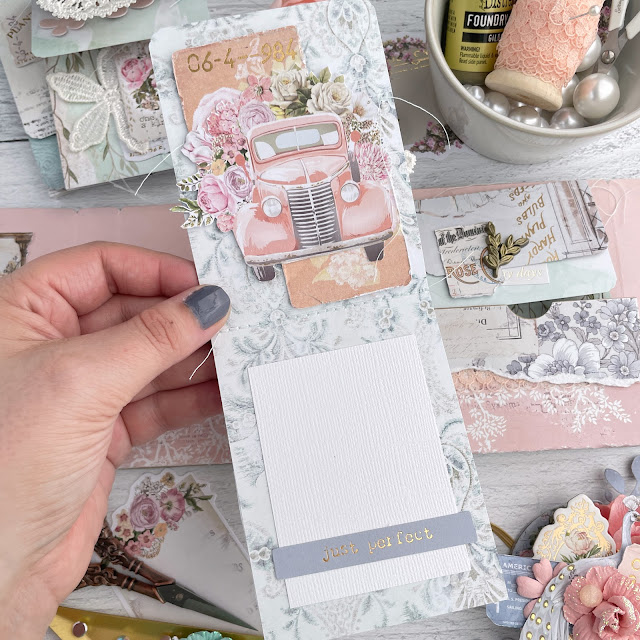
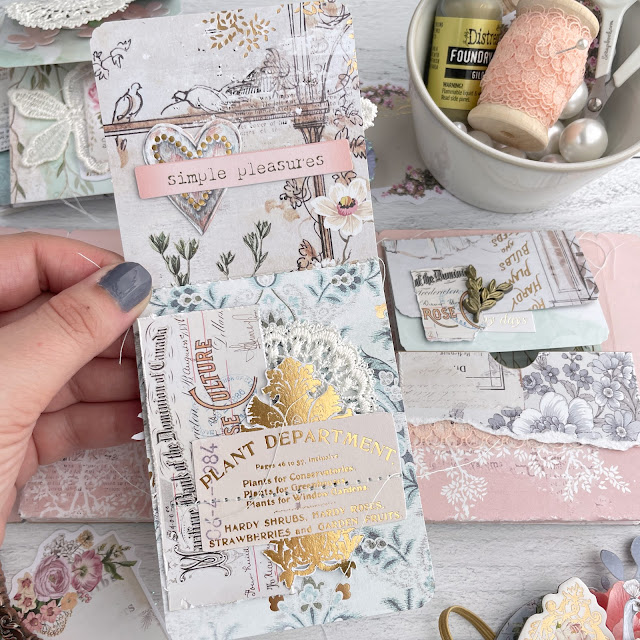
You can just add a bunch of 3x4 journaling cards and ephemera to these pockets. But I love little waterfall flip books! For this, you want to cut a bunch of strips that are 3 inches wide. I cut a total of 8 strips. Here's the breakdown of the length of each strip:
- Two 8 inch long strips
- Two 7 inch long strips
- Two 6 inch long strips
- Two 5.5 inch long strips
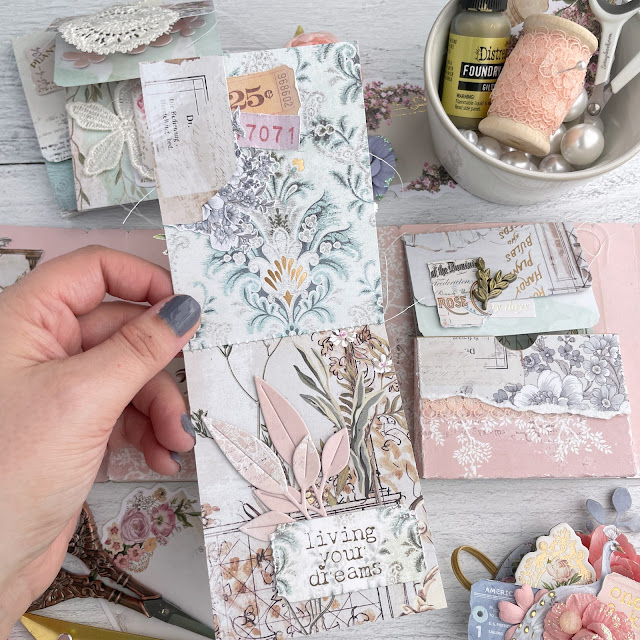
You'll then score each of these strips at 4 inches. This will create flips with a top flap of varying lengths. place a 3 x 8 inch strip inside the 3 x 7 inch strip to create a book and a 3 x 6 inch strip inside the 3 x 5.5 inch strip.
Repeat for each set to create a total of 4 books. We'll get to attaching these pieces together in a minute. First we want to decorate, especially if you are adding additional stitching to your pages.
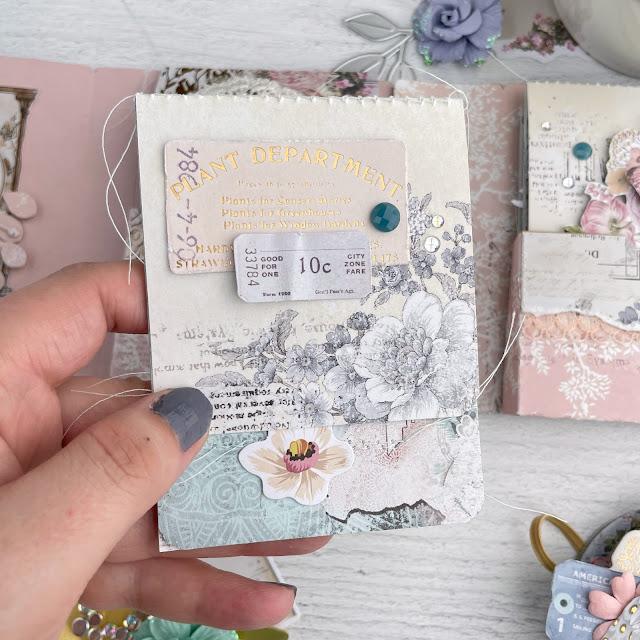
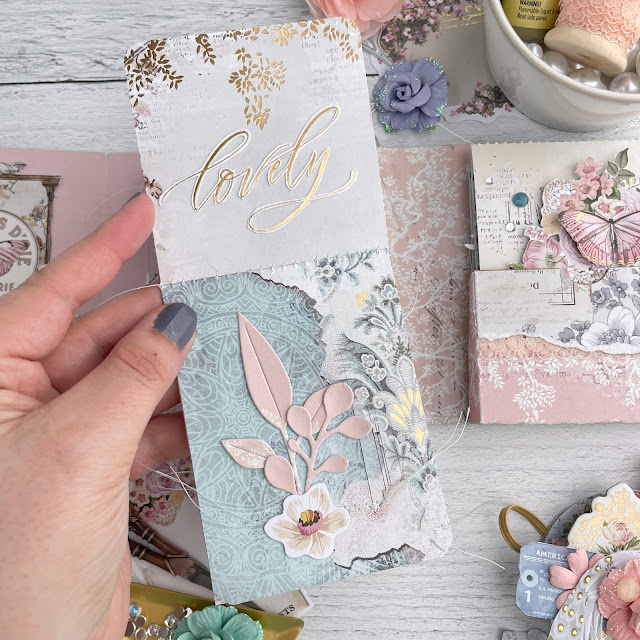
Decorate the pages of your flip books with ephemera, flat paper flowers, lace and more. Remember, just like decorating the inside flaps of the album, you don't want your elements to create much depth so you can easily close these books and place them inside the pockets.
I wouldn't use more than one layer of foam adhesive on a single page and only use foam adhesive on 1 or 2 pages of your flip books. Only 3 of my pages had foam adhesive in total.
I also sewed on some of my elements, especially if lace was involved. I love the texture lace and stitching add.
You can also use the Tim Holtz Tiny Attacher to staple on ephemera to other pieces of ephemera or the base of the flip books.
I stapled a butterfly ephemera to some flower ephemera straight down the center so that the wings could be bent up ever so slightly. I even added a metal embellishment to the outside of one of the flip books.
And for photos, I added some white cardstock mats to some of the larger 3x4 pages. My mats were cut to 2.25 x 3 inches. I'll be printing out some photos later, sized to 2 x 2.75 inches.
If you layer ephemera over these mats and add pictures later on like I am, make sure you leave part of the ephemera unglued/unattached so you can slip the photo under ephemera.
To bind your flip books together, there are two options. I you don't like to sew, you can use a stapler or the WeR Maker's Magnetic Staple Anywhere Board. Or you can sew them together like I did. I'm not much of a sewer, but this is a nice easy straight line.
Now all that is left is to slide 2 flip books into each pocket! I hope that you enjoyed this tutorial and that you give it a try.
This is such a fun little album to make and I can't wait to add some pretty photos to it!
Until next time, happy crafting!
Adrienne
Shop the Supplies:
Scrapbook.com & Sizzix
I am an affiliate with Scrapbook.com and Sizzix. When you shop the links below, I receive a small commission from the affiliate, at no additional cost to you. This helps me balance the costs of the time and love I put into my projects and blog so I can continue to share my ideas with you for FREE. If you shop the links, thank you! I greatly appreciate it.
Below are most of the products that I used for this project




















0 comments
I'd love to hear your thoughts!