Layering Trick for Resin: Mixed Media Tutorial

by - 6:00:00 AM

Letting your resin pieces overhang your canvas often doesn’t require extra steps for adhering it in place, but if you have a very wide set of resin pieces and a skinny canvas, sometimes they need a little extra help. 

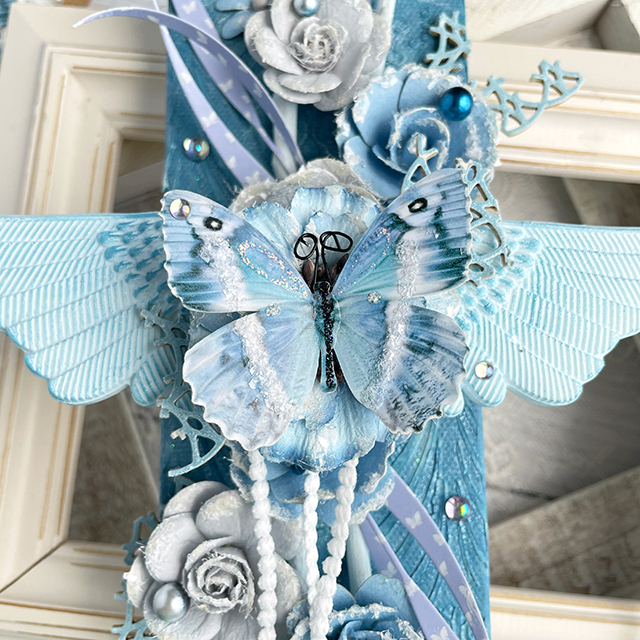
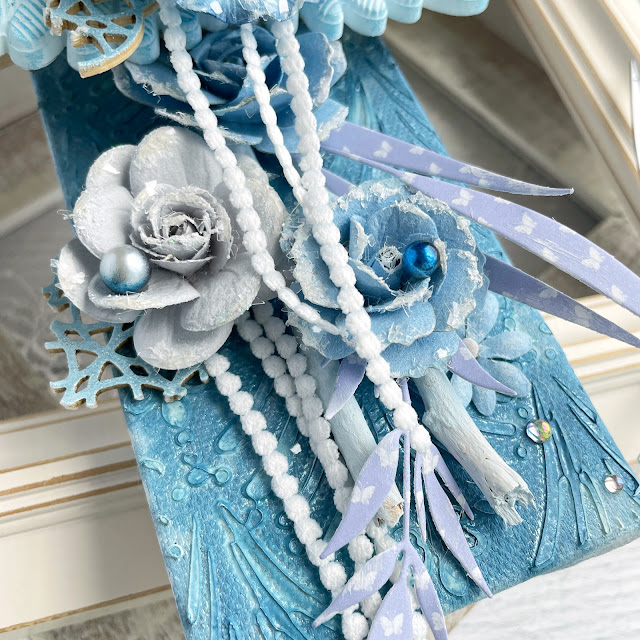
Mixed media canvas created with: Sizzix express glue, acrylic creamy matte paint in arctic sky, dimensional paste, white gesso, woodland stems die; Prima sparks paint, spring abstract paper, postcards from paradise flowers; Tim Holtz distress spray stormy sky, mica stain winter frost; Reneabouquets pearls, chipboard, butterflies, glitter glass; lace, resin

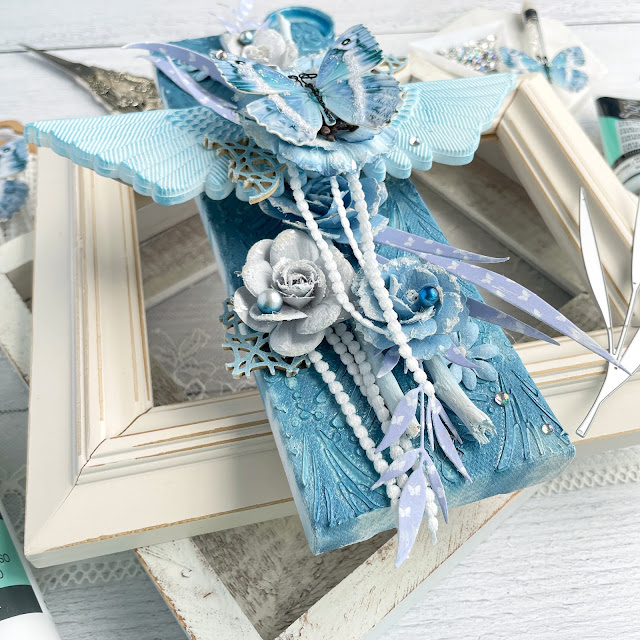
I love the tall skinny canvases. But I don’t always want to be limited by the narrow space. The wings on this canvas are two separate resin moulds. Keeping them level with each other and from not drooping on either side of the canvas requires a little trick to help you layer them on. 

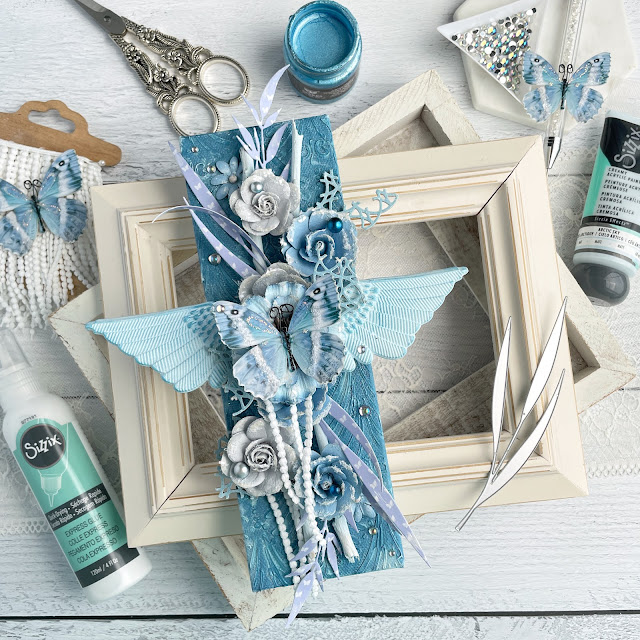
Mixed media canvas created with: Sizzix express glue, acrylic creamy matte paint in arctic sky, dimensional paste, white gesso, woodland stems die; Prima sparks paint, spring abstract paper, postcards from paradise flowers; Tim Holtz distress spray stormy sky, mica stain winter frost; Reneabouquets pearls, chipboard, butterflies, glitter glass; lace, resin

This trick is using chipboard to help keep the two pieces level together and from drooping over the sides of the canvas. In other words, you create a single backing for both of the resin pieces to be glued to. This backing keeps them level with one another. 

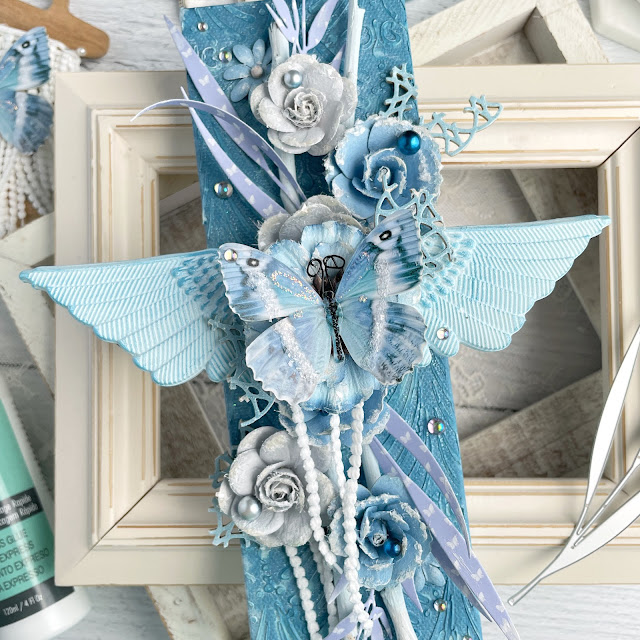
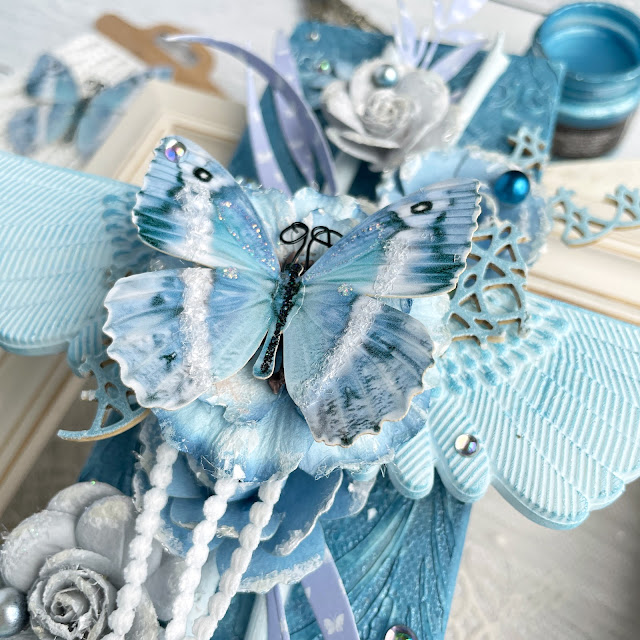
Mixed media canvas created with: Sizzix express glue, acrylic creamy matte paint in arctic sky, dimensional paste, white gesso, woodland stems die; Prima sparks paint, spring abstract paper, postcards from paradise flowers; Tim Holtz distress spray stormy sky, mica stain winter frost; Reneabouquets pearls, chipboard, butterflies, glitter glass; lace, resin

Adding extra strips of cardboard or chipboard can also help keep the pieces from drooping over the canvas edges. This trick is especially helpful if you aren’t glueing your resin pieces directly to your canvas. In this case, I glued them down over the top of some highly dimensional flowers. You can see the entire layering process in the video below. If you want to read about how I created the background and painted my pieces, skip down to below the video.


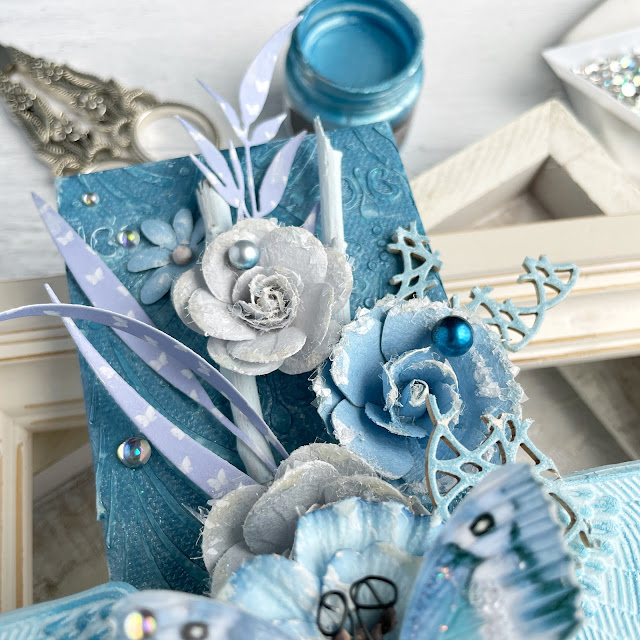
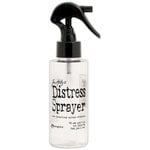
To create the background on the canvas, start by applying some Dimensional Paste through a stencil. Once it’s dry, mist your canvas with a little bit of water and then layer on some sprays. I used Tim Holtz Distress Spray Stain in Stormy Sky and Distress Mica Stain in Winter Frost

Mixed media canvas created with: Sizzix express glue, acrylic creamy matte paint in arctic sky, dimensional paste, white gesso, woodland stems die; Prima sparks paint, spring abstract paper, postcards from paradise flowers; Tim Holtz distress spray stormy sky, mica stain winter frost; Reneabouquets pearls, chipboard, butterflies, glitter glass; lace, resin

Some sticks from my yard and the resin pieces got painted with the Creamy Matte Acrylic Paint in Arctic Sky. To highlight the texture on the resin wings dry brush a darker paint over the top. I used Prima’s Sparks Acrylic Paint in Magical Pond

Mixed media canvas created with: Sizzix express glue, acrylic creamy matte paint in arctic sky, dimensional paste, white gesso, woodland stems die; Prima sparks paint, spring abstract paper, postcards from paradise flowers; Tim Holtz distress spray stormy sky, mica stain winter frost; Reneabouquets pearls, chipboard, butterflies, glitter glass; lace, resin

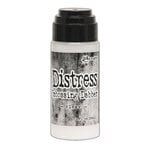
Cover some chipboard with embossing ink then add a coordinating embossing powder and heat it. I used Tim Holtz’s embossing dabber, Ranger’s embossing powder in Sky Blue and Circle Link chipboard from Reneabouquets. 

Mixed media canvas created with: Sizzix express glue, acrylic creamy matte paint in arctic sky, dimensional paste, white gesso, woodland stems die; Prima sparks paint, spring abstract paper, postcards from paradise flowers; Tim Holtz distress spray stormy sky, mica stain winter frost; Reneabouquets pearls, chipboard, butterflies, glitter glass; lace, resin

Cut out some of the Woodland Stems in a coordinating patterned paper. I used a blue paper from Prima’s Spring Abstract 6x6 pad. I also paired it with blue flowers from Spring Abstract, and grey flowers from Postcards from Paradise

Mixed media canvas created with: Sizzix express glue, acrylic creamy matte paint in arctic sky, dimensional paste, white gesso, woodland stems die; Prima sparks paint, spring abstract paper, postcards from paradise flowers; Tim Holtz distress spray stormy sky, mica stain winter frost; Reneabouquets pearls, chipboard, butterflies, glitter glass; lace, resin

For all the other steps, make sure you watch my YouTube layering tutorial! I hope that you learned a new tip for helping layer on your resin pieces and creating pretty mixed media panels.
Until next time, happy crafting!
Adrienne

Shop the Supplies:


Scrapbook.com & Sizzix

I am an affiliate with Scrapbook.com and Sizzix. When you shop the links below, I receive a small commission from the affiliate, at no additional cost to you. This helps me balance the costs of the time and love I put into my projects and blog so I can continue to share my ideas with you for FREE. If you shop the links, thank you! I greatly appreciate it.


Below are products that I used or similar products.


Amazon

I am an affiliate with Amazon. When you shop the links below, I receive a small commission from the affiliate, at no additional cost to you. This helps me balance the costs of the time and love I put into my projects and blog so I can continue to share my ideas with you for FREE. If you shop the links, thank you! I greatly appreciate it.


Below are products that I used for this project.


Etsy: Fiber Infusions


Reneabouquets


You May Also Like

0 comments

I'd love to hear your thoughts!