Prismatic Sunflower Mixed Media Card Tutorial
If you aren't an expert in mixed media, this simple technique will be easy to add in to your cards and other paper craft projects.
I love mixed media pastes that are simple and easy to use! And these stencil butters from The Crafters Workshop fit that bill perfectly.
They are smooth and creamy and apply beautifully through stencils. They are gorgeous on their own, but they also mix well. I love to create custom pastel colors by mixing in the Pearl White with other colors.
This card is similar to the set of pansy cards I shared previously here on my blog and on my Instagram. It was such a popular project, that I thought I would do another version, but add in an additional technique. I also thought I would create a YouTube tutorial for this card, which you'll find embedded below.
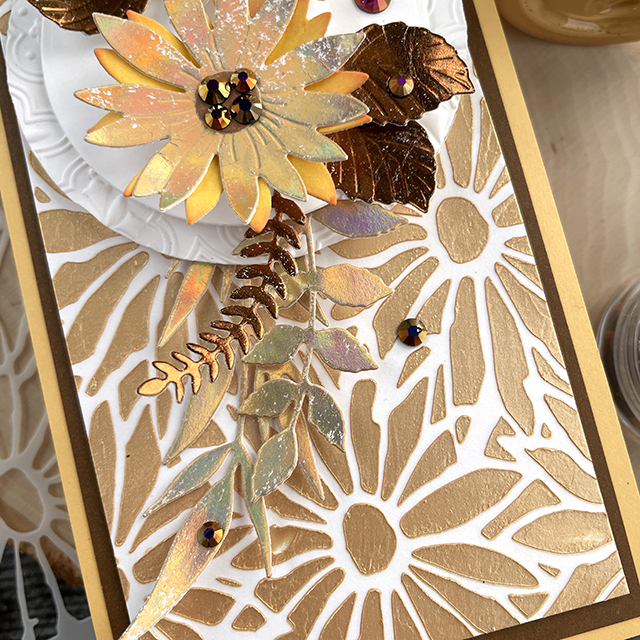
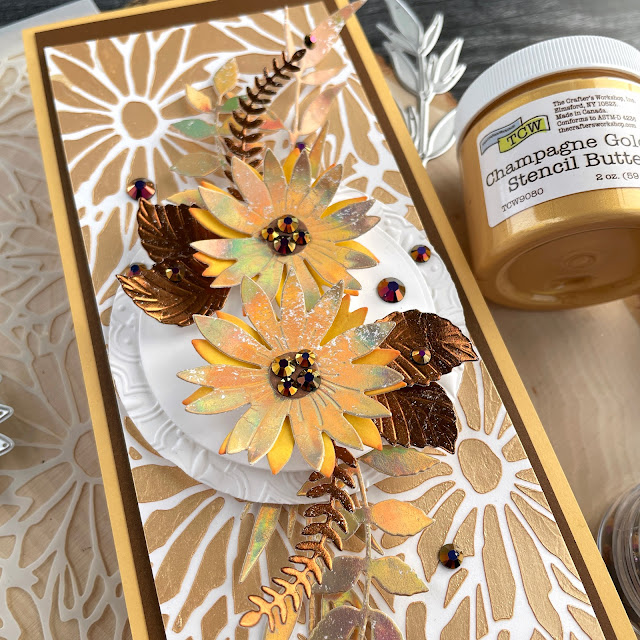
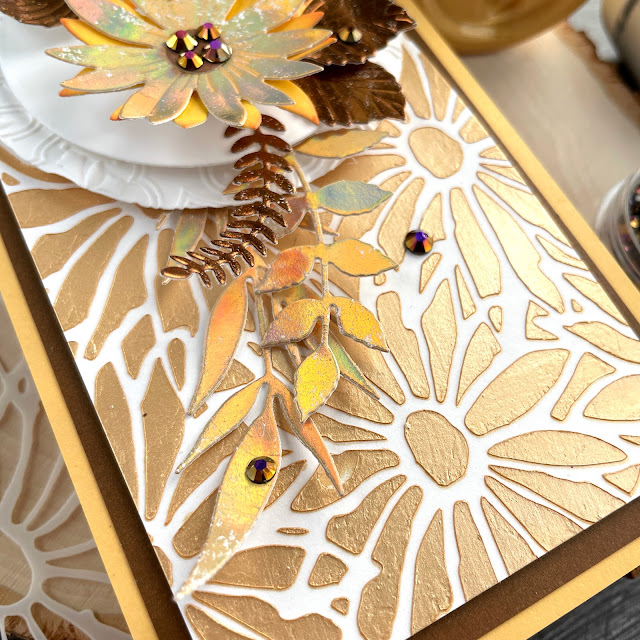
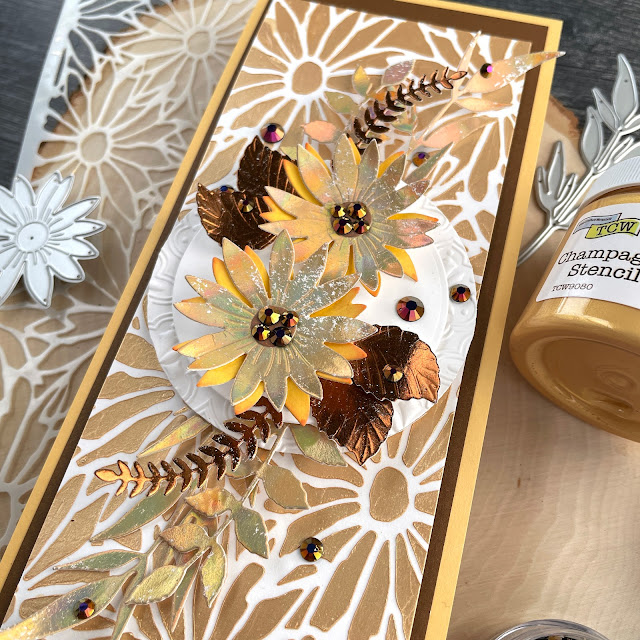
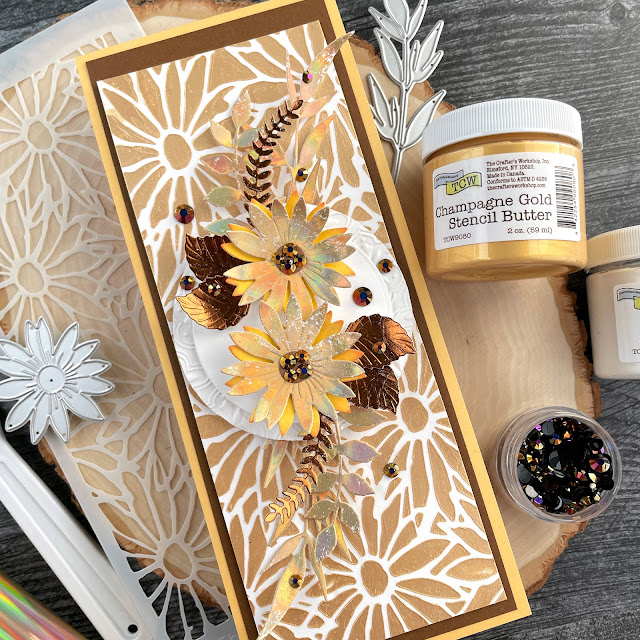
Just like the pansy cards, I mixed my own custom pastel hue. This time I made a soft golden yellow using the Pearl White and Champagne Gold stencil butters. This truly is a gorgeous soft gold that reminds me of the pastel yellows you find all over Austria. The Mozarteum concert hall is a great example of that soft gold. I then spread this mixture through a pretty floral stencil from The Crafters Workshop.
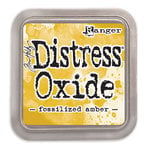
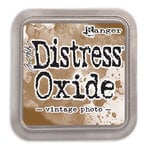
And again like last time, I created some inked backgrounds to die cut from. This time, I did less inking because I'll be die cutting from another material, but more on that in a moment. I selected Fossilized Amber and for a layer of the sunflowers I planned on cutting out. I also selected Vintage Photo for the brown centers of the flowers.
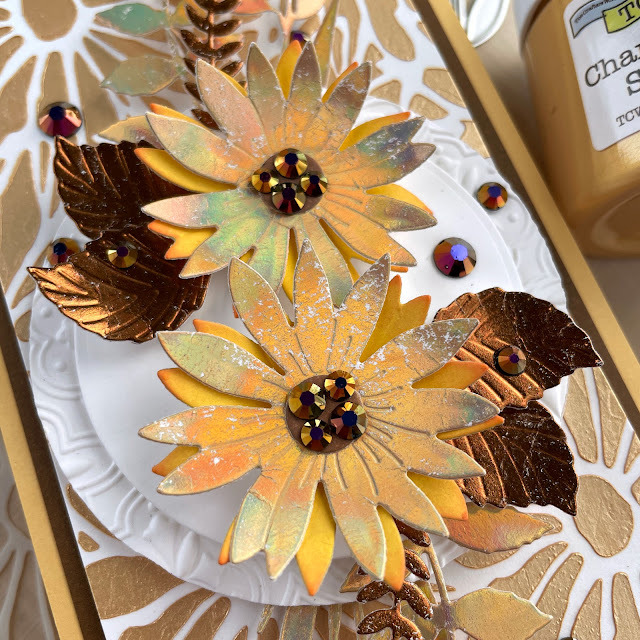
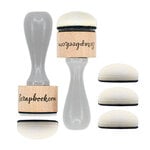
I then added some dimension to the cut flowers by applying Ripe Persimmon to the tips of the flower petals using my domed foam blending tool. I also die cut two Nested Circles and embossed the larger of the two using the Tile Reflection embossing folder.
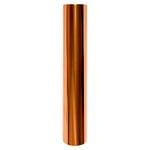
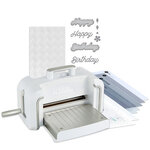
Here is where the additional technique comes in. I discovered die cutting from a solid rectangle of hot foil. For this, I use my Spellbinders Glimmer Platform, my Platinum 6 die cut machine, the Glimmer Essentials Solid Rectangle and the Aura hot foil roll.
I trim down 2 sheets of foil and hot foil them onto smooth white cardstock. I'm still not a master at the perfect hot foil, but that okay. For this application, I love the distressed look of the imperfect foil. If you like a perfect foil but don't get a perfect one, know that you can foil over foil for better application.
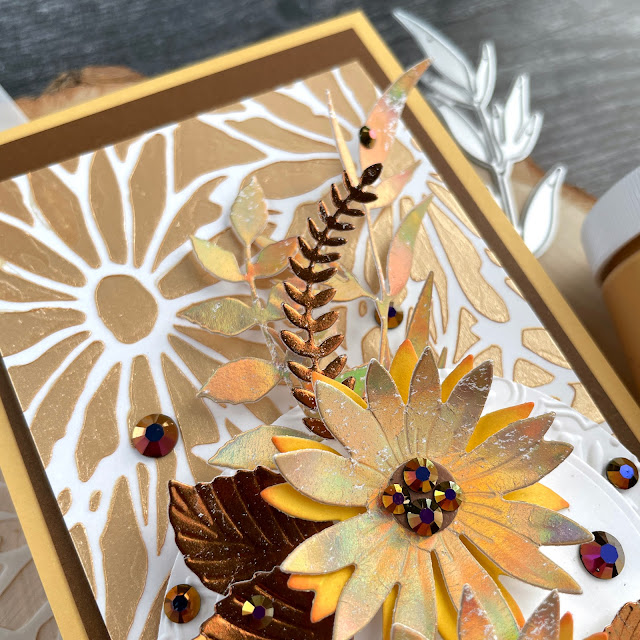
I then die cut some leaves from the Delicate Leaves die set and I cut the same flower again from the Aura foiled sheets. To add some more dimension, I using my shaping tools to gently add shape to the foiled leaves and flowers as well as the inked flowers.
I won't go to much into assembly as you can see that in my video tutorial above, but I did use a combination of liquid and foam adhesive. I also added some gems, and after seeing the brown gems, I decided I needed some copper foil leaves to add in some contrast. After adding those elements, I double matted the card with two colors of smooth cardstock. And that's it! I hope you enjoyed this tutorial and until next time, happy crafting!
Adrienne
Shop the Supplies:
Scrapbook.com & Spellbinders
I am an affiliate with Scrapbook.com and Spellbinders. When you shop the links below, I receive a small commission from the affiliate, at no additional cost to you. This helps me balance the costs of the time and love I put into my projects and blog so I can continue to share my ideas with you for FREE. If you shop the links, thank you! I greatly appreciate it.
Below are products that I used or similar products.















0 comments
I'd love to hear your thoughts!