Dimensional Cards Using Coverplate Dies
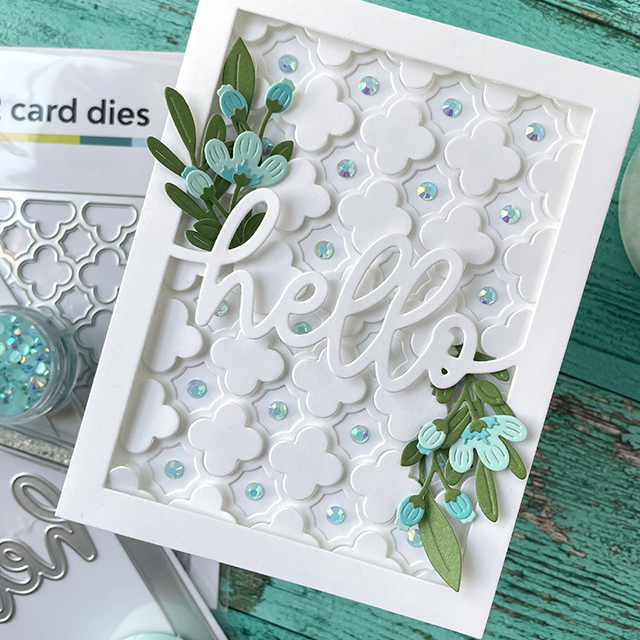
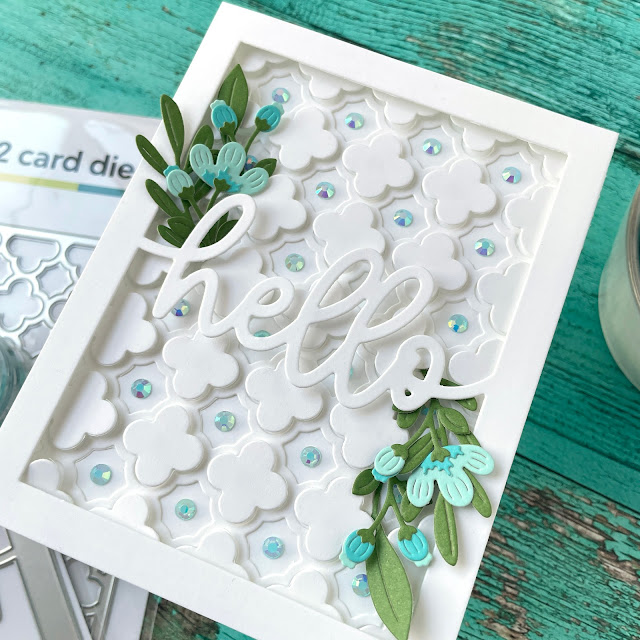
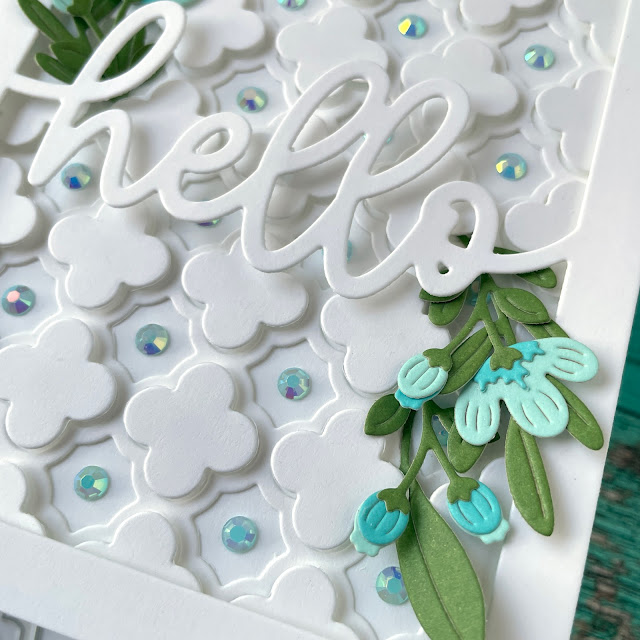
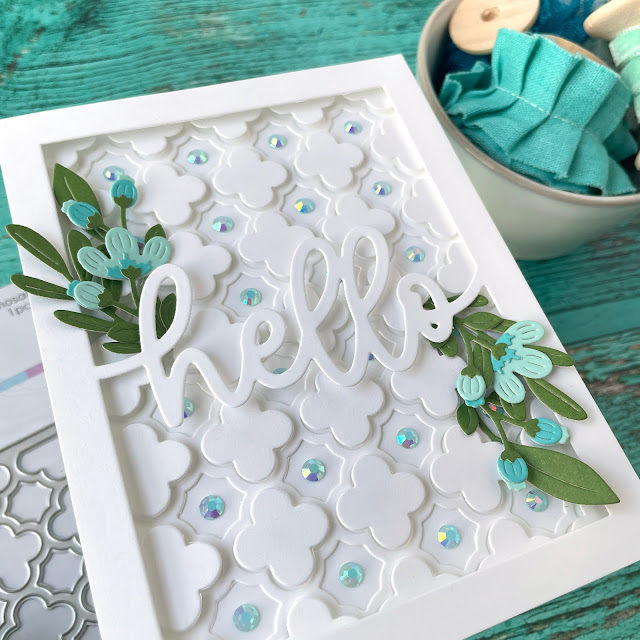
You can create incredible dimension on your cards by layering different coverplate die cuts!
I'm always on a mission to add more dimension to my projects, whether it's mixed media or cards. Today's tutorial takes you through layering multiple coverplate dies to create a highly layered, dimensional project.
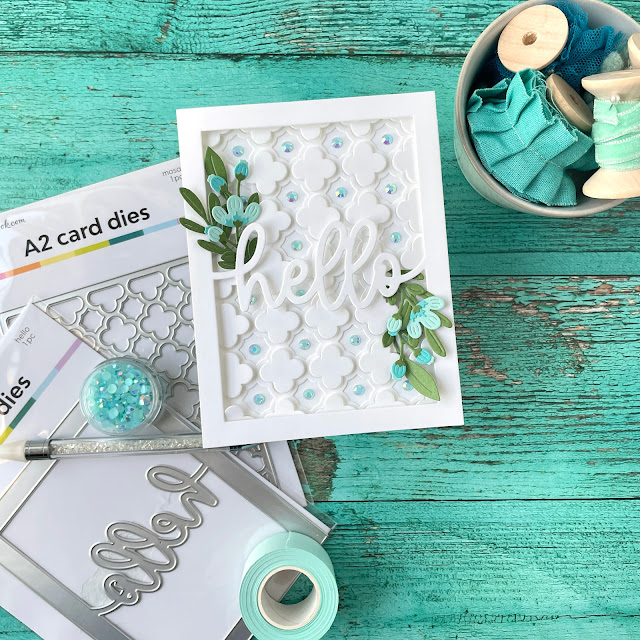
Here's what you'll need for this project:
- Hello A2 Coverplate die
- Mosaic A2 Coverplate die
- Small floral dies
- Jewels
- Foam Strips
- Foam Squares
- Liquid Adhesive
- White Cardstock
- Smooth Cardstock in various colors
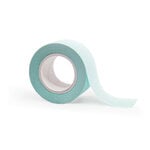
- Mint Tape
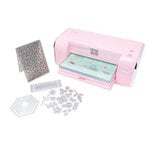
- Magic Mat
Start by cutting the Hello and Mosaic coverplate dies from white cardstock. Save all your offcuts from the mosaic die cut--we'll be popping some of them back in later.
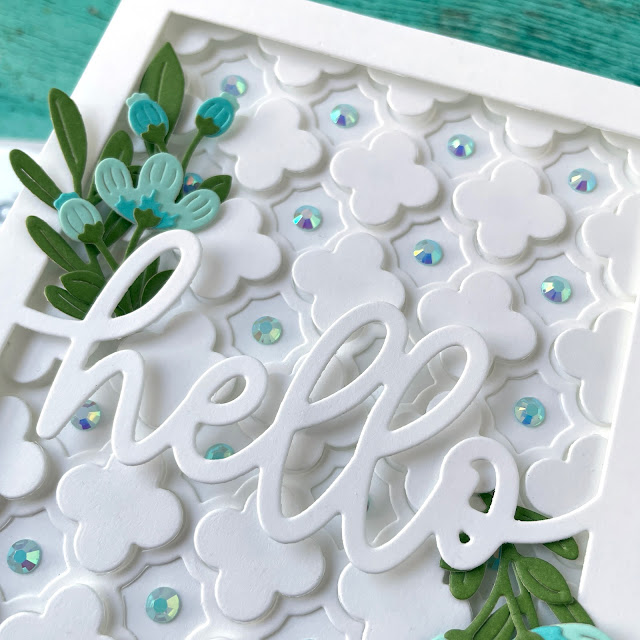
Glue the frame portion of the Mosaic coverplate die cut onto a flat white front using liquid adhesive. (I use Distress Collage Medium because it has a matte finish and "squish out" won't show.) Pull the larger quatrefoil offcuts out and glue them in place using foam adhesive.
Then pop a jewel into each lower spot on the card, i.e. the places where you didn't glue an offcut back in place. Once your jewels are in place, add some foam strips to the Hello coverplate die cut and adhere it on top of your card.
Cut out and assemble some small florals from smooth cardstock. Tuck them in around the Hello using a mix of foam and liquid adhesive. Then all that is left is to add your card front onto a card base. I think this technique is so pretty, especially as a tone-on-tone. Until next time, happy crafting!
Adrienne
Shop the Supplies:
Scrapbook.com
I am an affiliate with Scrapbook.com. When you shop the links below, I receive a small commission from the affiliate, at no additional cost to you. This helps me balance the costs of the time and love I put into my projects and blog so I can continue to share my ideas with you for FREE. If you shop the links, thank you! I greatly appreciate it.
Below are products that I used or similar products.









2 comments
You had a super idea of layering cover dies. I love the dimension of this card! Thank you for sharing. I’m going to buy some of that distress collage medium.
ReplyDeleteThank you so much! Distress Collage Medium is absolutely amazing and you'll love it!
DeleteI'd love to hear your thoughts!