4 Tips for Fussy Cutting Like a Pro
Not everyone likes to fussy cut, but I find that it's really because you are committing a few key mistakes that end in ripped paper and tears.
But let's not focus on the negative. Instead, I'm going to give you my best tips to help you avoid ripping what you are cutting out--and the tears that go with it.
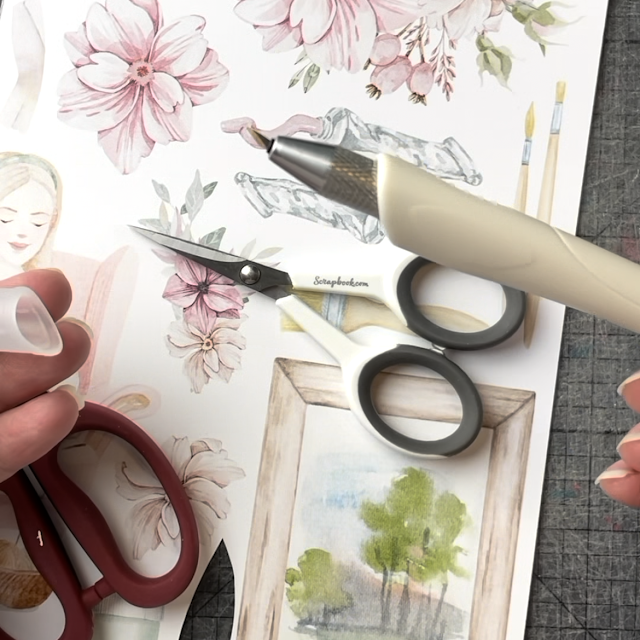
Before you start, you'll want to make sure you have the right tools for the job. You'll want a self-healing craft mat, a craft knife (I prefer a swiveling one which you can often find at hobby and craft stores) and a pair of small, sharp scissors (like the mini snips from Tim Holtz or the small precision scissors from Scrapbook.com). Now let's get into those tips!
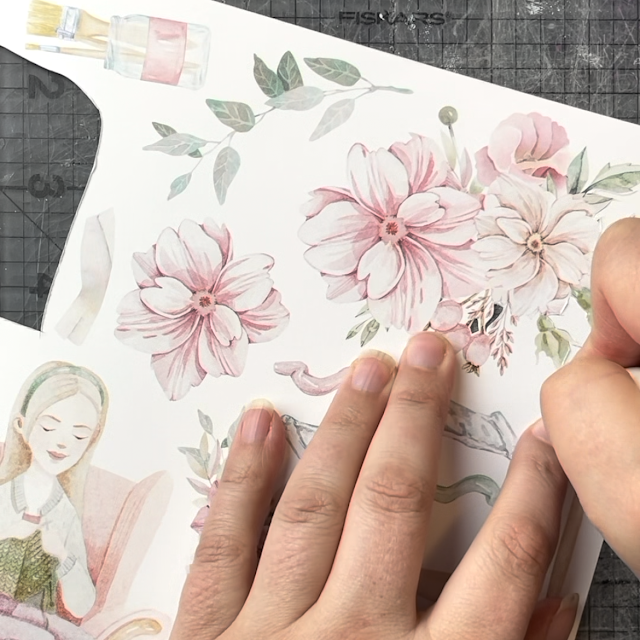
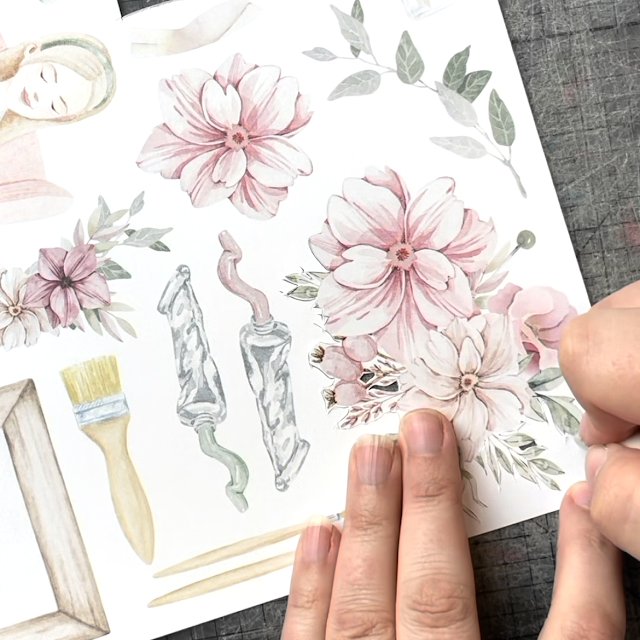
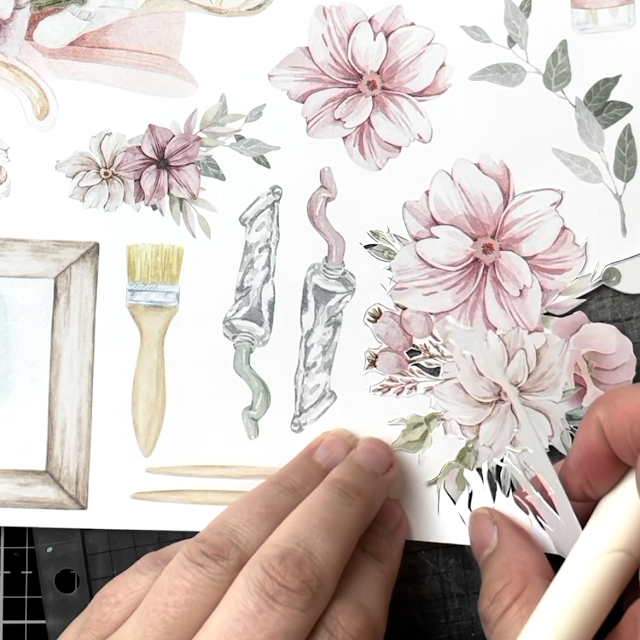
For this tutorial, you'll see me working on an element sheet from P13's Let Creativity Bloom collection.
1 | The Bigger Picture
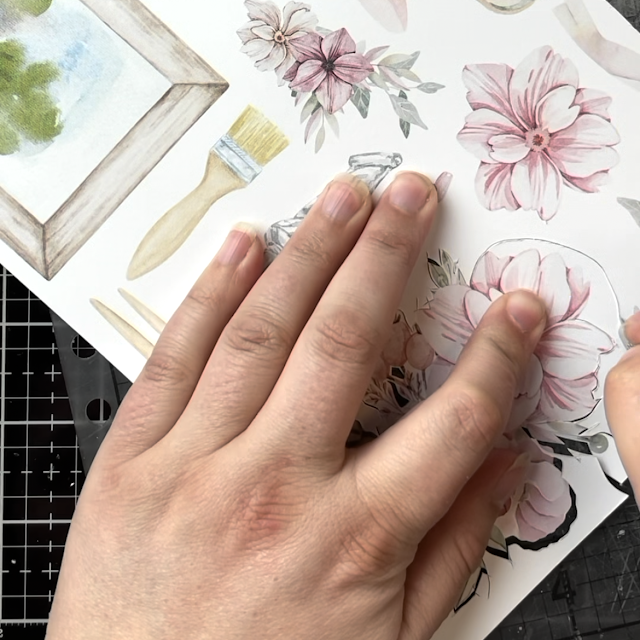
Keep the image you want to fussy cut attached to as large a piece of paper as possible. You essentially want a place to hold the image while making your cuts without tearing or ripping it. So if you want to cut an element from a 12x12 piece of paper, do not cut it out with a white halo around it and then trim all the excess off. Instead, keep it attached to the 12x12 piece while cutting it out so you have plenty of places to hold the paper still while cutting.
2 | Resolve Internal Cuts First
Just like an electronic die cut machine, resolve your internal and delicate/intricate cuts first. Removing those internal cuts is where a craft knife and self healing mat comes in handy, especially a swivel craft knife. The reason you want to start with these parts first is that you'll have more of the image attached to that larger piece of paper, keeping you from ripping or tearing as you are cutting.
3 | Attached at the Hip
While cutting those delicate areas, don't cut all the way around at first. Leave a few areas attached to the larger paper in different spots. You'll go back and get these at the end, but in the mean time, it will help hold your image in place as you continue to work your way around the image cutting the delicate and intricate areas. Also, don't be afraid to move your paper around to make those cuts easier to make.
Once you have cut 95% of those intricate areas, go back and finish cutting through the spots you left in tact to start releasing the image from the larger paper.
4 | Cut It Out
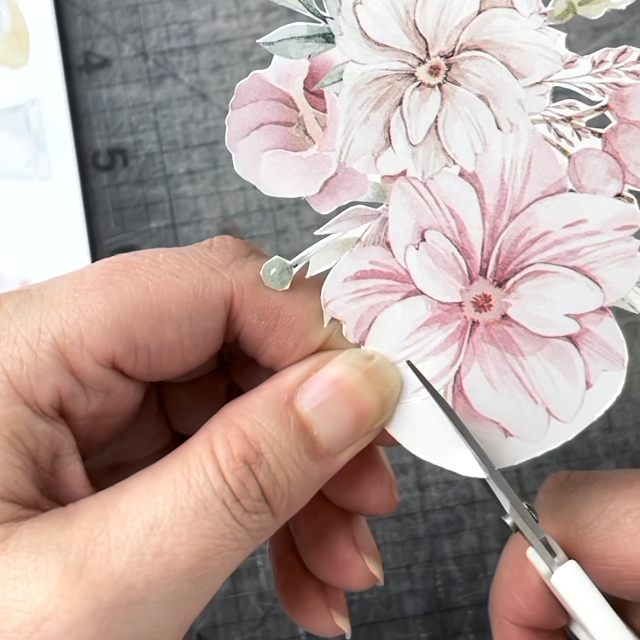
Finally, use your scissors or craft knife to cut out the image from the larger piece, leaving halo areas around the easier to cut parts you can work on with your scissors.
By doing this, you'll be able to avoid hand fatigue from using only a craft knife. So switch to your scissors and snip off those final parts!
If you are afraid to waste your patterned paper while practicing these techniques, try stamping out some detailed images (like the floral outline stamps from Tim Holtz) and fussy cutting those. In no time, you'll be fussy cutting like a pro!
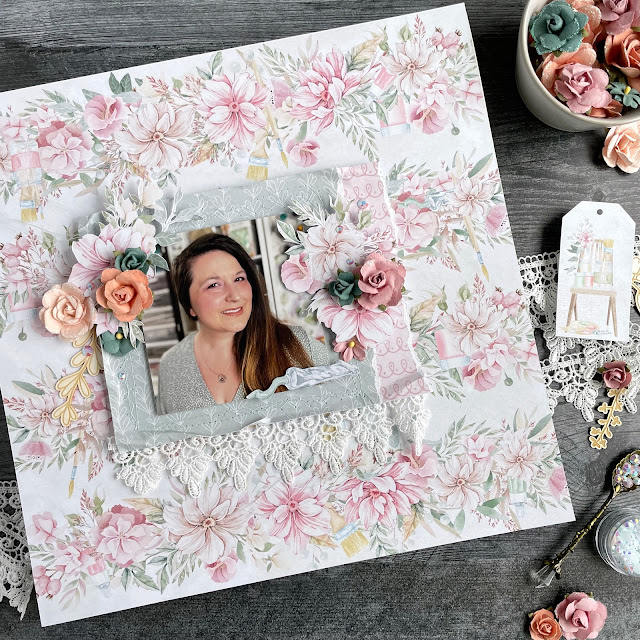
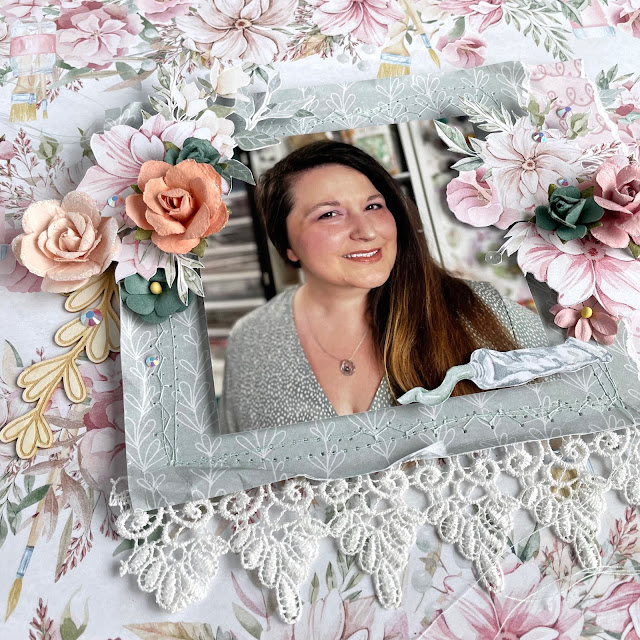
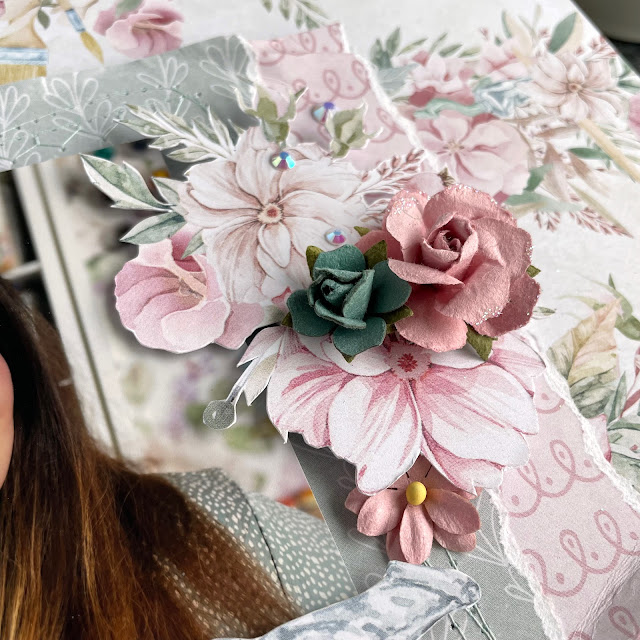
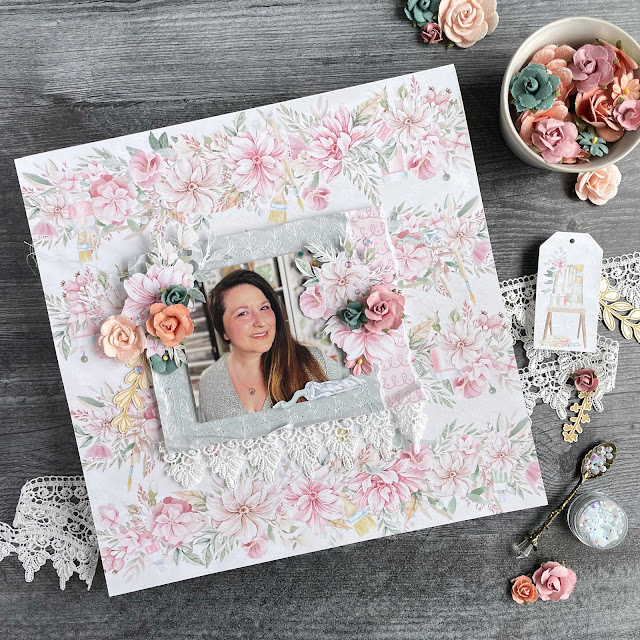
Once you have all of your fussy cut elements, you can then begin to layer them on your projects, from scrapbook layouts, to cards, to mixed media projects. I love to use foam adhesive to pop them up from the base of my project and give them more dimension.
Larger fussy cut pieces make a great base for adding other elements on top of, like paper flowers or gems. and if you pop them up with the foam tape, you can slip die cuts or chipboard elements underneath. Until next time, happy crafting!
Adrienne
Shop the Supplies:
Scrapbook.com & Amazon
I am an affiliate with Scrapbook.com and Amazon. When you shop the links below, I receive a small commission from the affiliate, at no additional cost to you. This helps me balance the costs of the time and love I put into my projects and blog so I can continue to share my ideas with you for FREE. If you shop the links, thank you! I greatly appreciate it.
Below are products that I used or similar products.






0 comments
I'd love to hear your thoughts!