Mix and Match Your Stash + Mixed Media Tutorial
Mixing and matching your paper craft supplies and collections doesn't have to be difficult with these easy tips.
I've been on a mission this year to start using up more of what I have. There's an ulterior motive to that--and it's so I can make room for newer supplies! Can you call yourself a paper crafter if you don't constantly want all the new prettying things thought?
But there's a difference between wanting something and actually clicking checkout on your online cart. But I won't judge you if you hit that checkout button! I do it myself all the time!
I mentioned my supply for a reason. And it's because I mixed some of my older things with a few of my newer things. I think that is the best way to use up what you have. And if you think you aren't good at mixing and matching collections, don't worry! You'll never get good at it if you don't practice. So allow yourself to just play, to make mistakes and to learn.
To help you mix and match your craft supplies better, I've compiled some of my best tips. You don't have to follow all of these together. My best advice is to chose one or two of the tips to follow.
1 | Limit Your Color Scheme
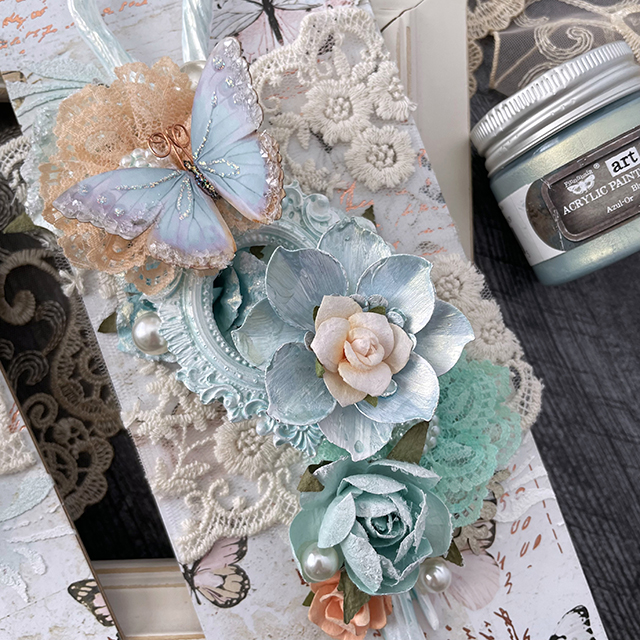
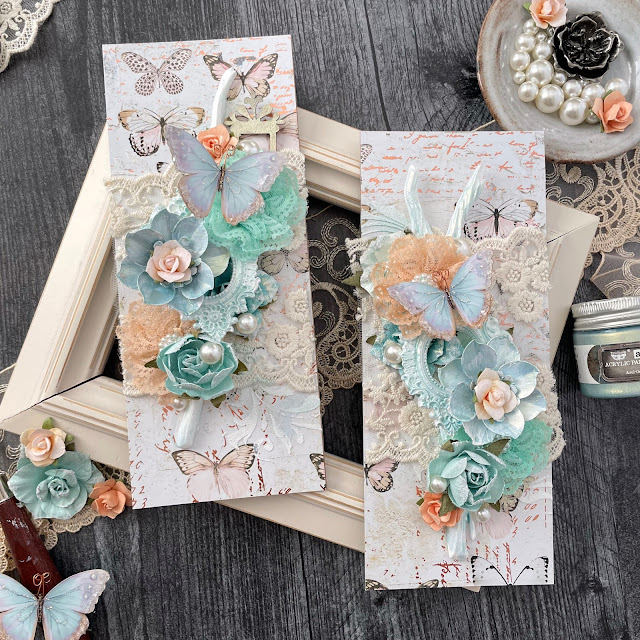
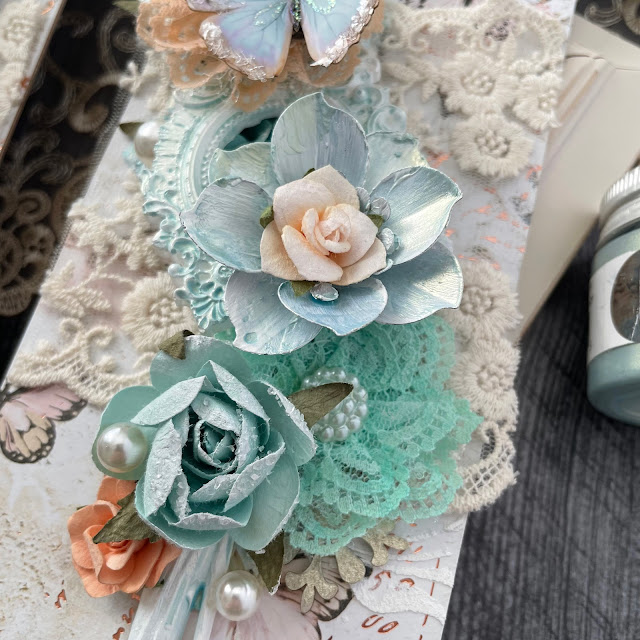
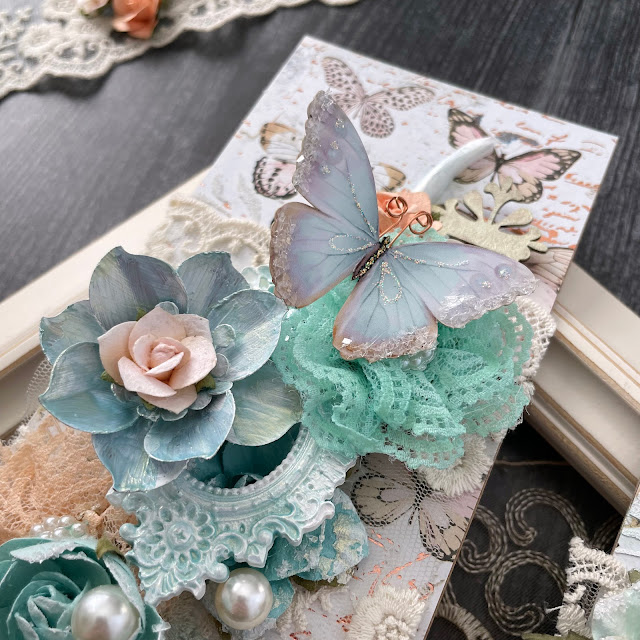
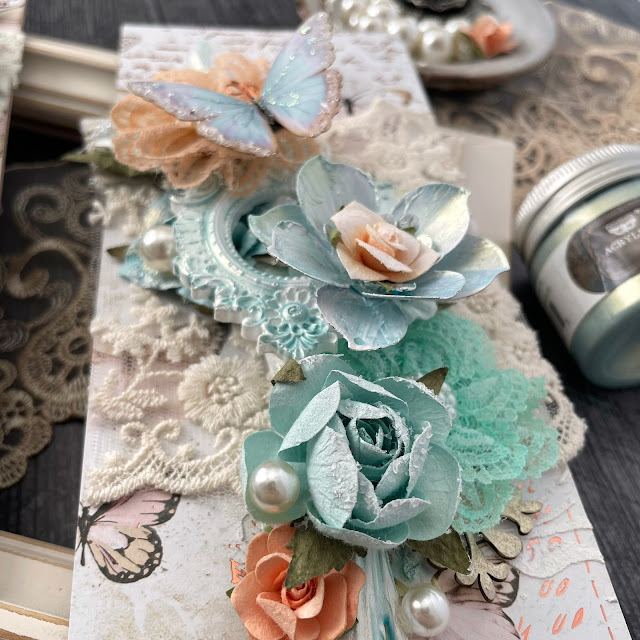
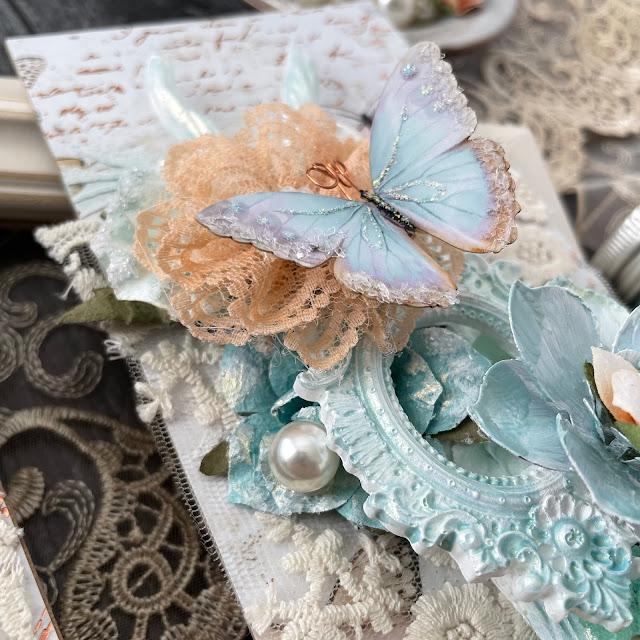
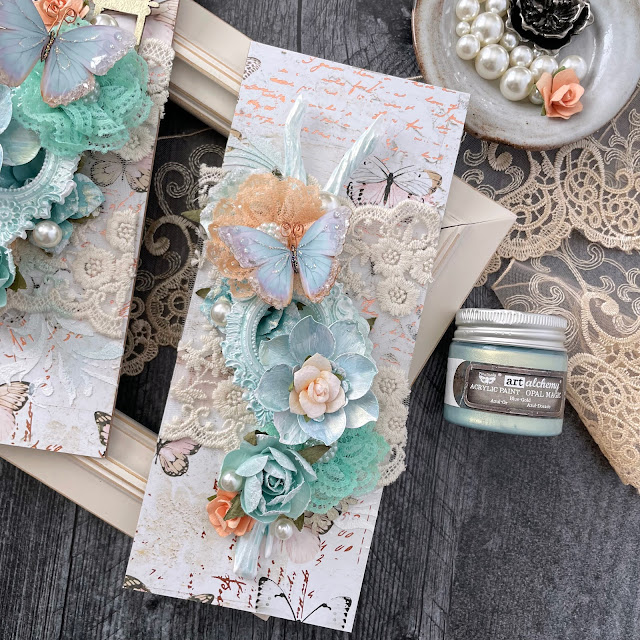
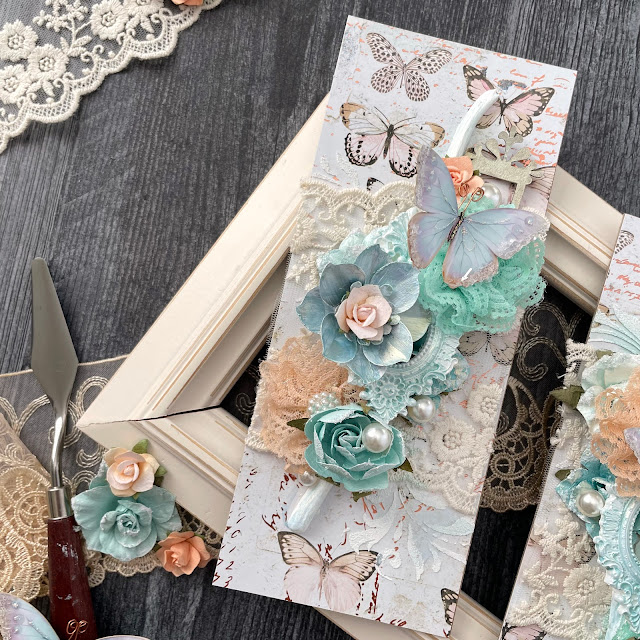
Limit your colors to 2 or 3 colors or hues. This can help you keep your project from looking too busy and more cohesive. That's what I used for this project. I chose cream, peach and mint as my colors. There is some variation within those hues, but that adds a little depth. If you want to do something rainbow hued, try to match each color as close as possible, rather than having variations of each color.
2 | Choose a Theme
Sticking to a theme can help make your project more cohesive. This can be a seasonal theme, like autumn, or even a pattern theme, like dots. Repetition can help strengthen your design and reinforce your theme. In this project, I chose to repeat lace (lace flowers and lace trim) and butterflies (paper and Reneabouquets butterflies). This gives my project a decidedly shabby chic floral theme.
3 | Anchor Your Project
I use this technique even when I'm not mixing and matching supplies. This essentially centers your project around a star embellishment. Start by choosing your embellishment that will take center stage and then choose all of your other embellishments and papers around it. Your other elements shouldn't overpower your star embellishment. Rather you want these secondary embellishments and papers to either enhance or offset/contrast your main embellishment.
For this project, I mixed and matched:
- Prima Coffee Break Chai Tea flowers
- Prima Apricot Honey Paper
- Prima Peach Tea Sweet Peaches flowers
- Prima Peach Tea Fresh Flavor flowers
- Prima Lace and Heart Chipboard
- Prima Sharon Ziv mould
- Finnabair Grungy Frames mould
- Finnabair Grungy Succulents
- Finnabair Opal Magic Paint in blue-gold
- Tim Holtz Flourish Stencil
- Tim Holtz Grit Paste in opaque
- Tim Holtz Baubles
- Reneabouquets Watercolor Spun Sugar Butterflies
- Reneabouquets Ivory Wide Floral Embroidered Lace
I won't get much into the actual tutorial here as I created a tutorial video for you! Just click the play button on the video below to see how I assembled this pair of mixed media panels.
I hope that these tips help you mix and match your old and new supplies no matter the type of paper crafting you do! I also hope that you enjoyed this mixed media tutorial as well. And if you do wish to replicate this project, or see something you love, I've liked all the supplies I used in the blog. (Like I said, I won't judge!) Until next time, happy crafting!
Adrienne
Shop the Supplies:
Reneabouquets
Watercolor Spun Sugar Butterflies
Ivory Wide Floral Embroidered Lace
Scrapbook.com
I am an affiliate with Scrapbook.com. When you shop the links below, I receive a small commission from the affiliate, at no additional cost to you. This helps me balance the costs of the time and love I put into my projects and blog so I can continue to share my ideas with you for FREE. If you shop the links, thank you! I greatly appreciate it.
Below are most of the products that I used for this project.






4 comments
Thank you, it’s really helpful to learn how to mix and match and use my stash! Your mixed media pieces are beautiful - I love the colours. What would you say the anchor pieces are - the resin frames?
ReplyDeleteGlad I could help and great question! You don't have to use all 3 tips in one project. You can choose to use only one of the tips or you can use all three. For this one, I just used #1 and #2. I have other projects, that use #1 and #3, like my "If I Had Wings" canvas where the butterfly is the anchor, which you can find here: https://alicescrapswonderland.blogspot.com/2019/04/had-wings-mixed-media-canvas-tutorial.html
DeleteAh yes, that makes sense now. Thanks for the example. : )
ReplyDeleteYou are most welcome!
DeleteI'd love to hear your thoughts!